Space for Activities
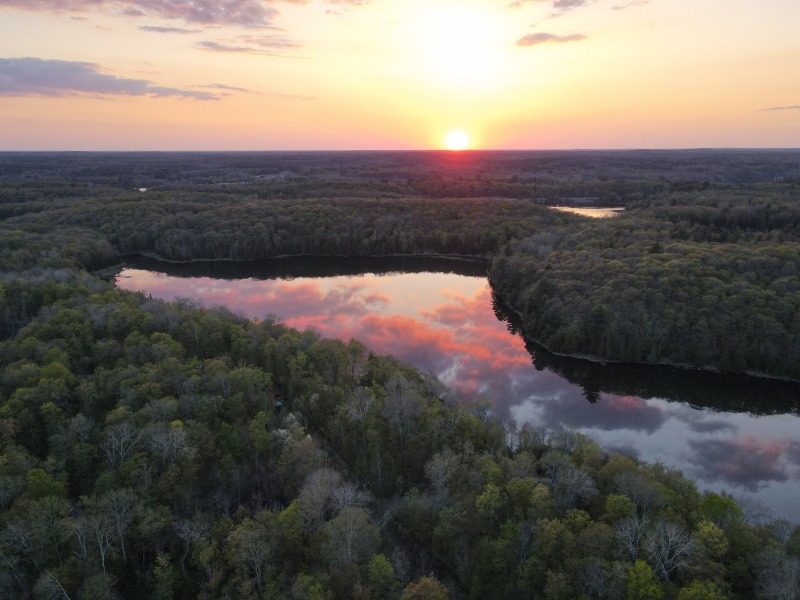
In May, 2020 I closed on 69 acres of vacant land on a little lake in the Kawarthas, north-east of Toronto.
I didn’t know I wanted this until, as I like to say, I got bored before most people at the start of the pandemic. I’m a border collie; I need space to play. I searched online for properties within 2.5h of the city, on water, and 50 acres or more. Why? Not sure, but I wanted a forest to play with. What does that mean? I don’t know. My timing was lucky; very soon after agreeing to purchase, rural and particularly cottage country property values inflated as people fled the now-unsettlingly-quiet urban areas.
During the brief search, I strongly considered larger properties that weren’t on shorelines (even more space for activities), but instead with streams or rivers running through or adjacent to them. I still like this idea and would consider it in the future; moving water is a wonderful feature even if it doesn’t support swimming or canoeing the way a lake does, and these properties are often larger, less costly, and more isolated.
Lay of the land
The property I landed on struck a perfect balance for me in more ways than I realized at the time.
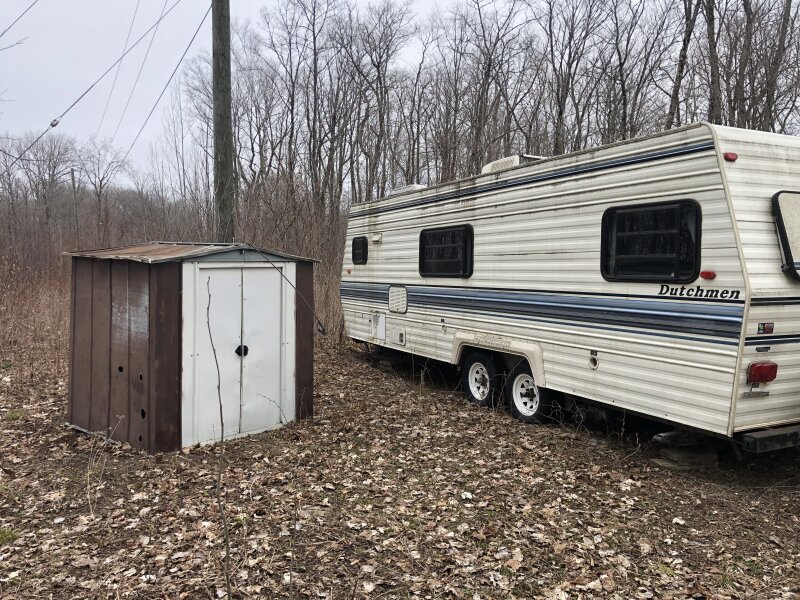
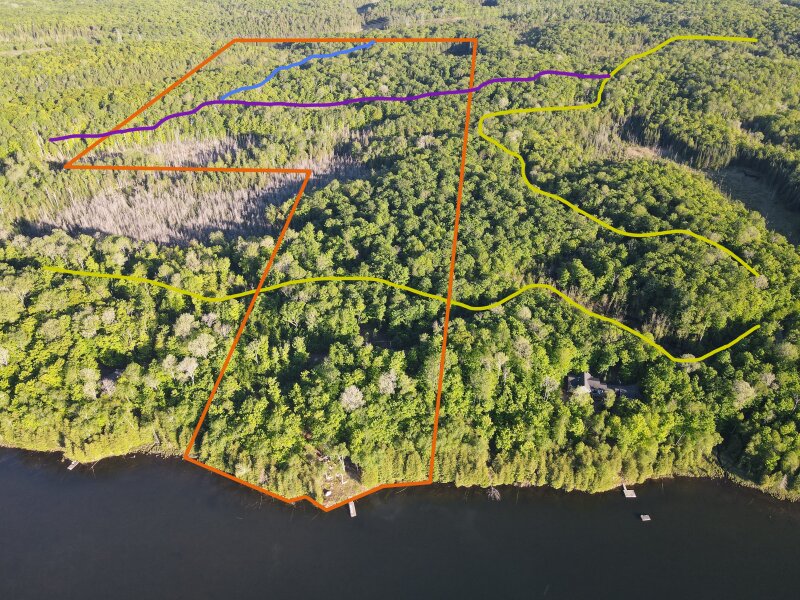
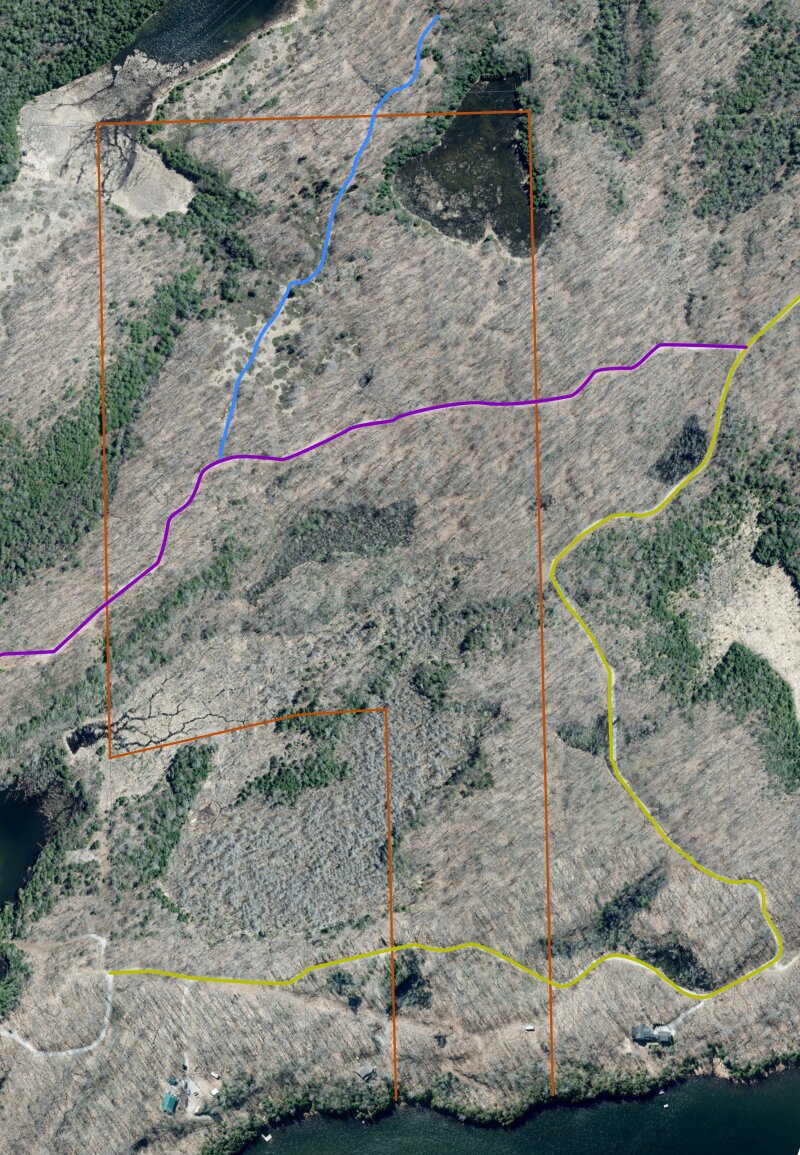
The lakeside area of the property is on one side of the small private access road shared with a few cottages, and consists of about five acres with a steep hill leading down to the lake. Fortunately, the land developers built an access driveway down to a large plateau near lake level. A 30 metre building setback disallows building anything that close to the water, instead logically setting any structures at the top of the hill, hopefully with a view. It should be said, this hill doesn’t look like much, but it winds even fit people often. I’m not sure stairs would be significantly easier.
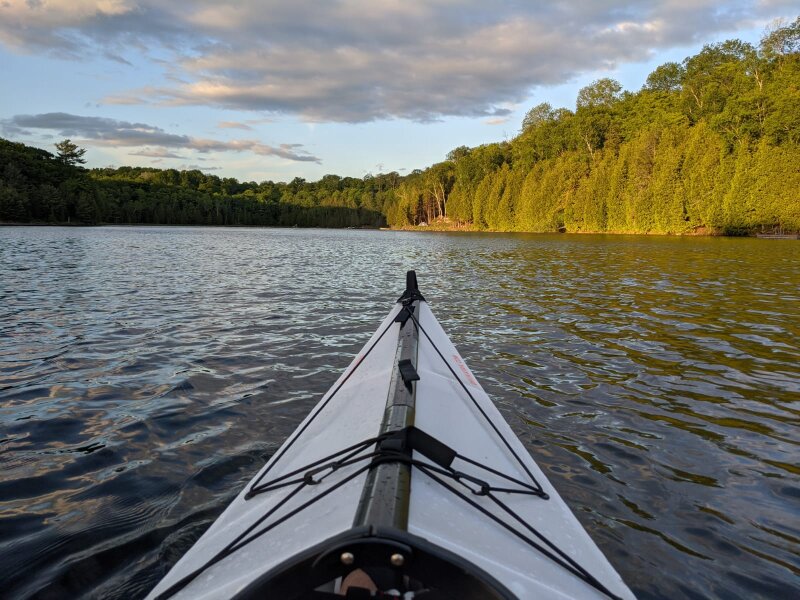
The lake itself is very small, around 35 acres and 750m at its longest. An upside to a lake this small that I hadn’t quite realized initially is that it is simply too small to bother putting a motorboat on. There are a couple tin cans on the lake with electric trawling motors on them, but those are silent. It is surrounded on all sides by private property, so there’s no legal, public access for others to launch boats from.
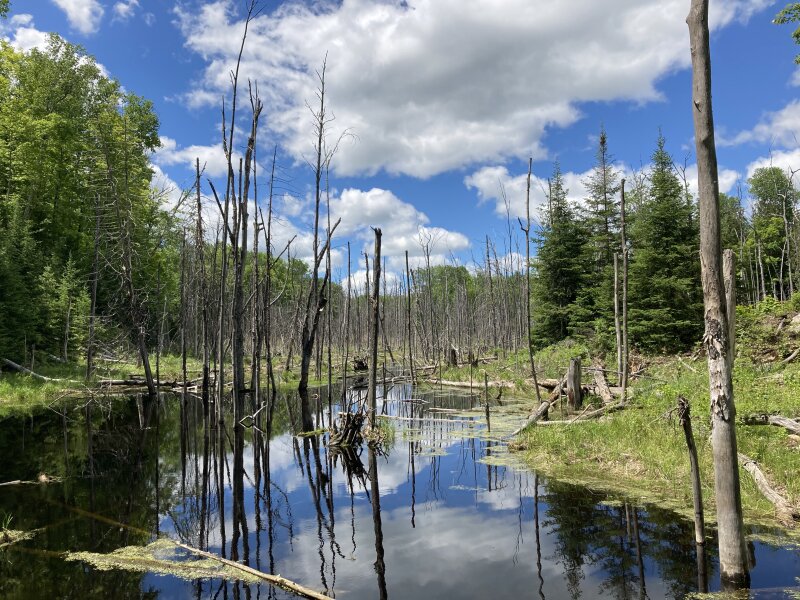
In the back acreage, on the other side of the road, there are several acres occupied by wetland that the local beavers flooded with a dam decades ago. The forest is primarily deciduous, and very diverse. Most commonly, Sugar & Red Maple, Black & White Ash, Poplar & Largetooth Aspen, American Basswood, Balsam Fir, White Spruce, Black Cherry, Red Oak, White Elm, White & Yellow Birch, and Ironwood. More on how I learned that another time. The area was selectively logged for more valuable, mature hardwood trees about 15-20 years ago, before the lots were severed off and sold.
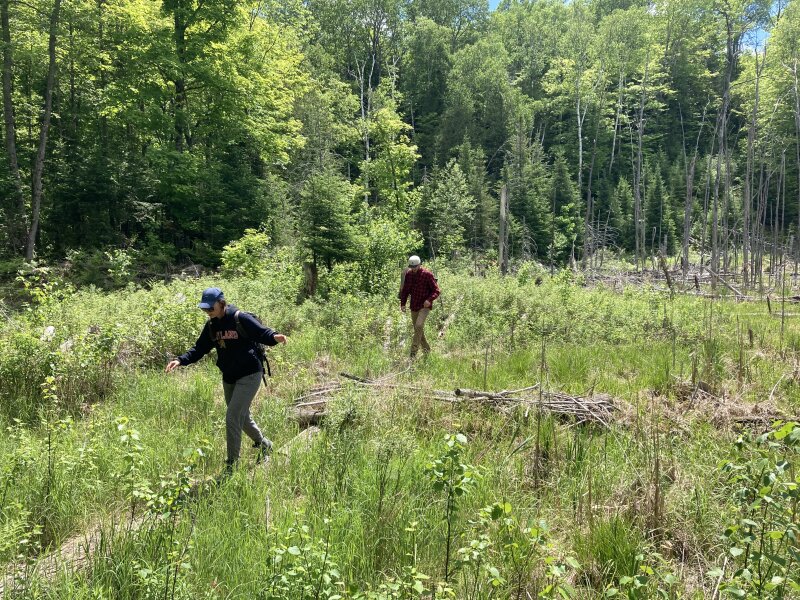
As I found the first time I tried to circumnavigate the property with a couple friends, the wetlands make hiking the property boundary quite difficult, and in fact walking from the lake to the back of the property is almost impossible without getting your feet wet. Fortunately, access is made easy to the back third of the property due to another right of way (purple on the map) that cuts directly through to provide access to some other properties. Additionally, a legal ATV allowance (blue) cuts from that road through the back of the lot to a hydro corridor. Besides these passages, the forest is wild, hilly, and can be challenging to traverse in places. Steep hills (think several minutes of grabbing and pulling on roots) cut through the land in multiple places.
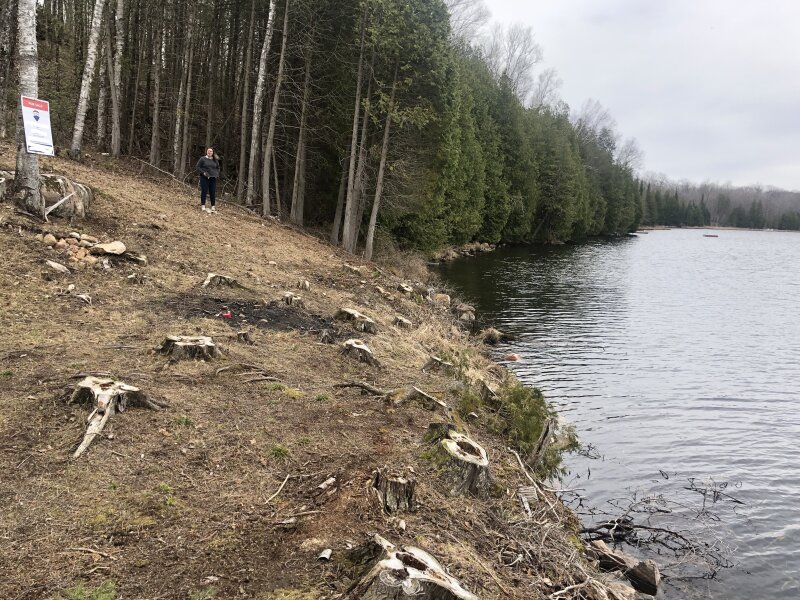
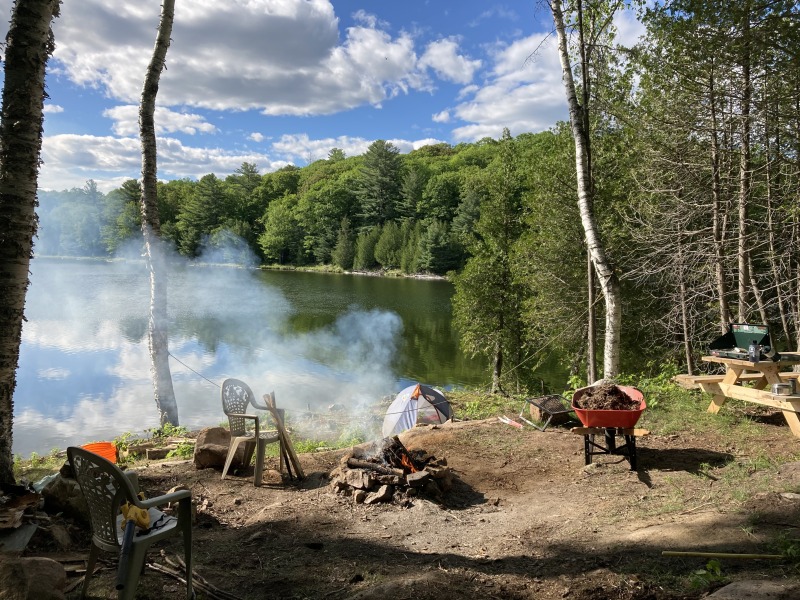
At the lakefront plateau, there’s a surprisingly good view. A past owner had clear cut the cedar trees along 100 feet of the shoreline, something you simply aren’t allowed to do even if you do own the Shore Road Allowance (I don’t). While I am no authority on the subject, I do know that shoreline ecology is sensitive, and often protected. This issue came up before purchase, and I had to confirm with every government body I could reach (not many, as you may recall, things were slightly out of sorts at the time) that the issue would not be pursued. It is my goal to re-plant and restore the ecosystem while attempting to maintain some of the view I’ve become accustomed to.
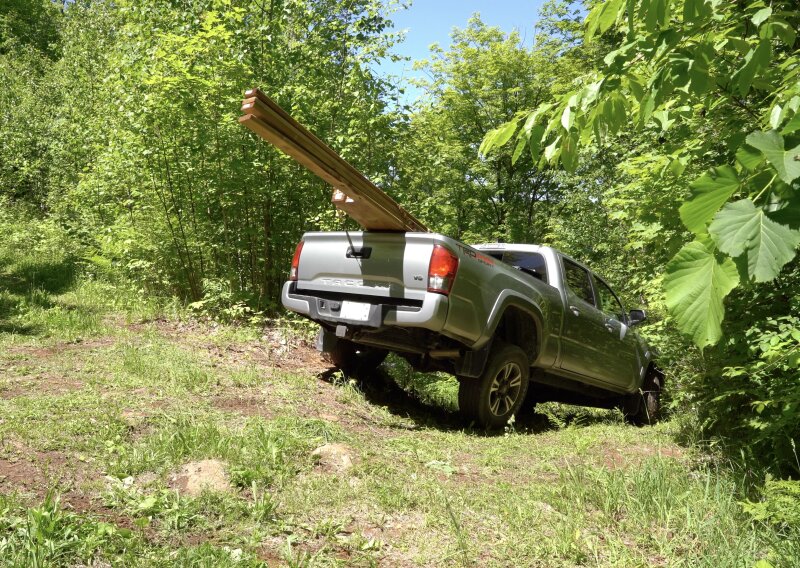
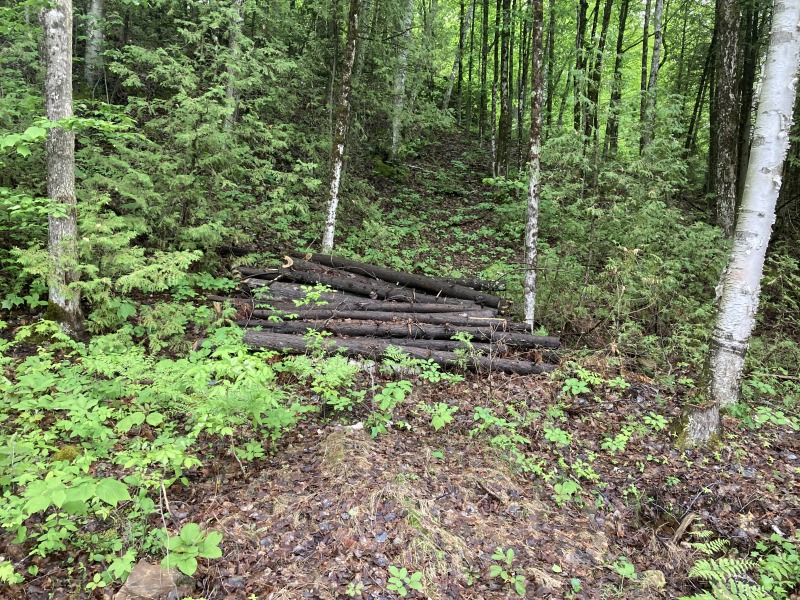
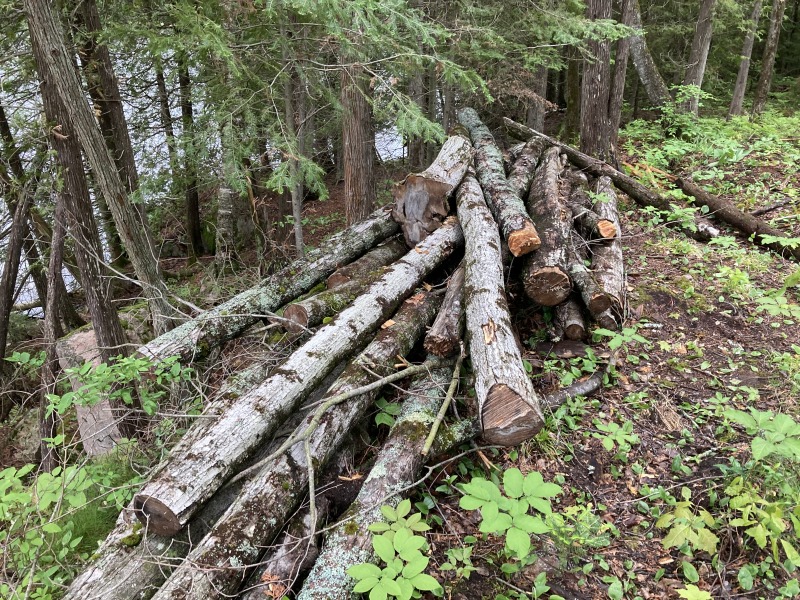
Confusingly, the trees that had been clear cut weren’t even put to use, they were in two neat piles on the plateau, divided into hardwood and softwoods. This created two immediate tasks. First, build a shelter to begin seasoning firewood in. I’m no firewood pro (what’s a firewood pro), but I know that split wood needs to air dry for a period before it burns well. Second, these wood piles were the obvious target for firewood, and I’d need to cut and split them. Yes, this was done with bow saws and the like for many centuries, but it is clear that eventually I’ll need to familiarize myself with a chainsaw… more on this later.
Making camp look less awful & breaking trail
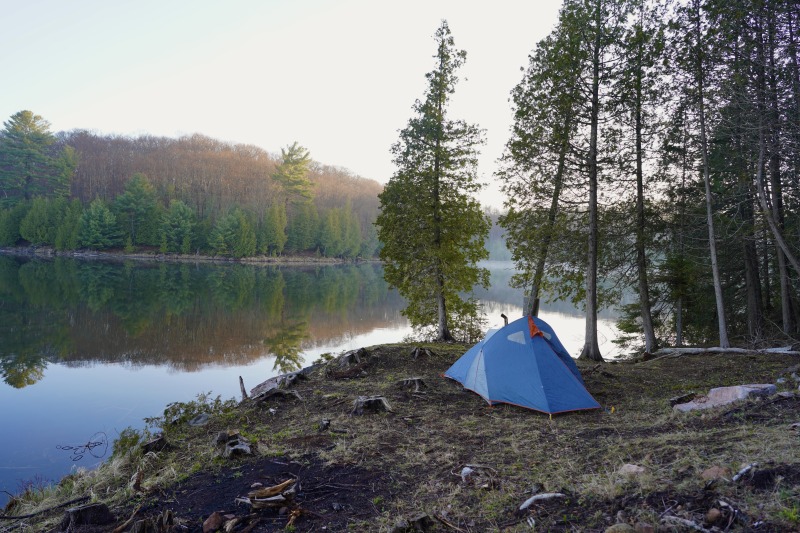
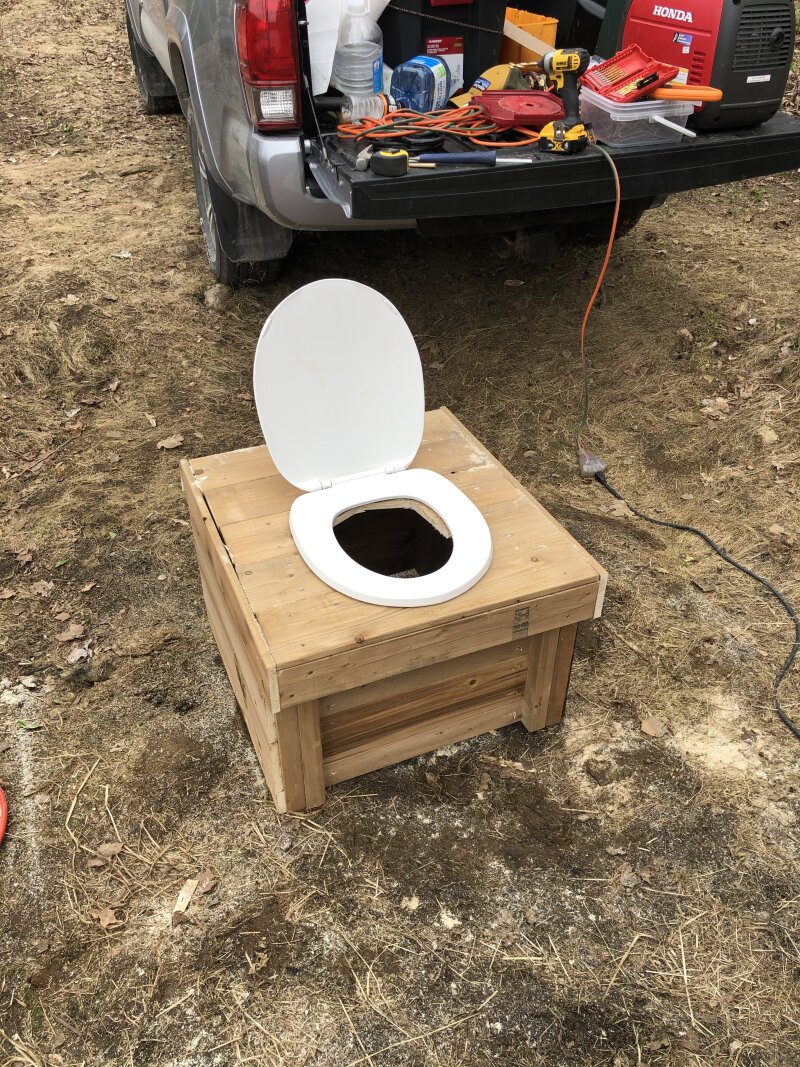
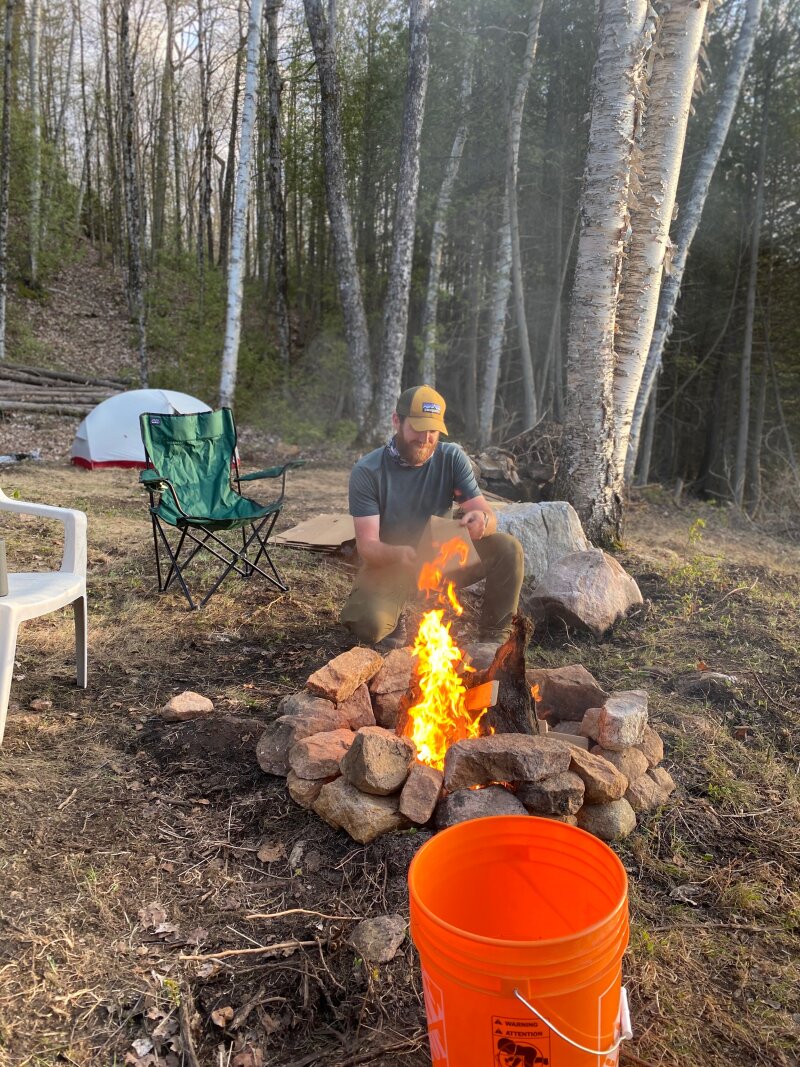
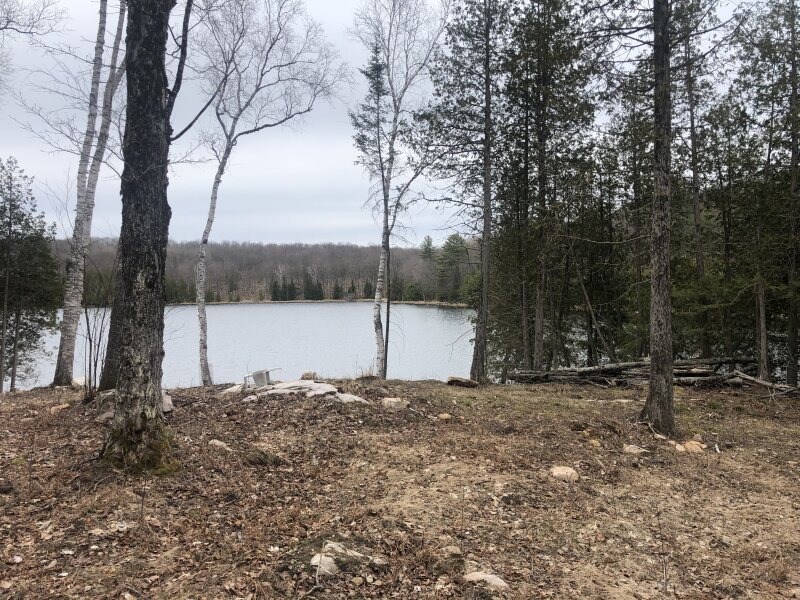
My larger tent (the beloved MEC Tarn 3, going on a decade old) went up on a nice flat pitch on the waterfront, where it would largely remain for several months. The first truck load up was full of wood scraps from my home workshop that I was excited to finally have an excuse to dispose of (fire!), an array of small tools, a Honda EU2200i generator, and camping gear. I’d started to run out of reasons to visit home improvement stores since buying my home a few years prior, it was nice to have a new set of problems sink my teeth into.
There was no shortage of help for this season; nobody had anything better to do (and I like to think this place has some appeal in its own right). The first couple weekends, it was all about improving tent pitches, raking up sticks and leaves to burn, pulling logs out of the water, and dealing with firewood. I was also eager to start establishing a small network of trails so I could have a walking loop all of my own to walk, pensively, with a coffee.
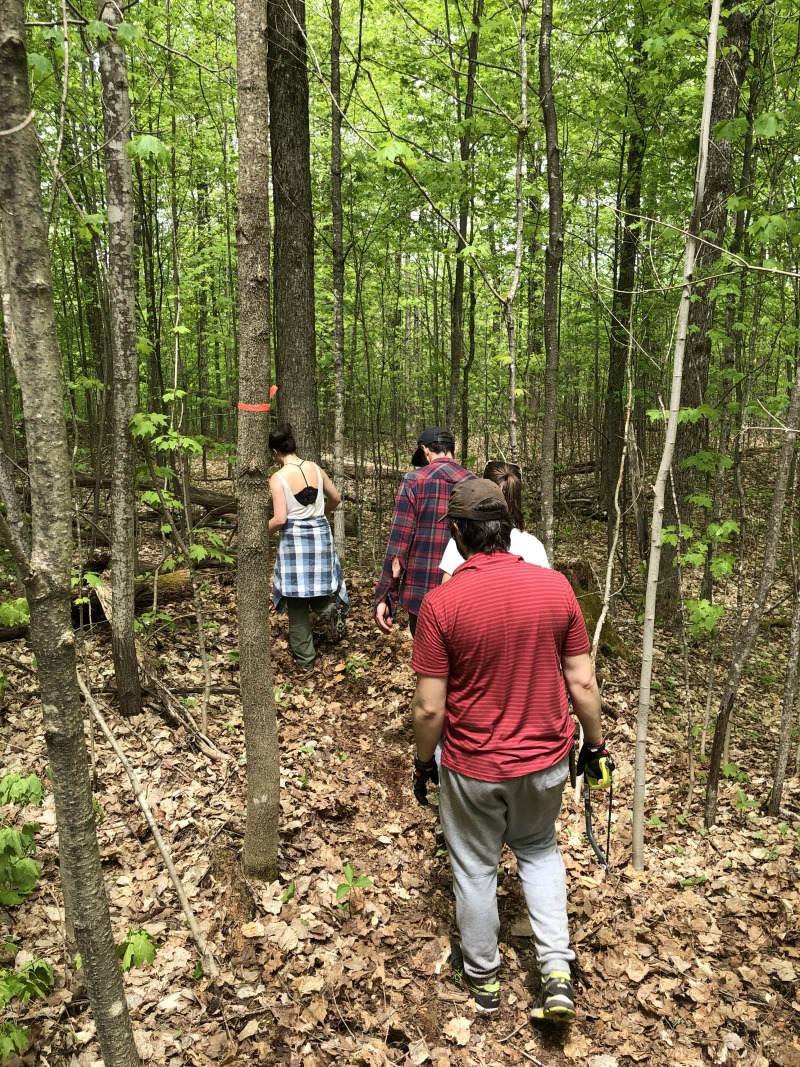
My first work party friend group helped to cut a trail in one place where a trail obviously made sense by simply looking at the property map. I haven’t seen the vast majority of the property by this point, that would take some time, but a connecting path between the main access road and the right of way cutting through the back half of the property would cut a corner and be a good opportunity to practice trail cutting. On the map at the start of the post, this trail connects where the yellow road almost touches my property boundary to a point on the purple road above. You need to keep a light jog for this “shortcut” to actually be quicker, but it has more nature, so.
The following week, some more friends braved the bugs to attempt a walk of the property perimeter where the “missing chunk” is, bottom left on the map. This was almost impossible to do accurately, the marsh is wet, deep, and filled with debris. We stayed within about 30 metres of the line, but this can’t reasonably be a walking route without a serious time and material investment in boardwalks.

Burning stuff
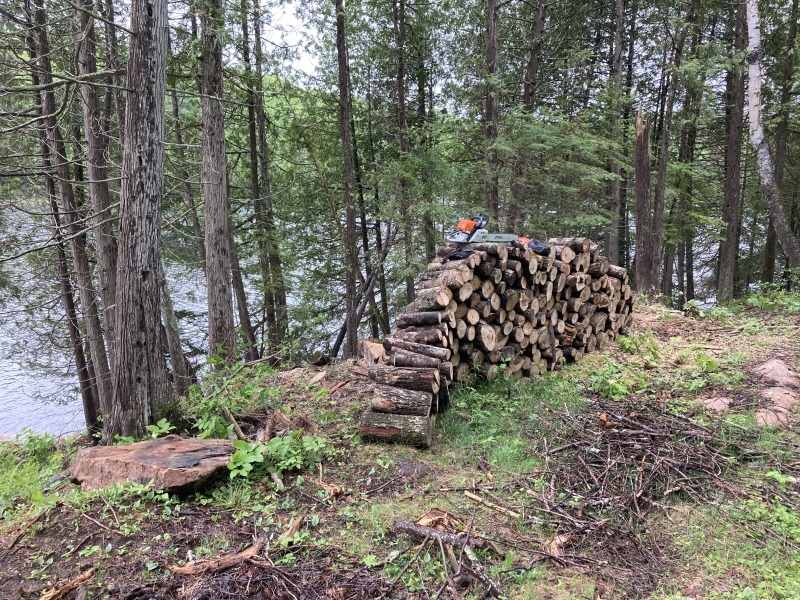
Okay, more “preparing stuff to burn.” Those big piles of logs needed to be processed and stacked so they wouldn’t rot, and could begin “seasoning.” Seasoning firewood is simply waiting 1-2 years (depending on the type of wood and its condition when you start) for the wood to dry out to a degree that will allow it to burn effectively. If you‘ve ever seen water boil out of the end of a bit of wood in a campfire, well, that wood wasn’t adequately seasoned. In Toronto, you’d call it “dry cured” and charge $9/piece.
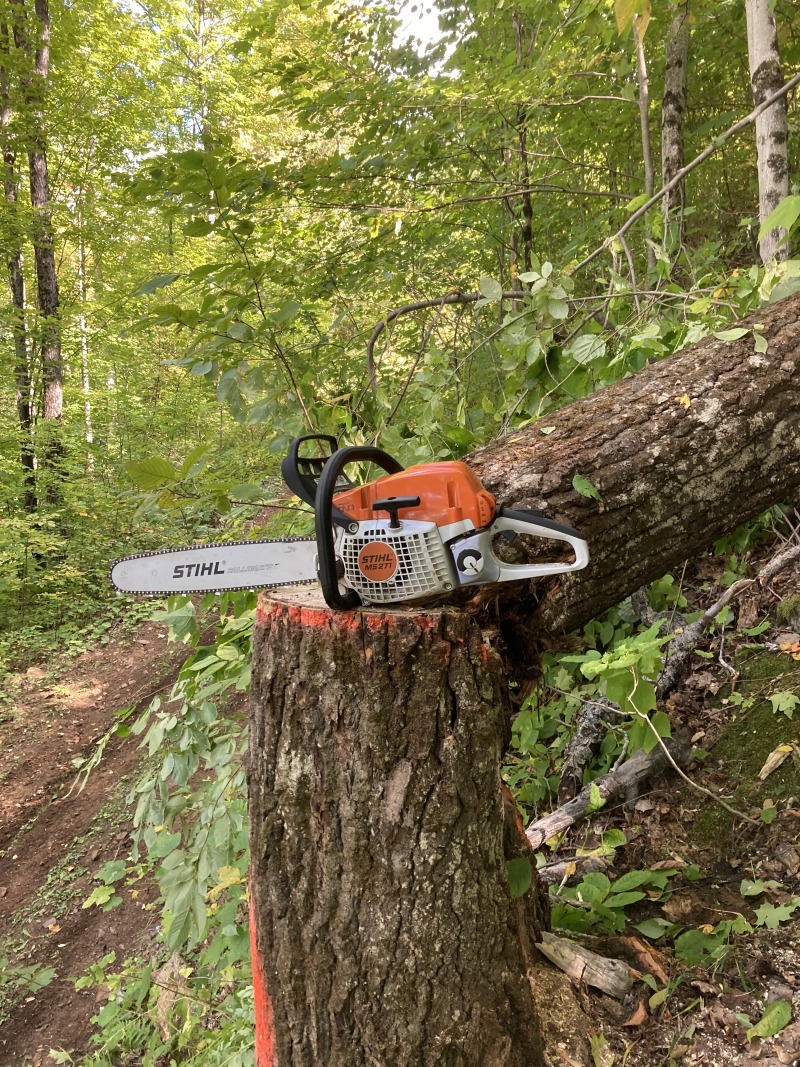
So, chainsaws. I hadn’t actually considered whether I’d need to get into this world. I own and enjoy using many power tools, including a table saw, commonly understood to be a dangerous tool without the right technique, care, and understanding, but chainsaws are next-level intimidating. Rightfully so, they command the same respect a table saw does in much more variable environments, and possible injuries are upgraded from fingers to limbs.
To make a long story short, I leaned hard on my friend Geoff for this, who as I understand it, was born wearing chainsaw chaps. I wouldn’t trust anyone else to give me the right education and I’m thankful I had the right mentor. He hooked me up with a Stihl MS271, all of the PPE (personal protective equipment), and a cool non-protective hat. We spent a couple hours in his forest going over fundamentals, and I asked “how do people leak red juice doing this part” 35 times (short answer: stand on solid ground before you run the chain, use the chain brake, don’t use the top of the bar nose, keep your chain sharp).
Back at camp, I spent some time every day processing those piles of logs into rounds, ready to be split into firewood. I’m still no good at measuring firewood in cords, but when every scrap of it has been split it was probably in the range of 1-2 bush cords. Oh, yeah–
- Cord (a.k.a. face cord): 4 feet tall by 8 feet wide by 16 inches deep
- Bush cord (a.k.a. full cord): same but 4 feet deep
- Apparently, a face cord can also be called a “rick”, but I might be being pranked.
Storage (and the very first build!)
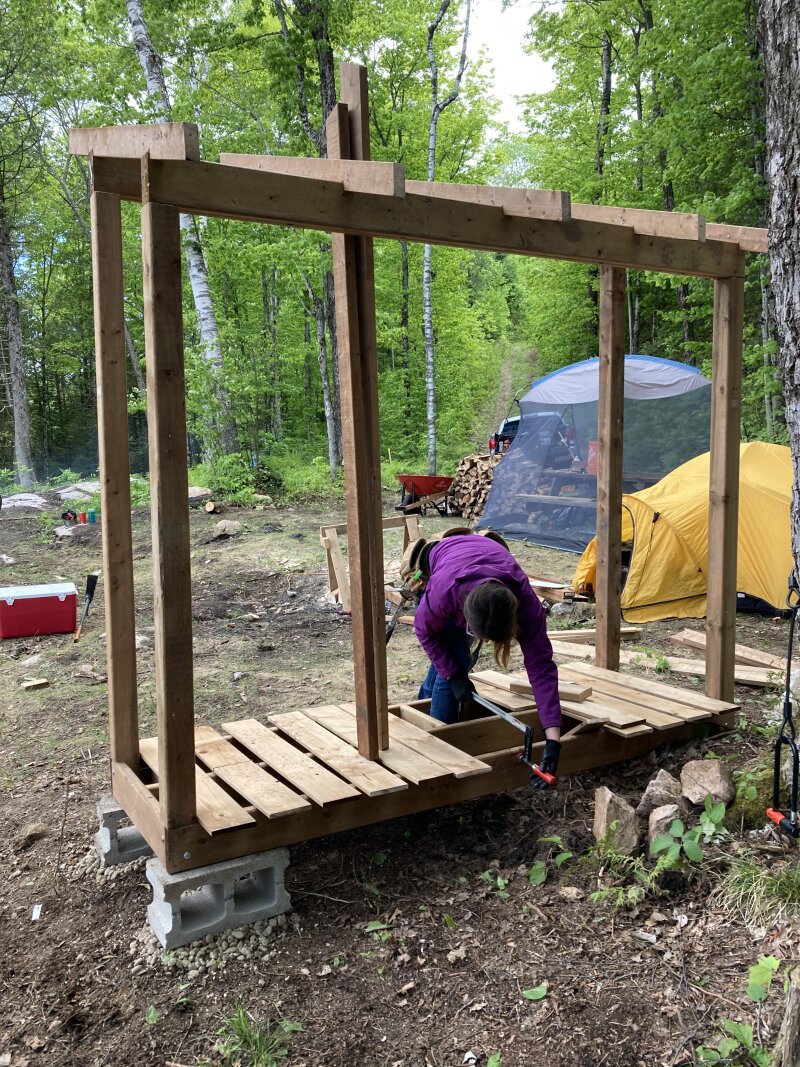
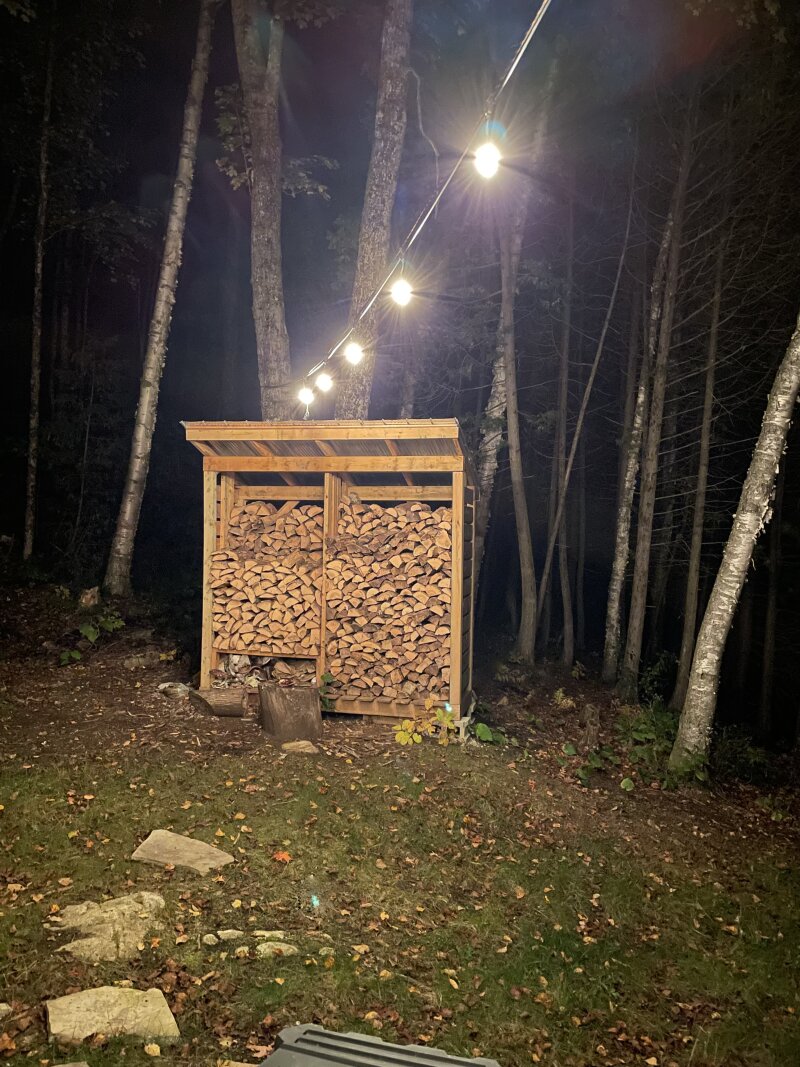
Splitting was all by hand (not always mine) with 6lb and 4lb mauls. In need of somewhere to stack it all, I did what I often do: browse Google Images until I see a picture of something that makes sense, make a solid guess at how it could be constructed, and then attempt that. In this case, I enlisted my friend Nicole, who actually knows what she’s doing (this is a gross understatement). We (largely she) decided on a rough approach and build a shed capable of holding close to a bush cord, when stacked full. I used some leftover steel roof sheets and strapping to finish it off, no need to note that it had a rotten sheet of plywood on it for a year.
This was a simple project, but it has filled its needs very nicely. If I were to build it again, here’s what I would repeat:
- Two sides with a divider. If wood is going in the shed wet or not quite dry, there needs to be a seasoned (or more seasoned) side and a work-in-progress side. When one side empties, begin using the other side. The only frustration I find is not being able to keep the shed full at all times.
- Two stacks deep. One stack is unstable, three leaves wood in the middle with minimal airflow. Two is stable and gives the greatest seasoning speed.
- Open front & rear. This may be obvious, but the more airflow the better. If the structure can be in a sunny spot, even better.
- Wide floor gaps for stuff to fall through. This was a happy mistake; I didn’t have enough boards left to finish the flow, so I spaced them generously. This means there’s no buildup of bark, dirt, and mouse shit.
- This was a later addition, but kindling storage is key. I added mine below one of the front stacks of wood, but since kindling is lighter, next time I’d put it up high.
That’s enough
So, it was a struggle deciding what to include here. This post will probably be longer than average, and future posts should focus on fewer items. Who knows. Thanks for reading, anyway!
More photos