Liquid Gold
Spring, summer, and fall are full of activities. Winter offers its own special brand of fun. March… March. March is still cold, but also wet. There’s snow, but not the right kind of snow to play in. Everything is wet and muddy, but days are getting longer.
It occurred to me one February that I have maple trees all over the place. I don’t really know how many or exactly which ones are definitely maples, or even what kind of maple they are, but they’re there and they’re certainly substantial in size.
Maples make maple syrup. Turns out, this happens in March, in this area. So let’s begin, with minimal research and some loaner taps and buckets.
I have maples?
Since this “sugar season,” I’ve spent enough time looking at maple trees to be able to identify them most of the time, even without leaves. When you’ve never had to do that before, however, it’s pretty challenging. There are several different appearances the bark can take on due to a number of factors. Leaves are by far the easiest way to identify species, and in winter, the best you can do is dig through the snow to find some leaves, and hope they’re from the tree you’re trying to identify. Some plant identification phone apps can help, but they don’t always get it right with a picture of the bark.
In my case, working backwards helps: I find it easier to identify basswood, birch, ironwood, poplar, ash, and oak. If it’s none of those, odds are it’s maple. I confirmed with several leaves hidden under the snow which species of maple was predominant and, good news: they’re sugar maples (also called hard maples). All maple trees produce sap that can be made into syrup, but sugar maple is the least diluted.
Very quick syrup lesson
- Sap flows when nights are below freezing and days are above freezing, broadly speaking.
- That sap, assuming from a sugar maple, is about 40:1 water to sugar (more specifically, the specific sugar concentration desired for maple syrup).
I’ll give you pretty much all of the knowledge I had going in. You turn sap into syrup by making the water go away in the form of steam. At a constant boil, the water evaporates and the sugar does not, and if you know when to stop, you’re left with syrup. When you filter that reduced product adequately, you stick it in a bottle and voilà, maple syrup. It isn’t rocket science, but as I would learn (and still am), you can make it very, very complicated if you want to. So, the process I was entering:
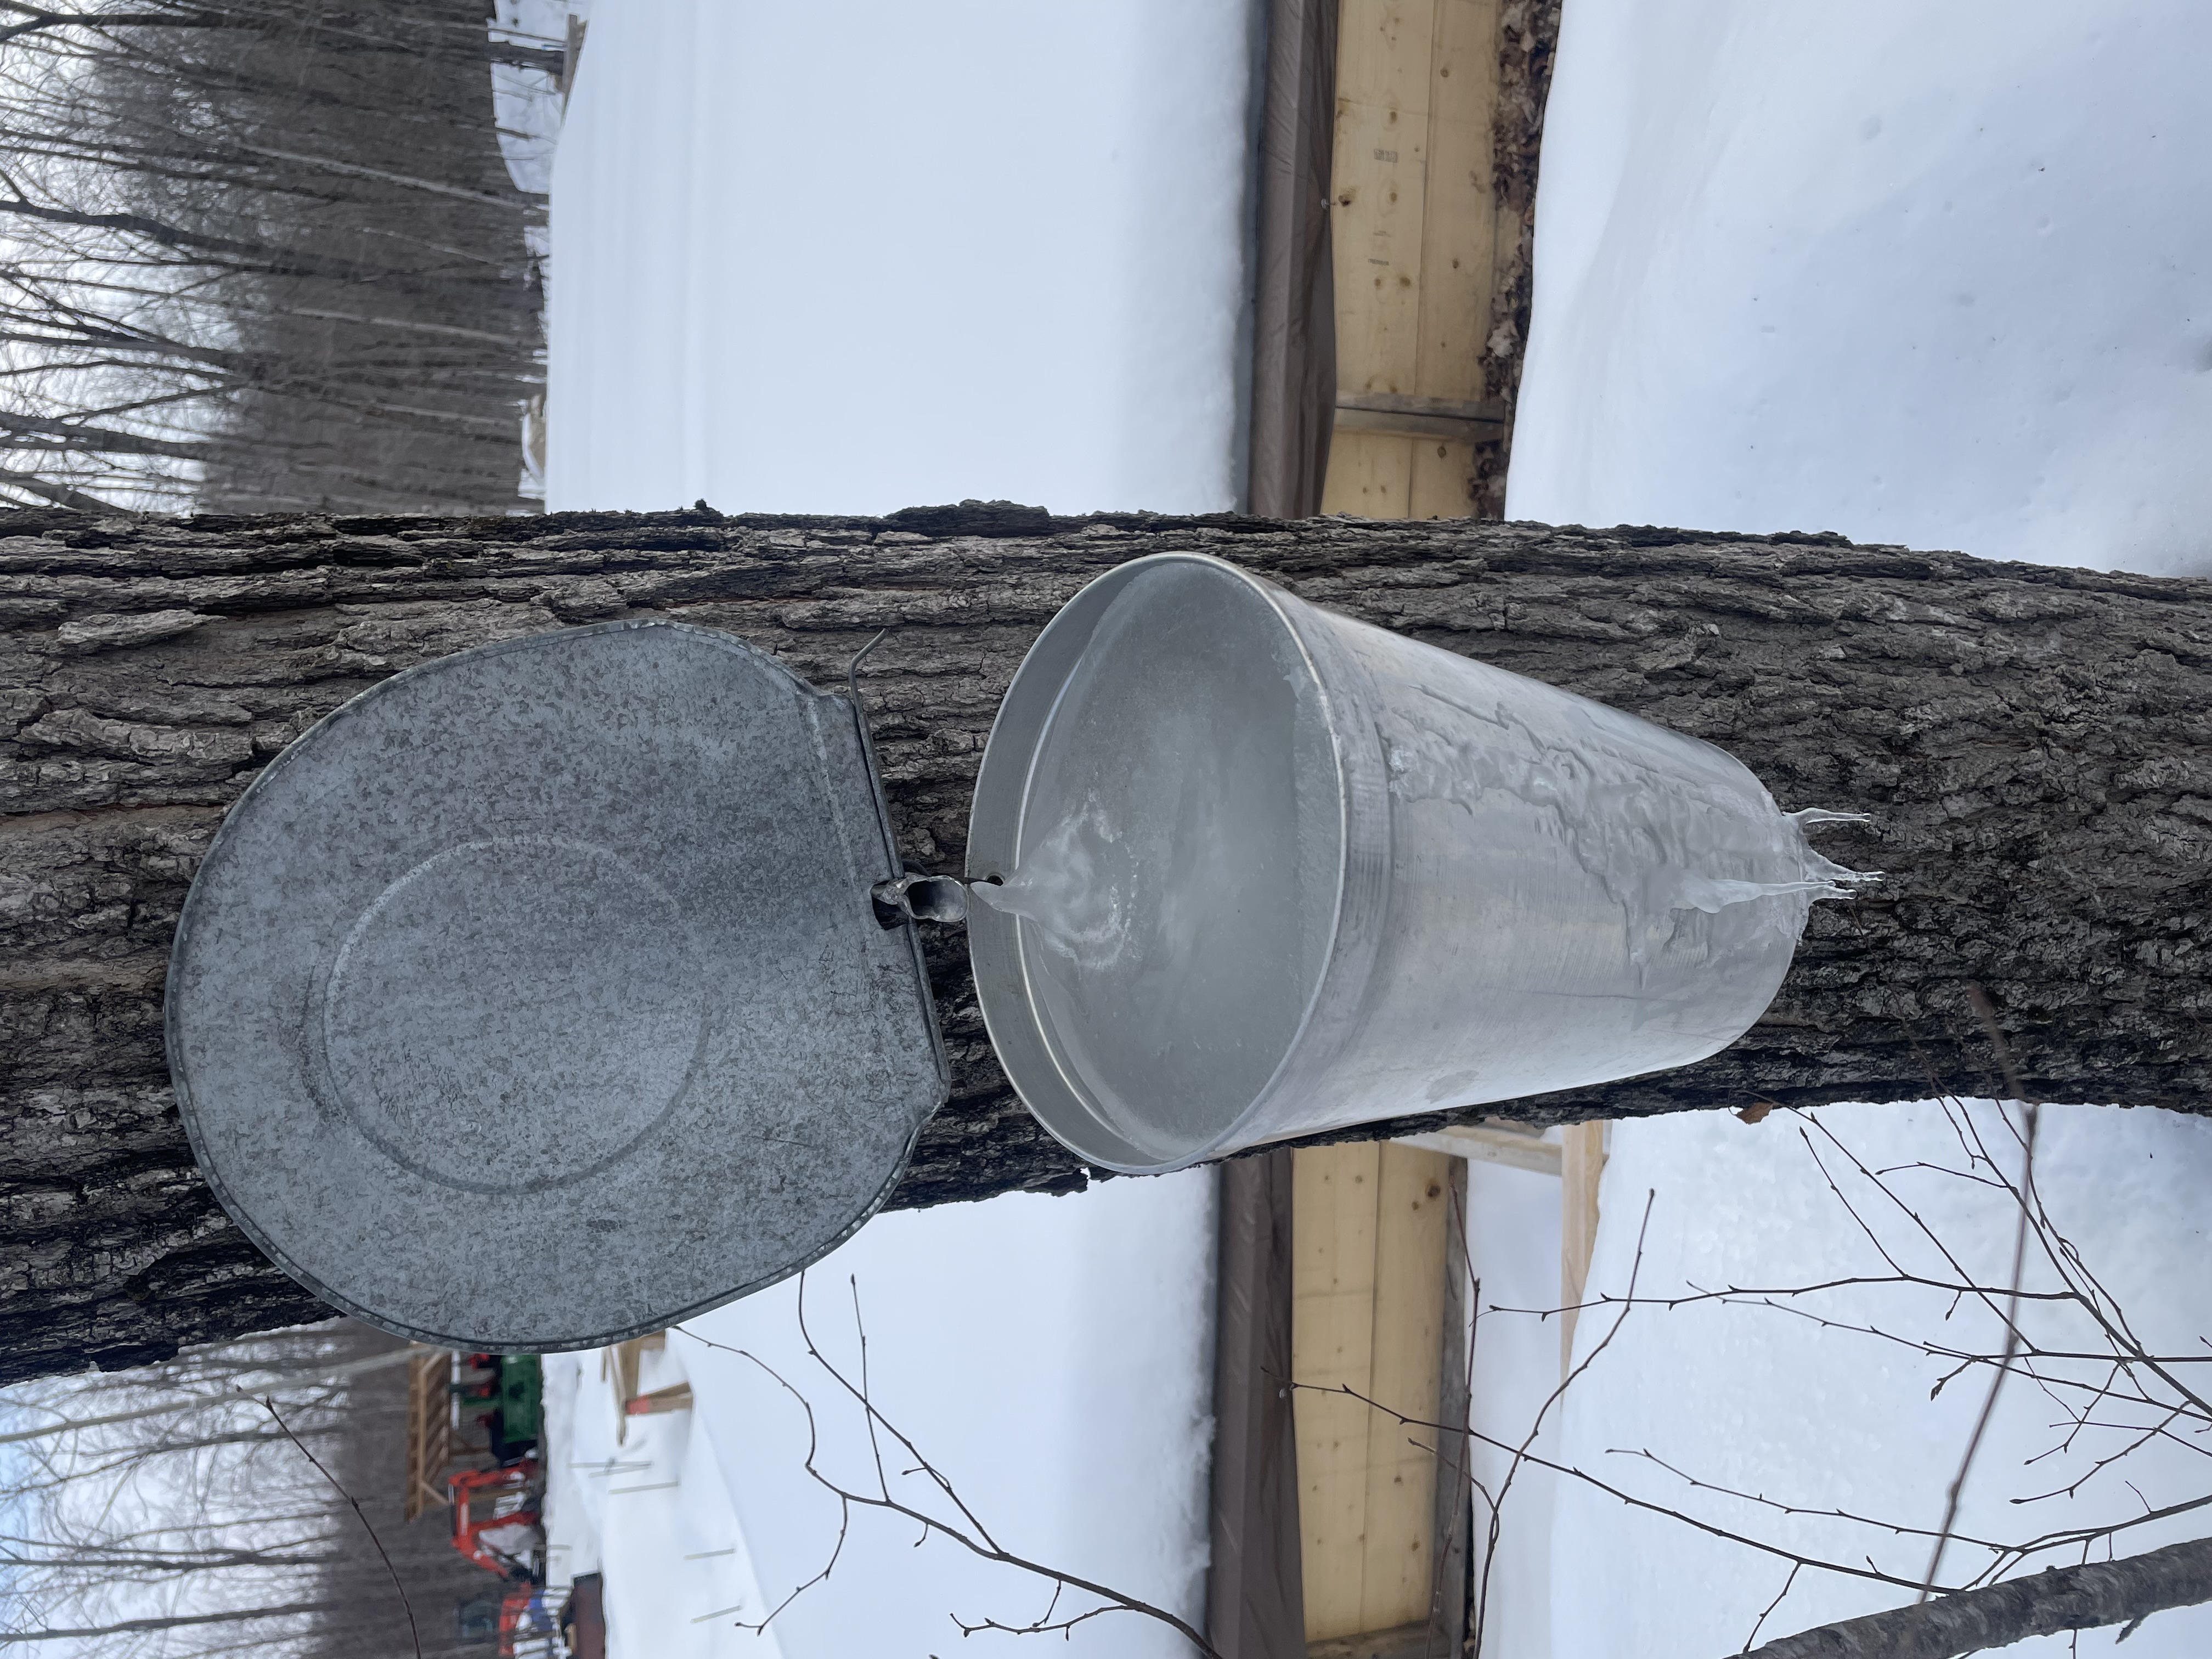
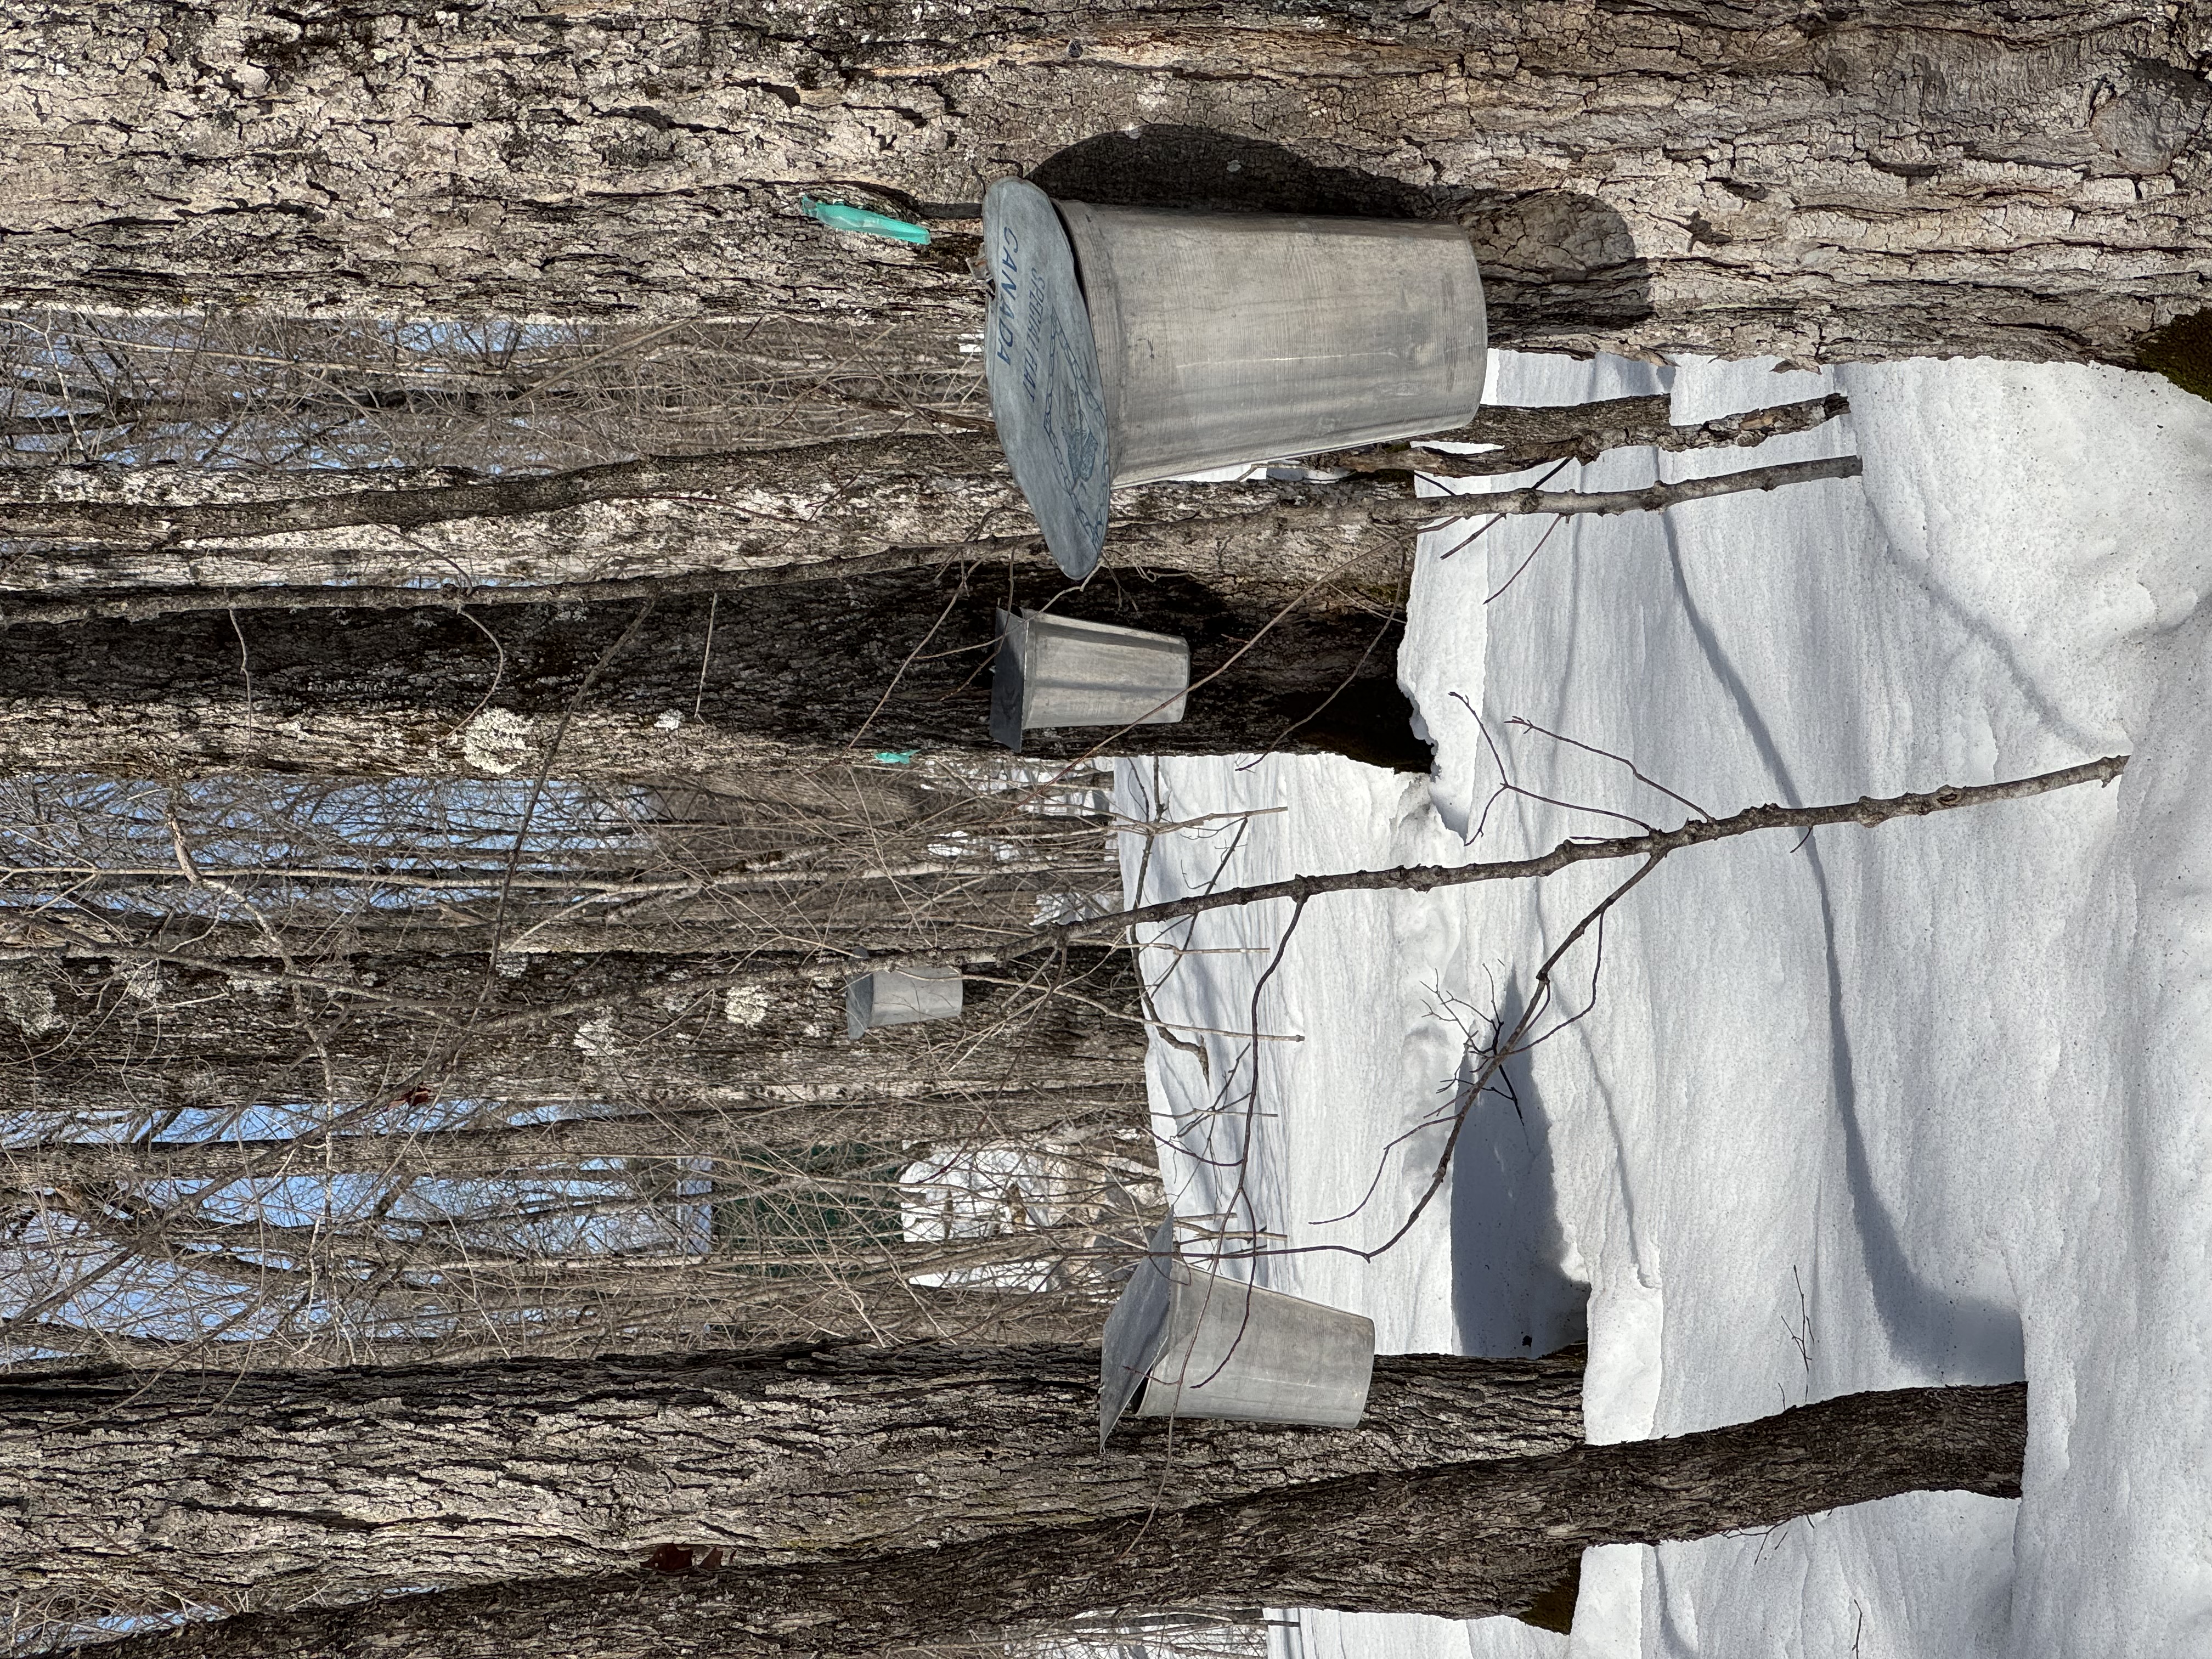
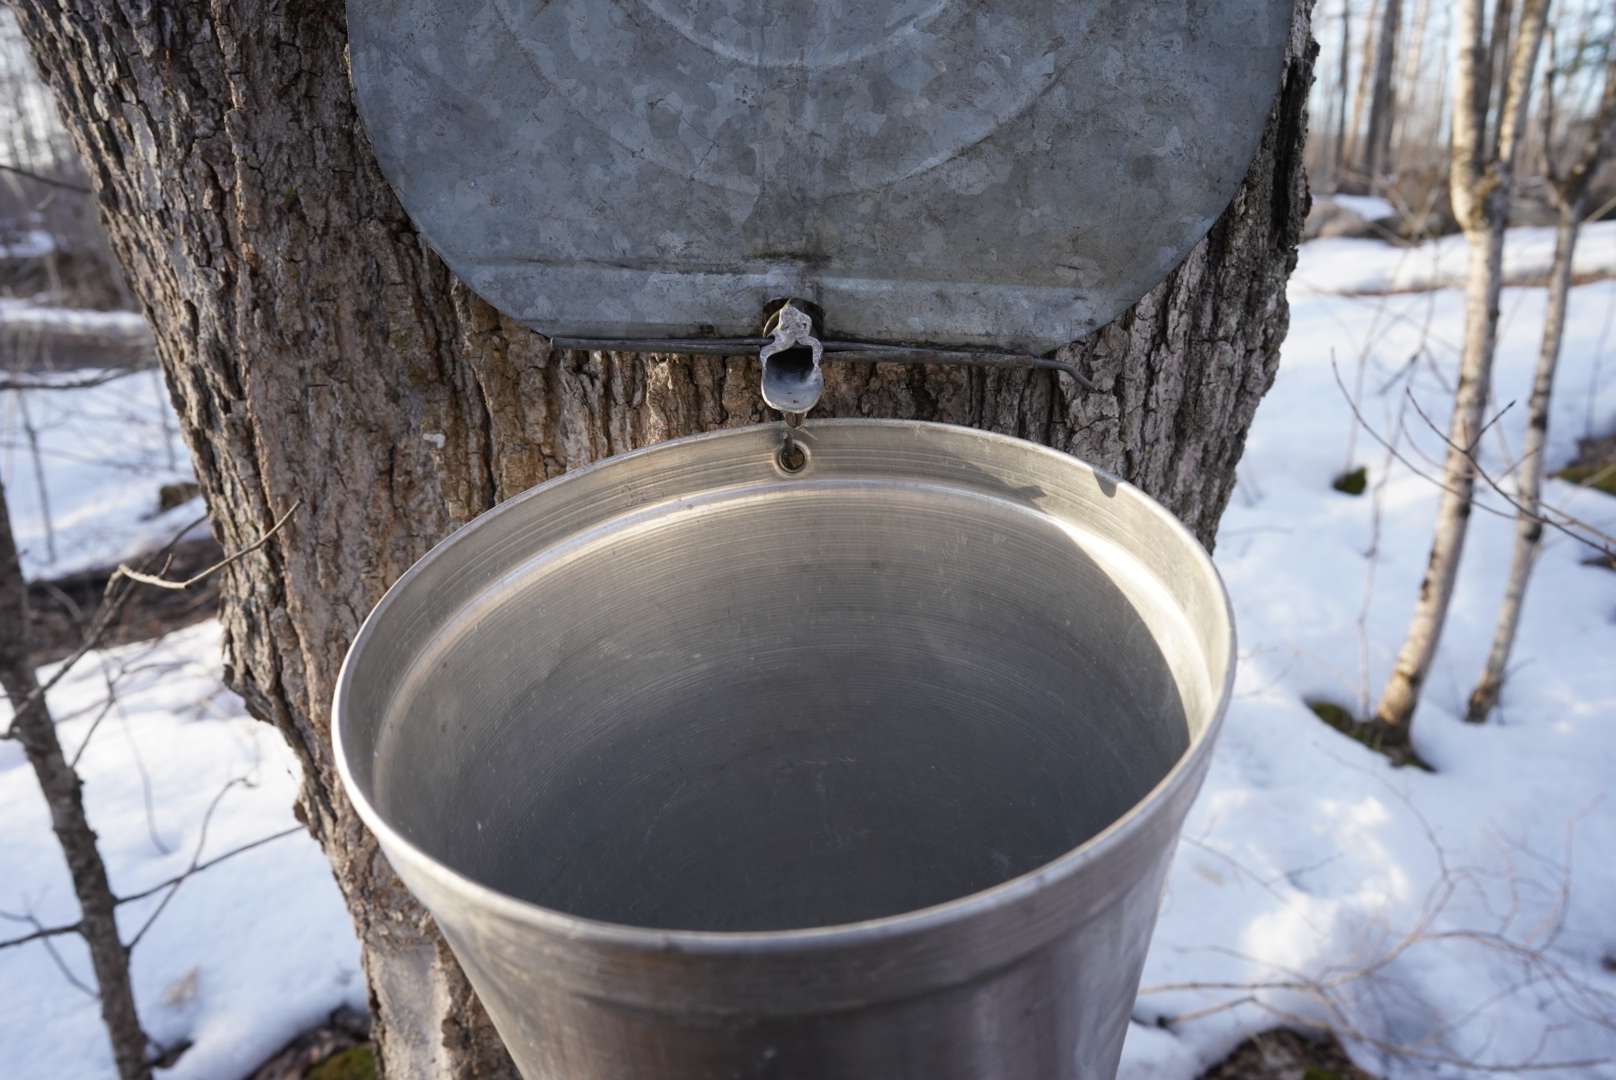
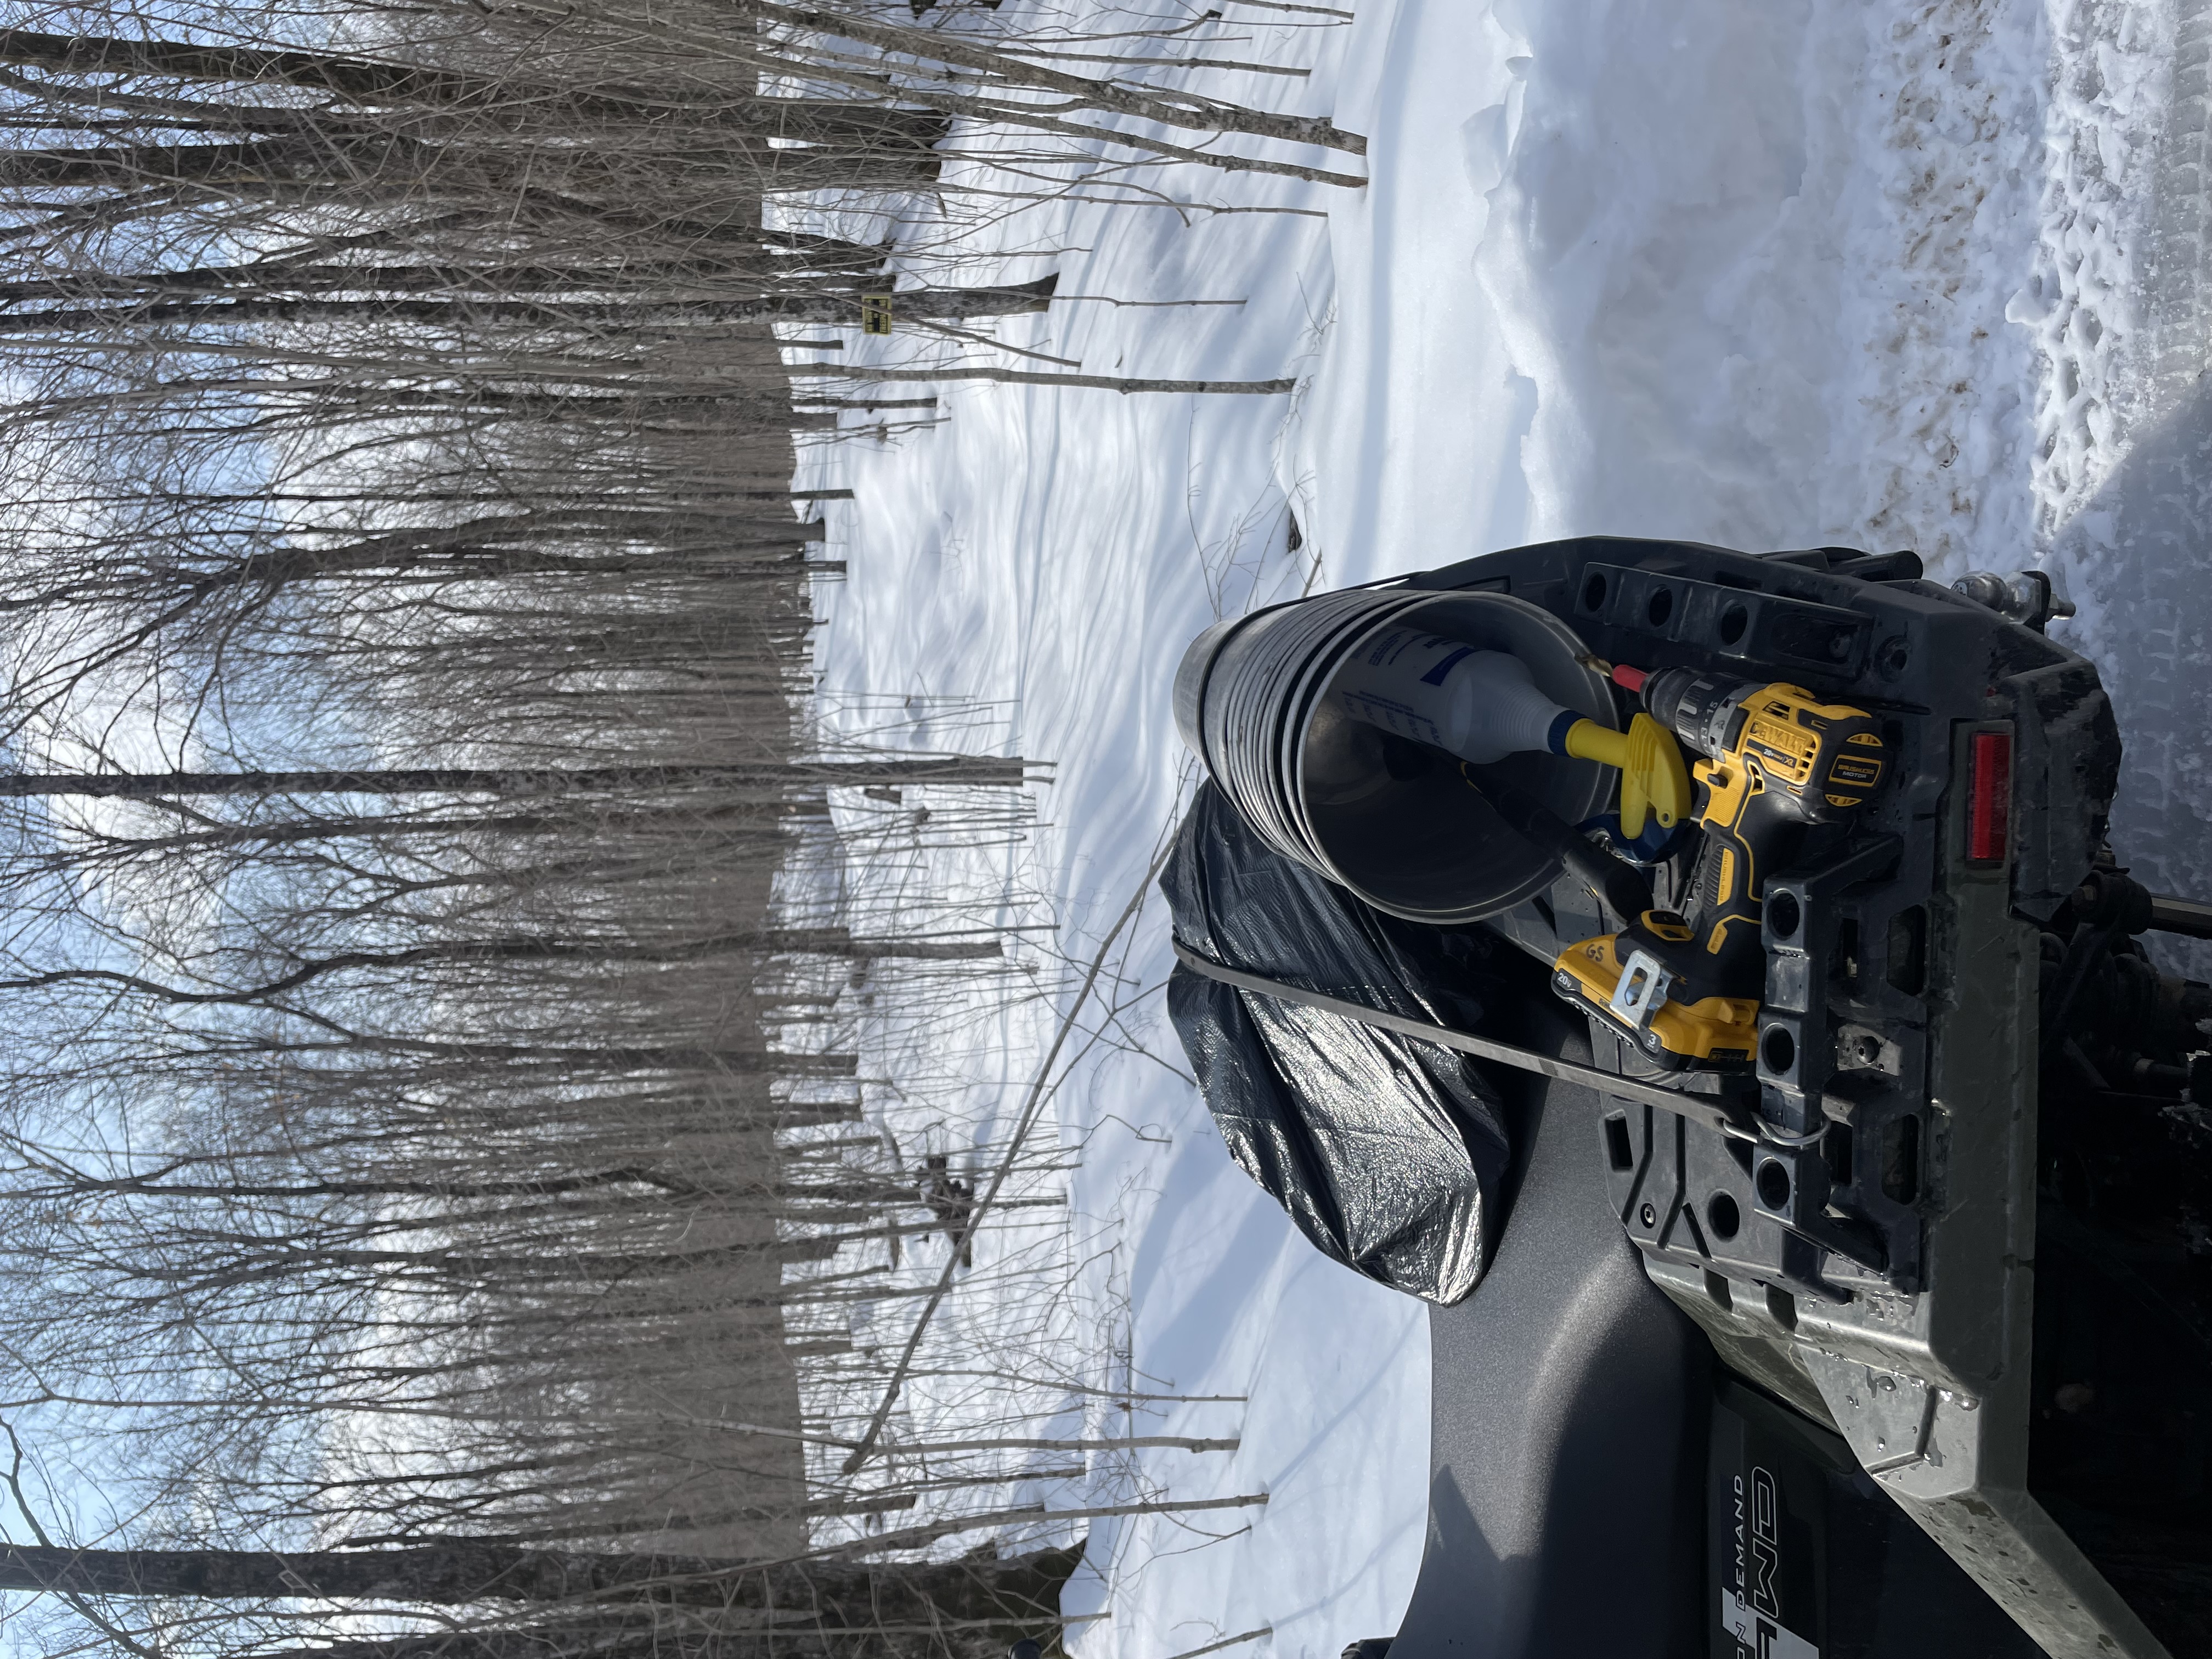
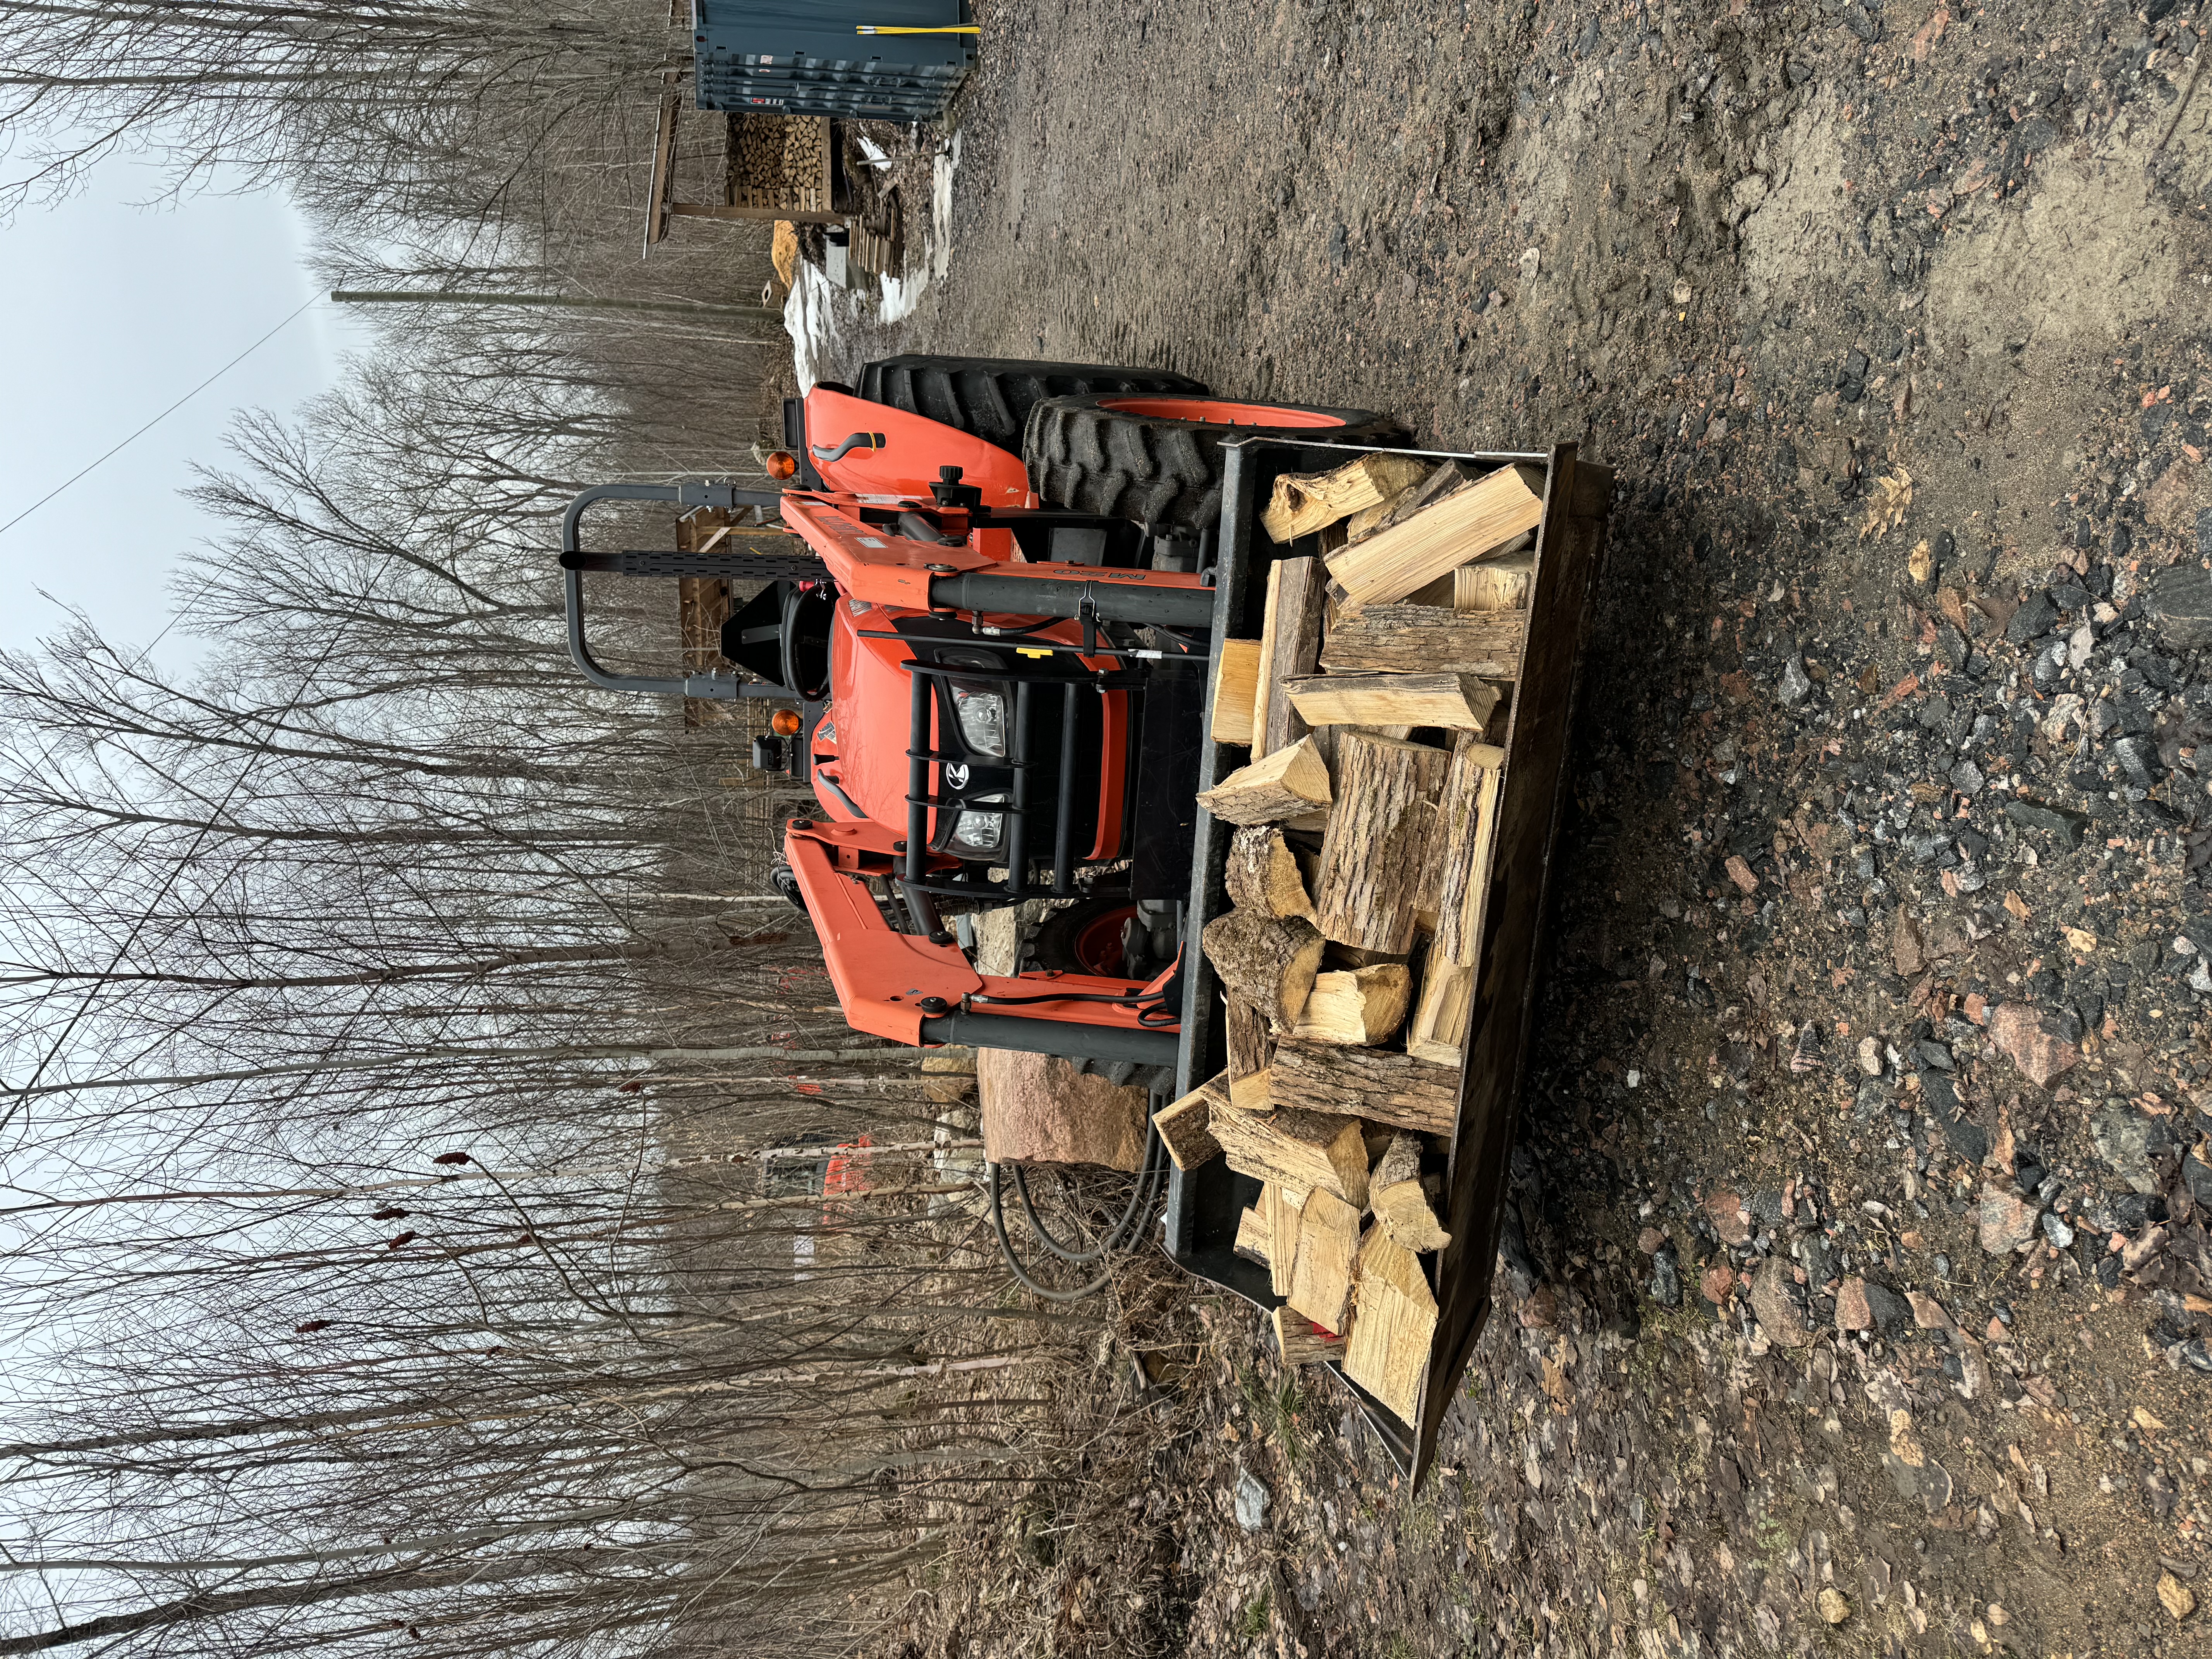
- Tap maple trees with a “spile”, a spout with a hollow cone that is inserted into a drilled hole in the tree (these holes heal themselves and aren’t harmful to the tree)
- Hang buckets and lids from the spiles to collect sap and prevent excessive rain, debris, or rodents from falling in
- Collect sap as it drips into the buckets
- Boil the sap for long enough to make it look like syrup
- Filter the boiled sap through… something to remove “sugar sand,” or niter, from the syrup, and bottle it
Simply apply heat


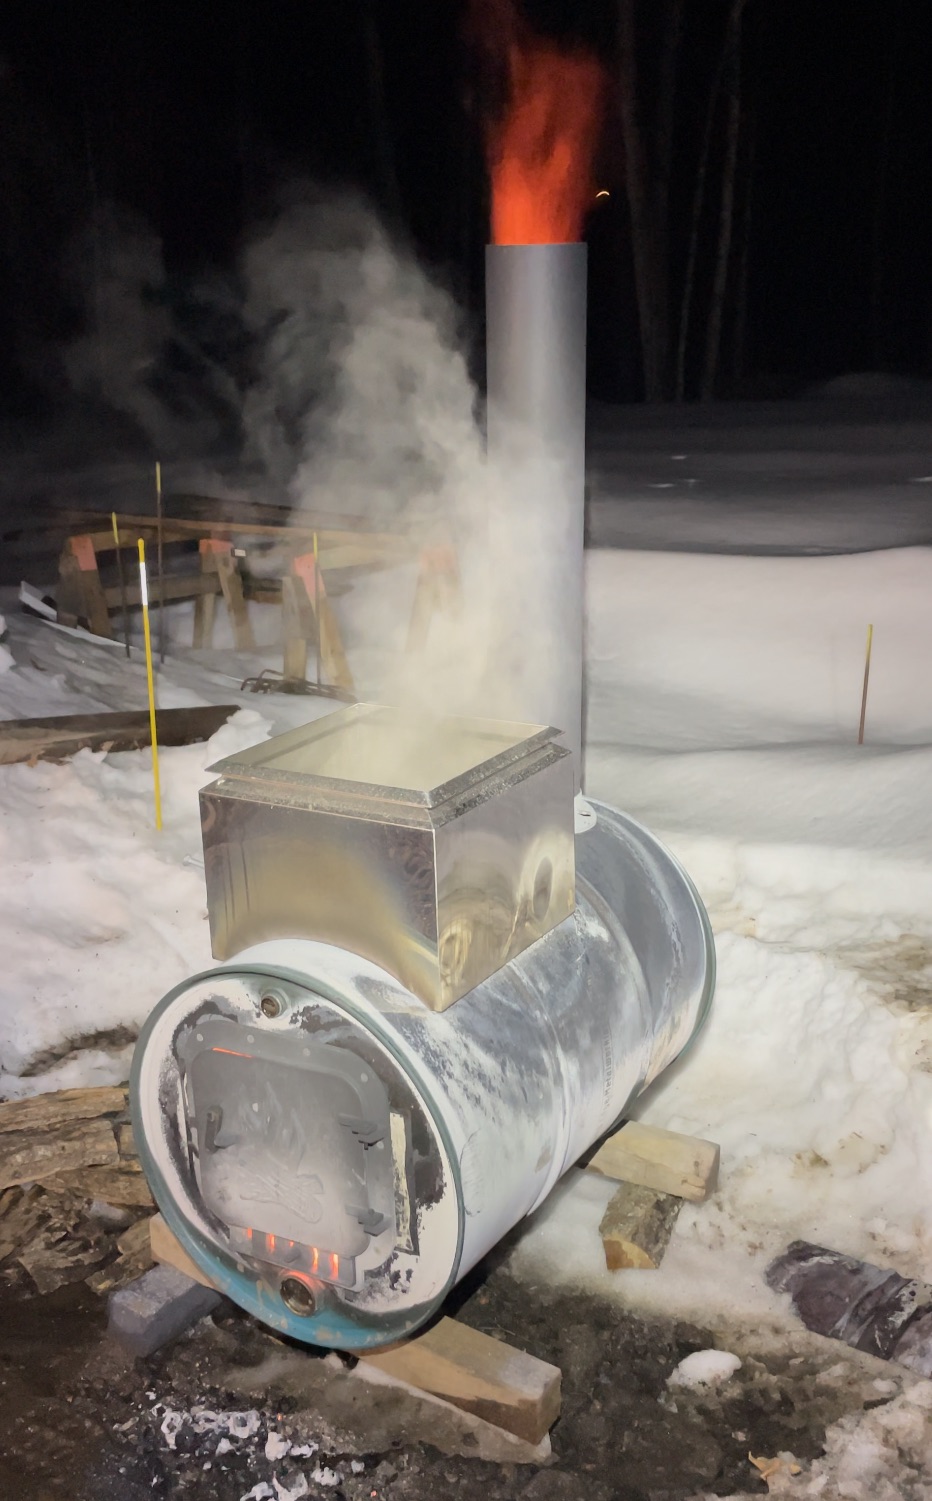
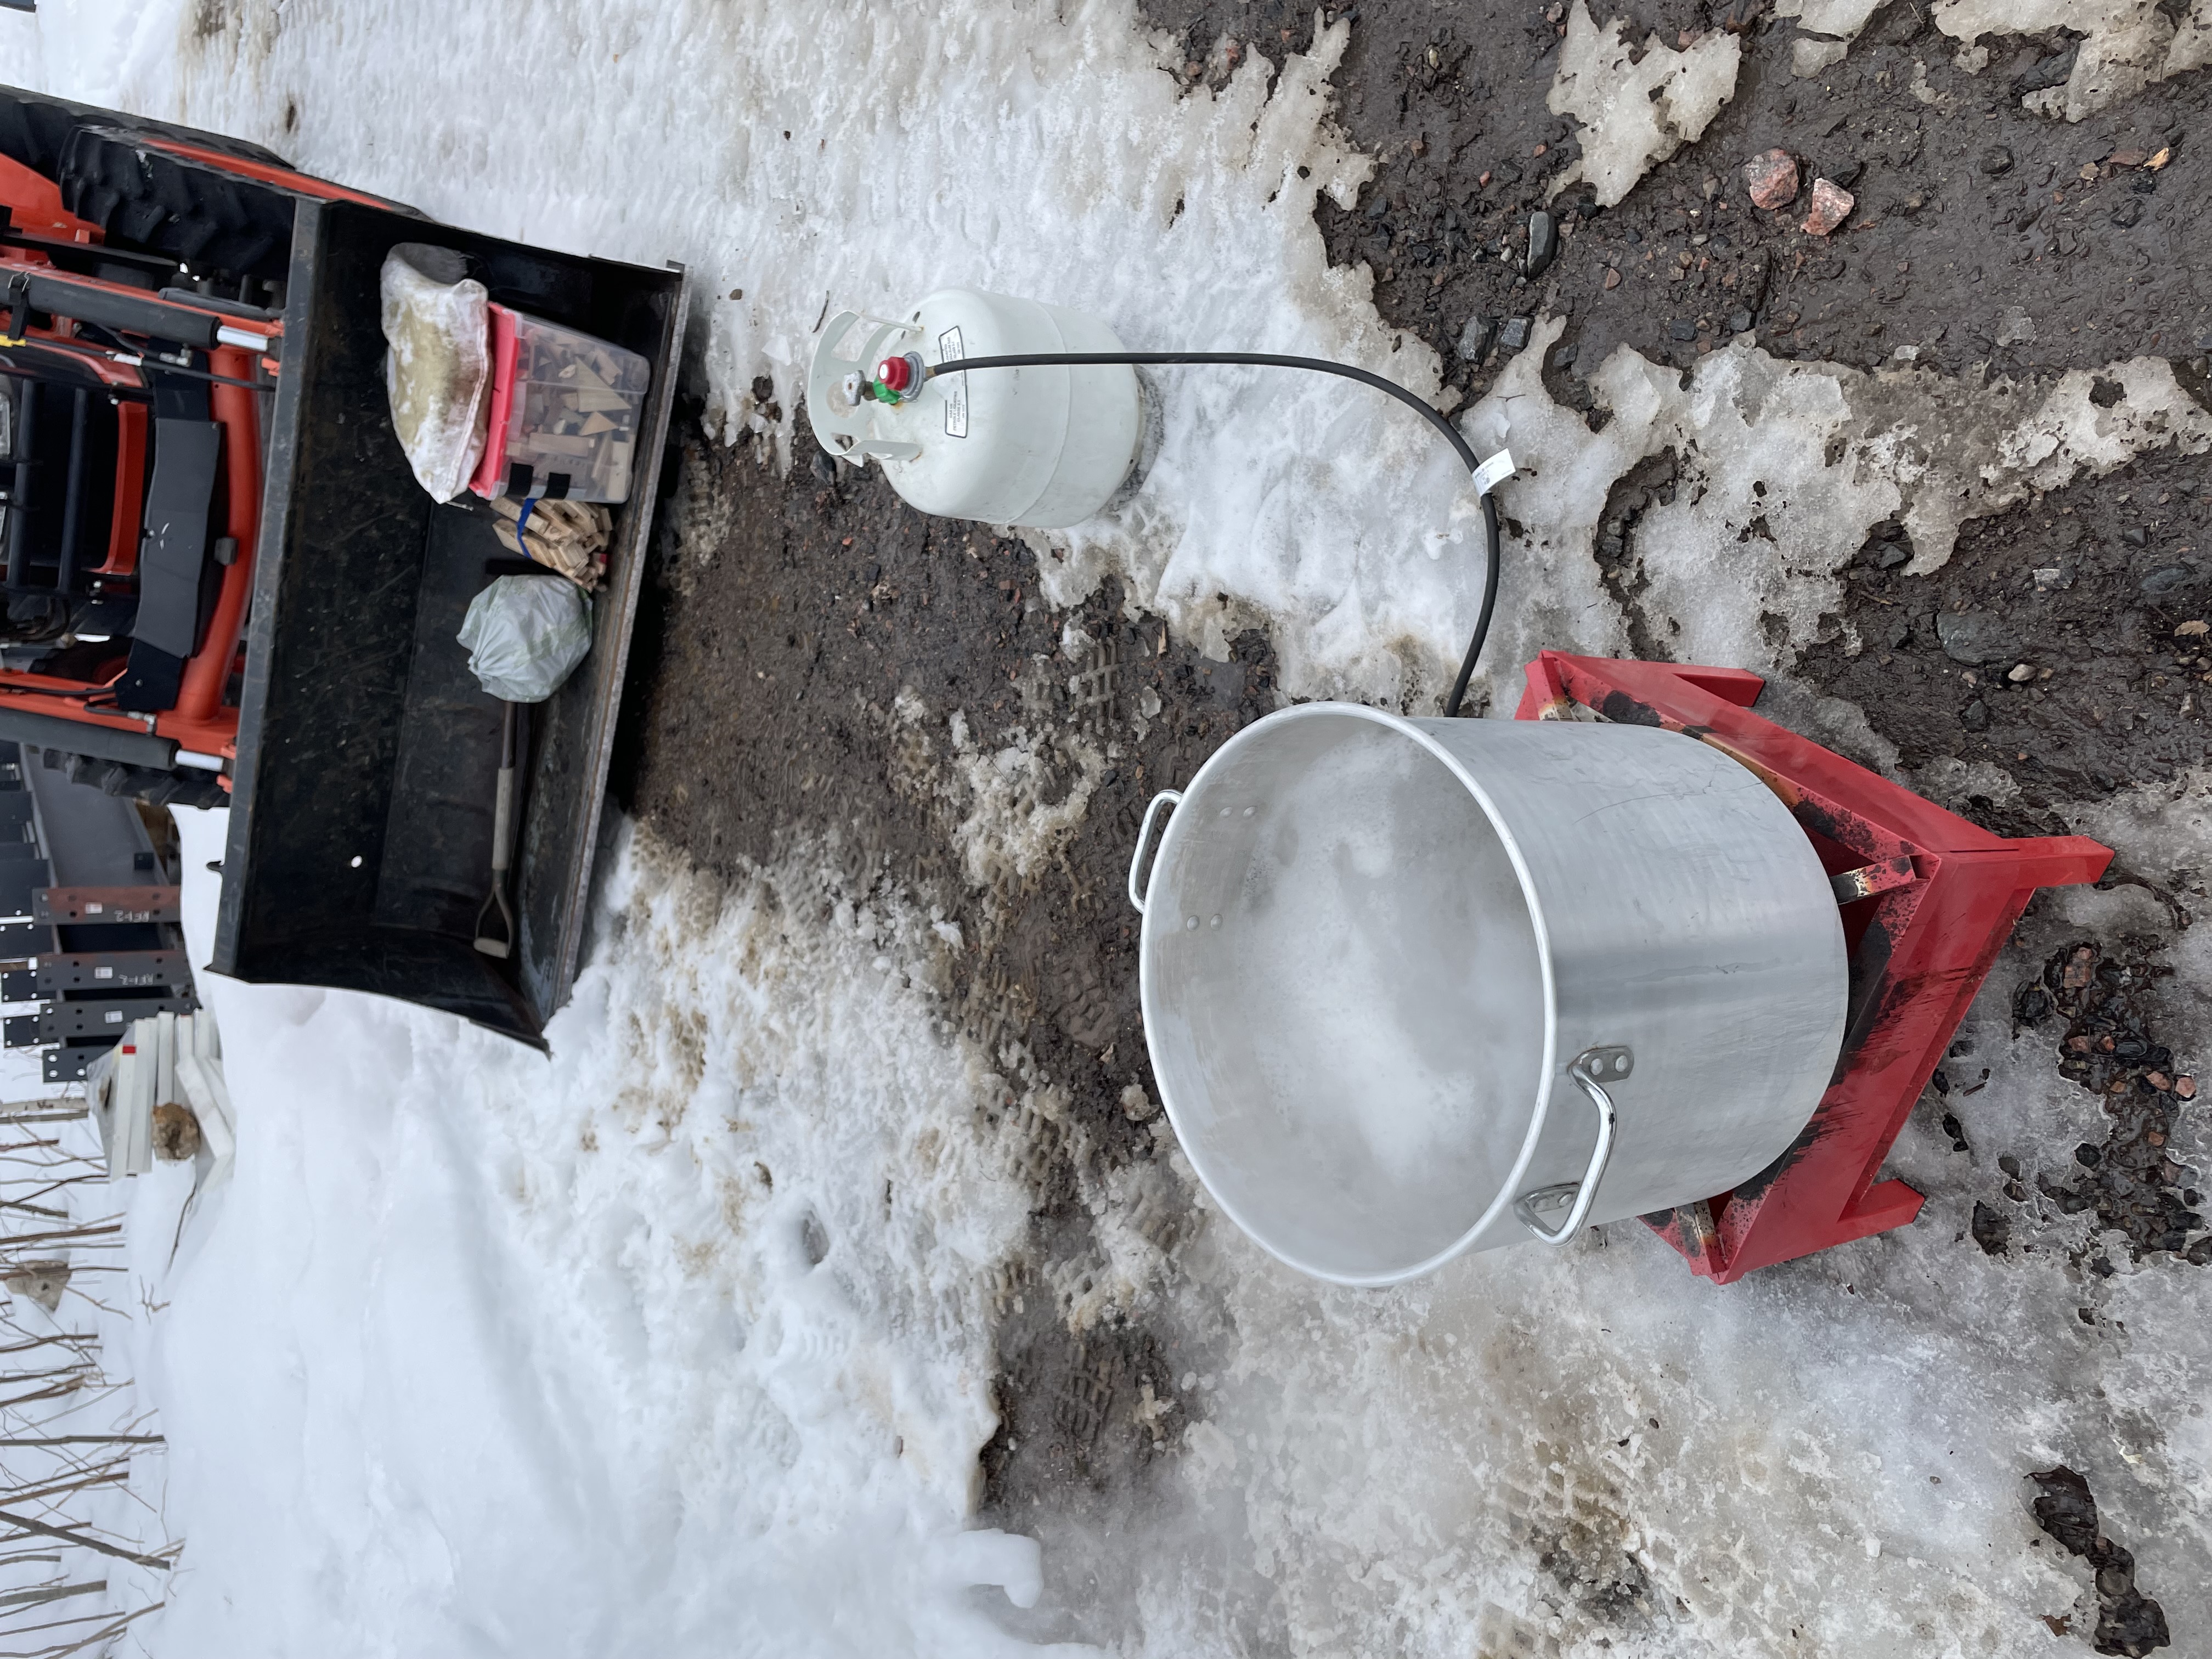
As usual, this was last minute the first year and I wanted to keep the cash investment low. The cheapest way to process sap is a pot on a stove top, but you don’t do that because the slightly sticky steam will ruin your house, and the gas or electricity will add up in cost. Wood being the cheaper fuel, you can create a brick structure outside and put a grill over it for a firewood evaporator, but a lot of heat will be lost. The lowest investment approach that’s at least somewhat efficient is called a barrel evaporator, usually made from a 55 gallon drum or an old oil tank.
I bought one of these locally plus a 16”x16” evaporating pan on Amazon. In lieu of fire brick, I dumped some sand into the bottom of the barrel to add some insulation, cut a hole exactly to the size of the pan (the less air leakage the better), and the evaporator was solved. For now.
Time
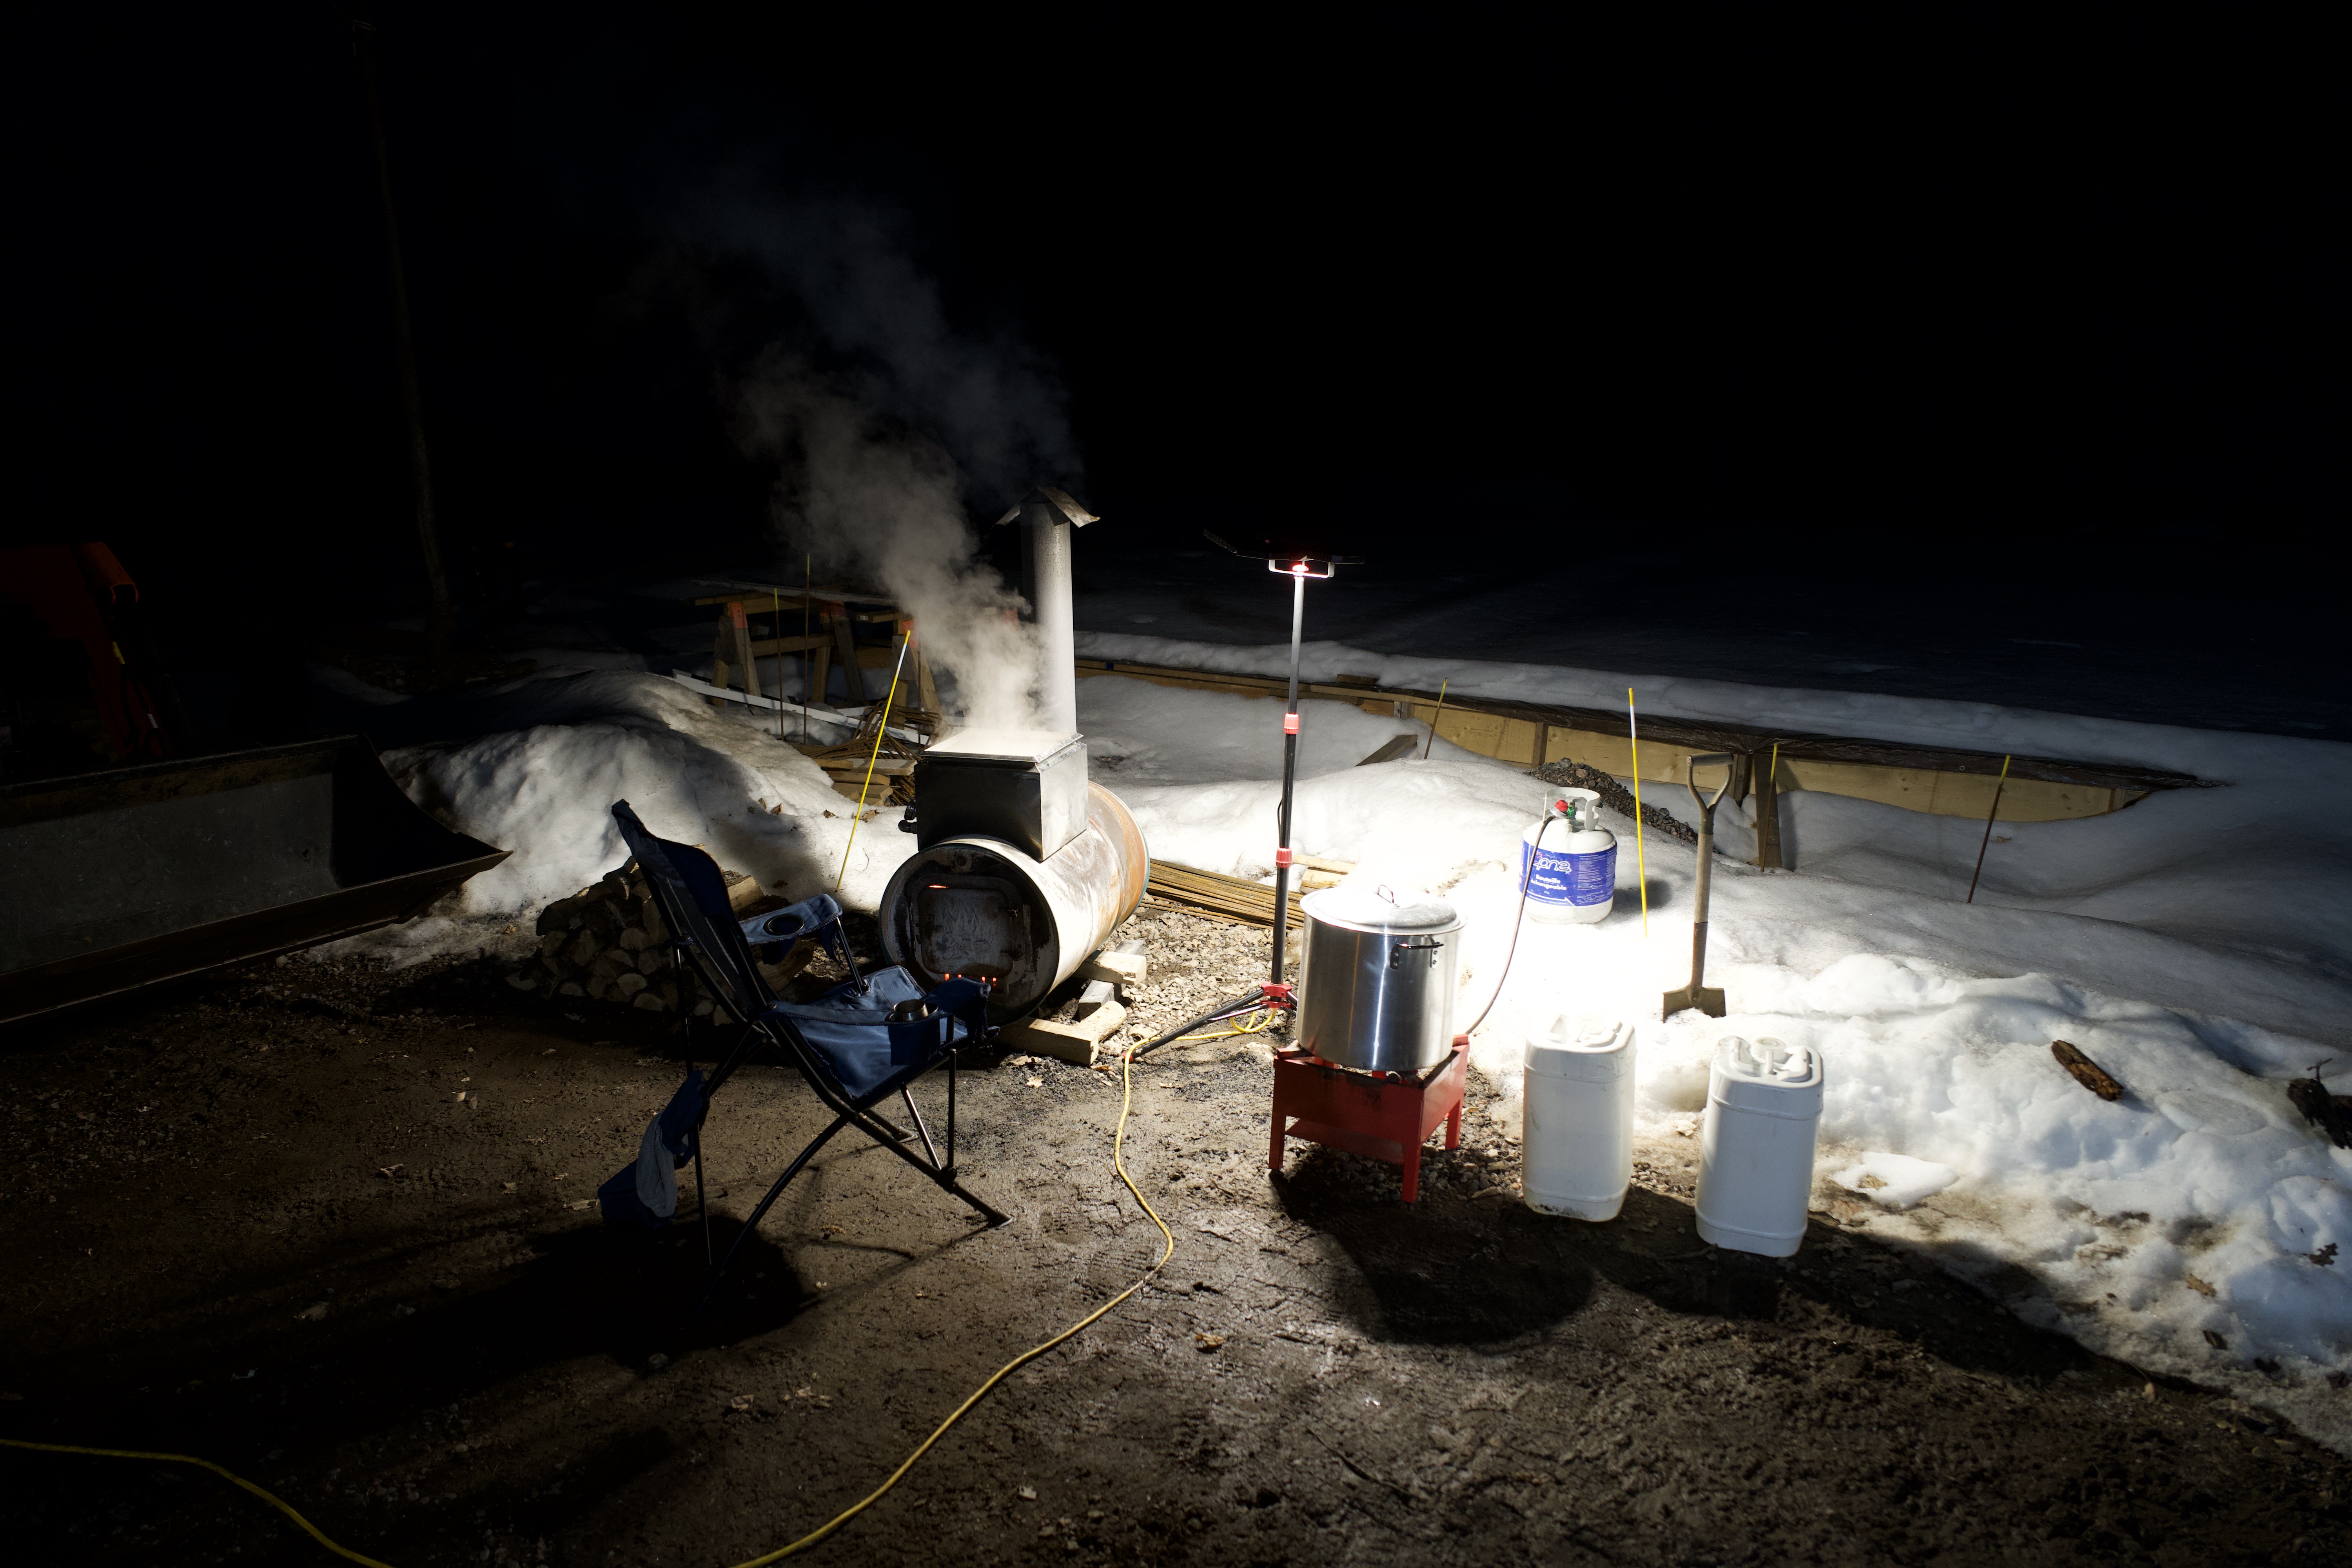
There’s a lot of waiting on syrup processing, followed by a lot of fast-paced, carefully choreographed timing. Sap only lasts a couple to a few days once it’s out of the tree, longer only if you have cooling capacity (including large snow banks). Realistically, you have two or three days to harvest the sap and get it to a boil. During evaporation, the game is always ensuring there is enough sap in the evaporator and never letting it get too low or too closed to “finished”. How this works varies wildly depending on the setup, but what I call the “walk away time” is how long you can leave the evaporator alone without even slightly risking burning your pans. This does limit the other work or activities you can do while boiling is in progress. Being that I live 2.5 hours away from this property, my friends know that for the month of March (give or take a week or two), I only know my schedule a couple days out.
For a rough sense of how long initial evaporation takes, it’s common to measure an evaporator’s evaporation rate, in gallons or litres per hour. I don’t recall the rate of this particular setup, but it was likely in the range of 12-14L/h, meaning it would take ~6.5 hours to get 100L of sap ready for the next steps, which would take at least another couple hours. 100L would produce approximately 2.5L of syrup.
Finishing
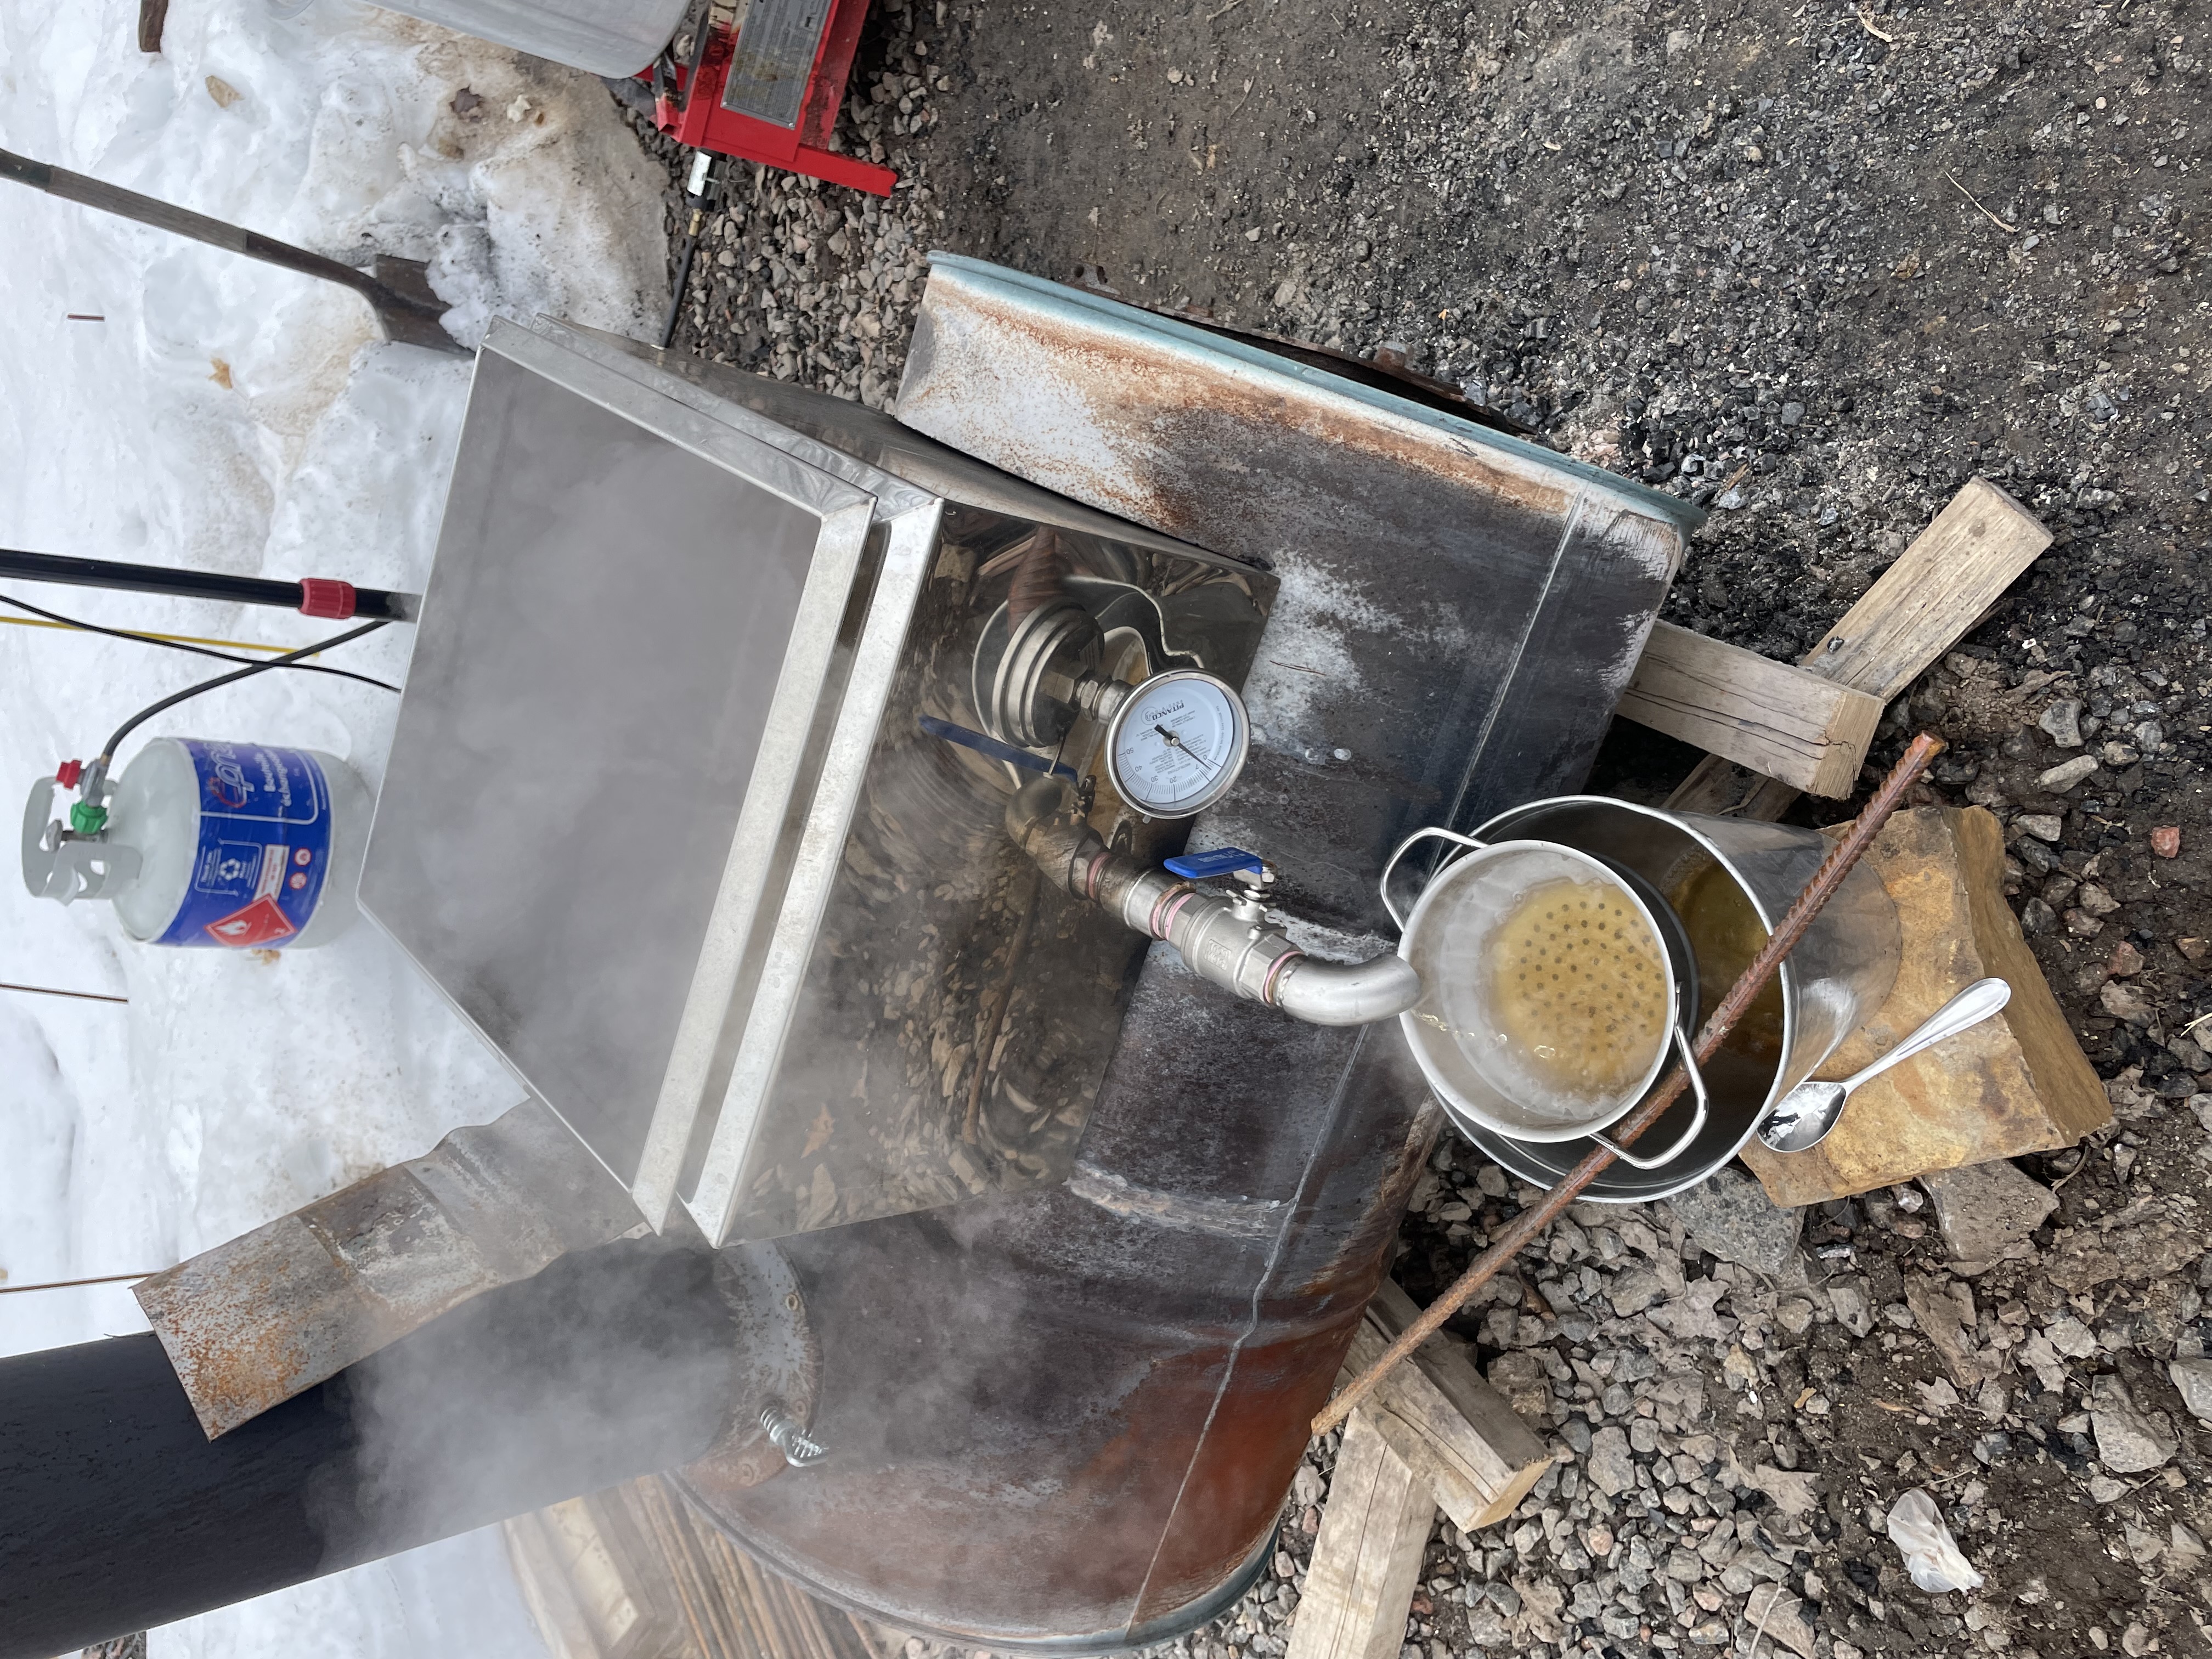
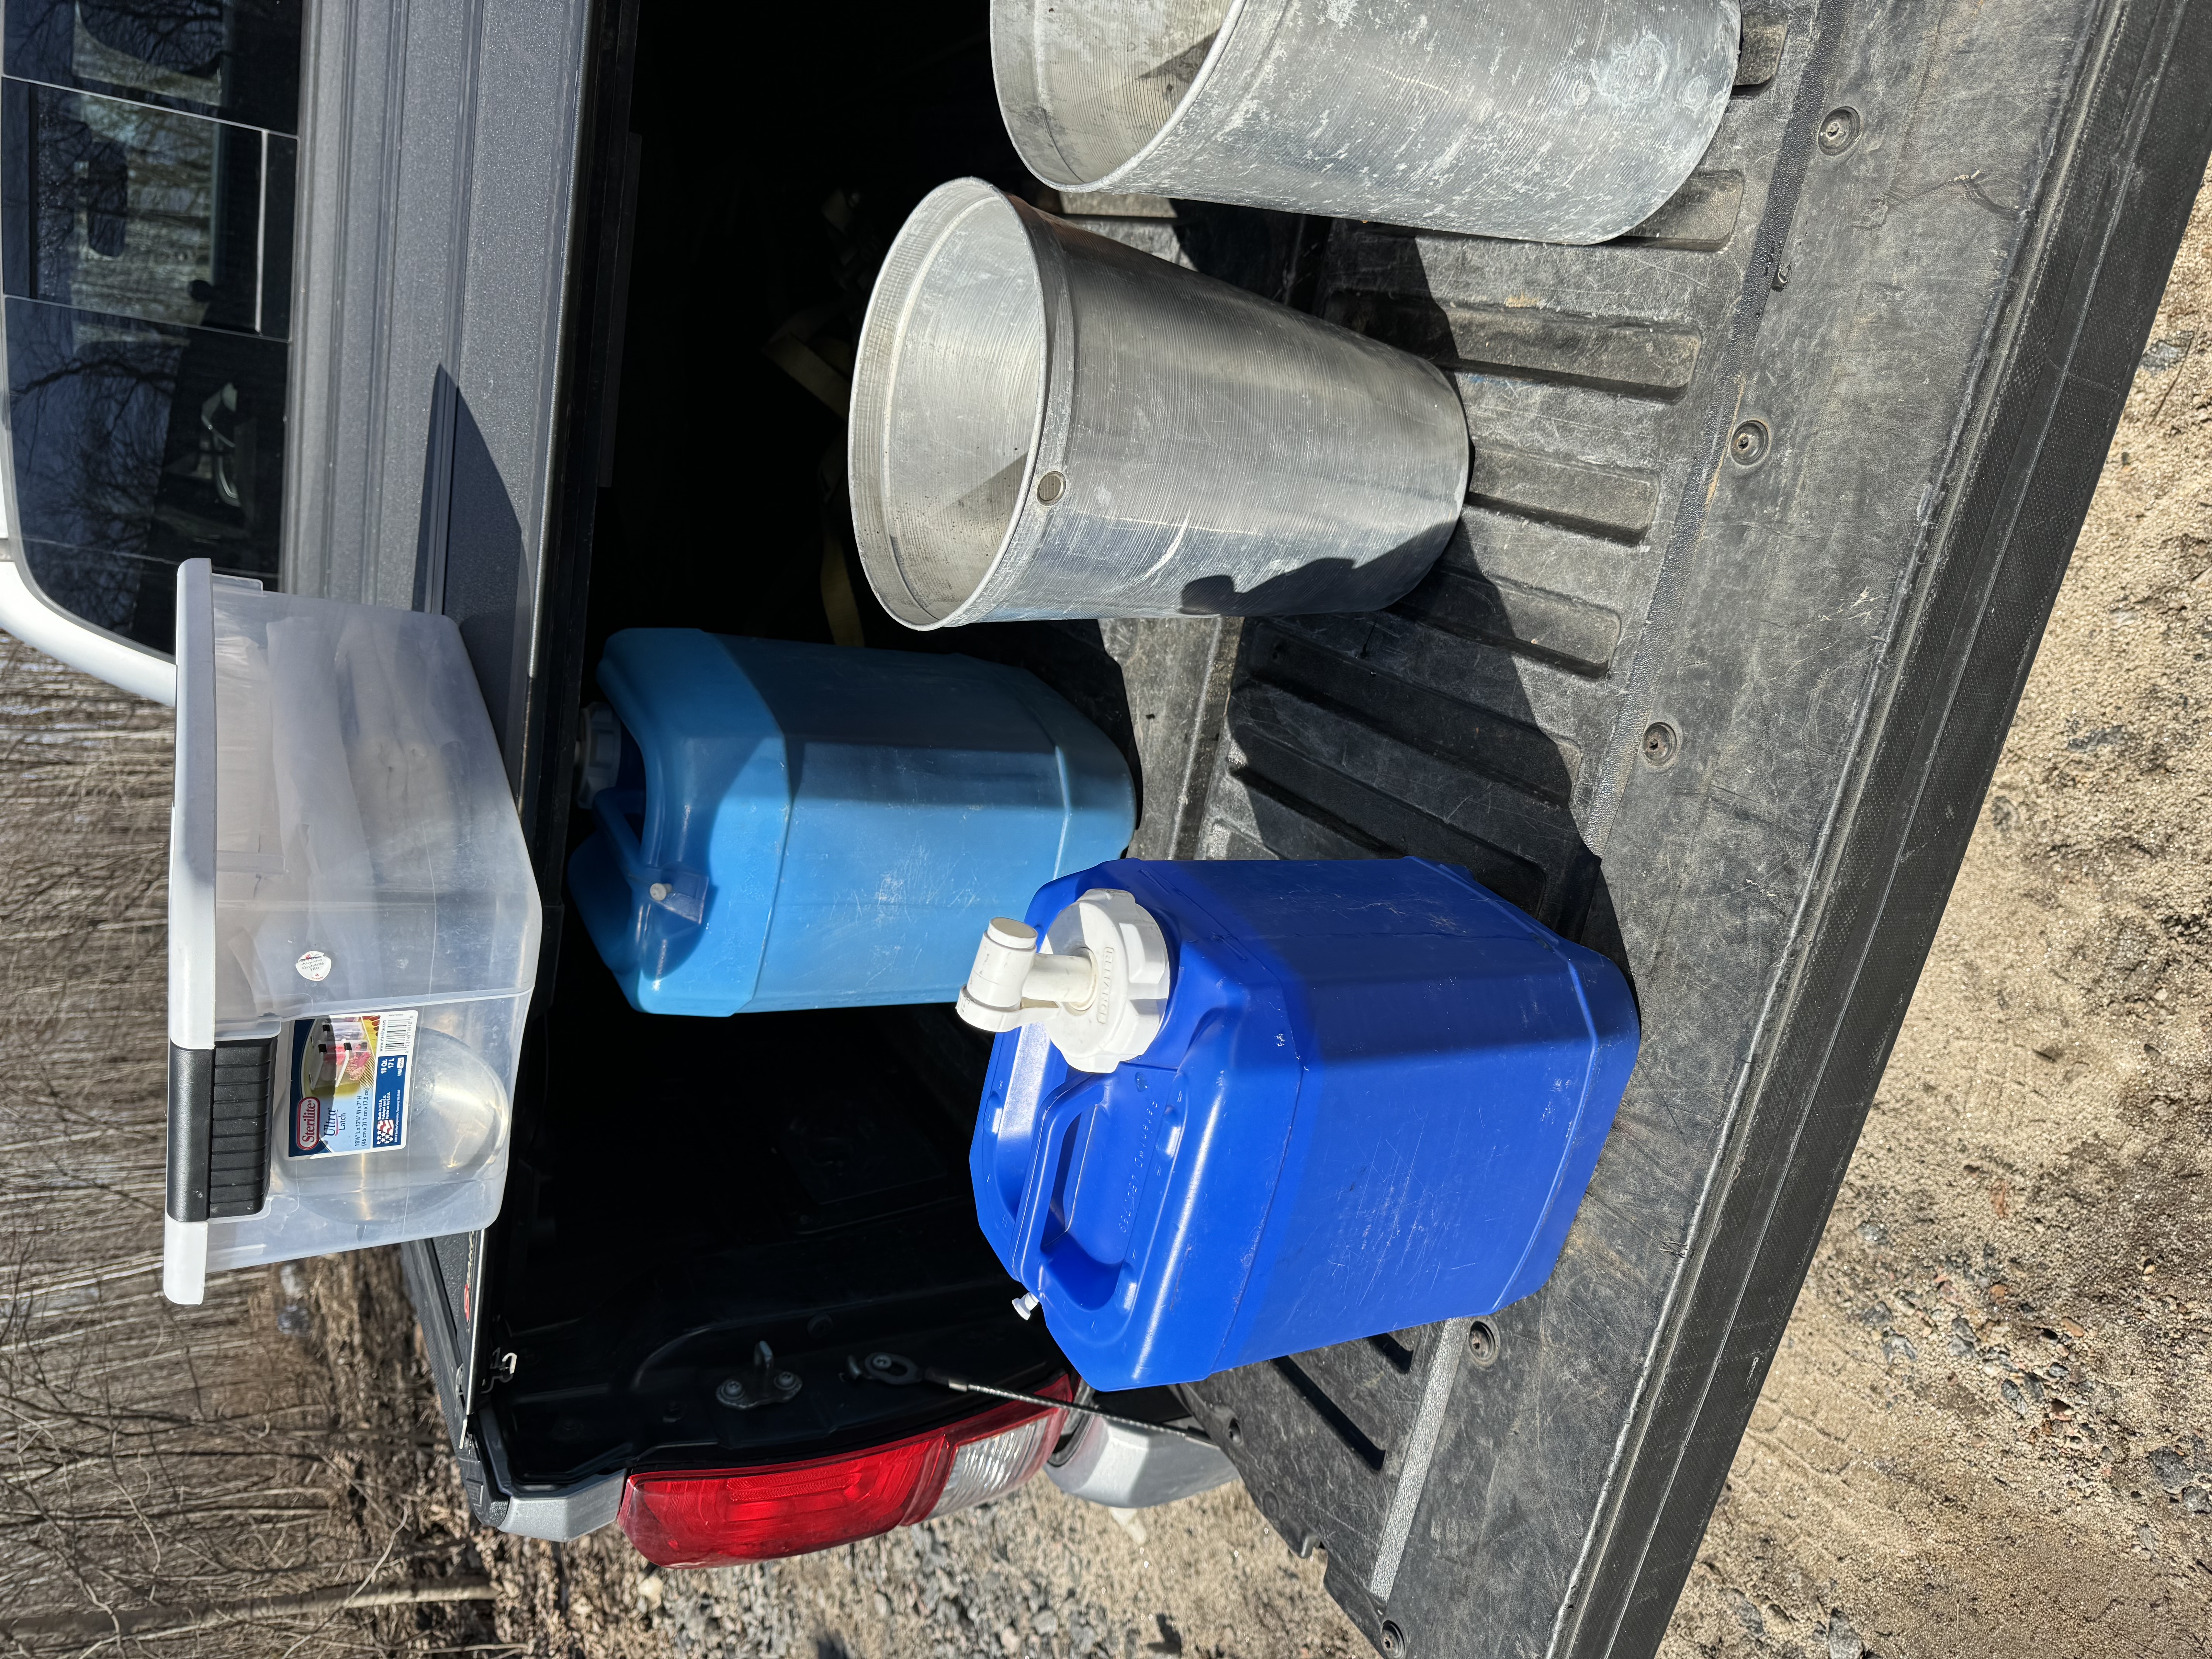
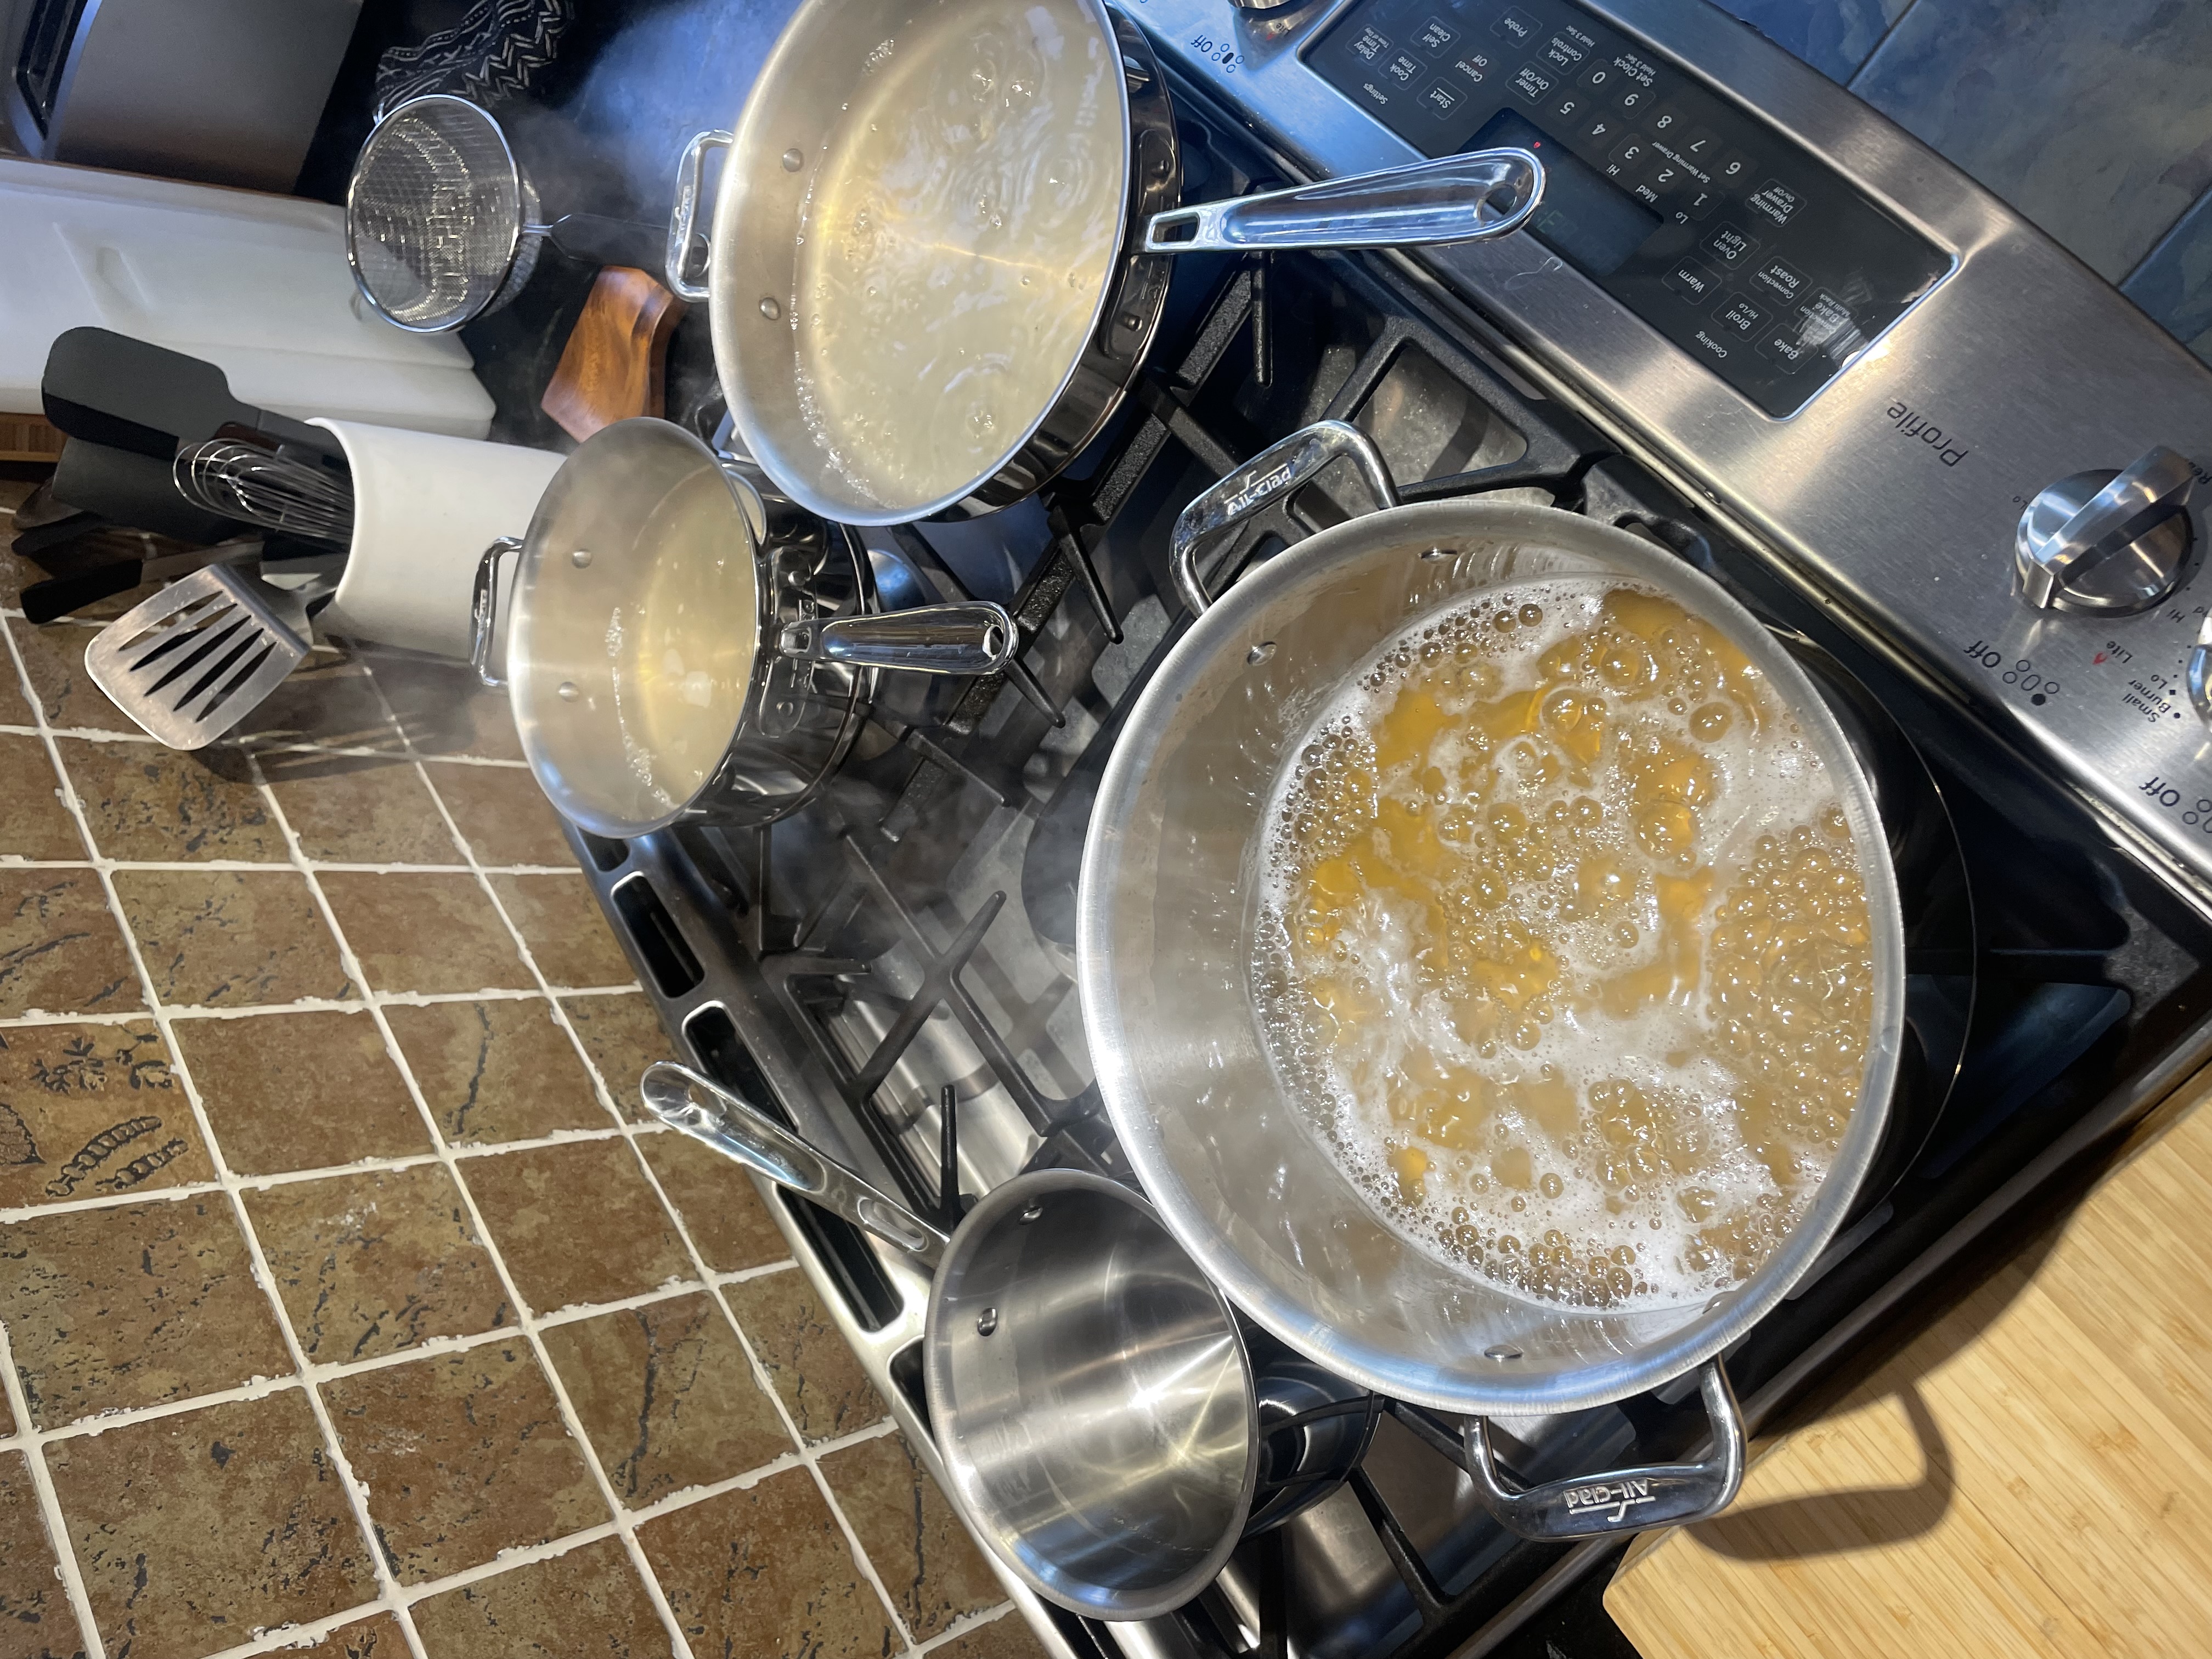
This first year, I lacked the infrastructure to “finish” my syrup at the property. Instead, I would drain my sap from the evaporator when I thought it was getting closer to syrup (say, it’s now 4:1 instead of 40:1). I then drove it home and finished in my kitchen, using an array of pots and pans on the gas stove. Moving the near-finished syrup from the evaporator is common practice, as the evaporator is designed to boil as fast as possible, and does not have an “off” switch when it’s done.
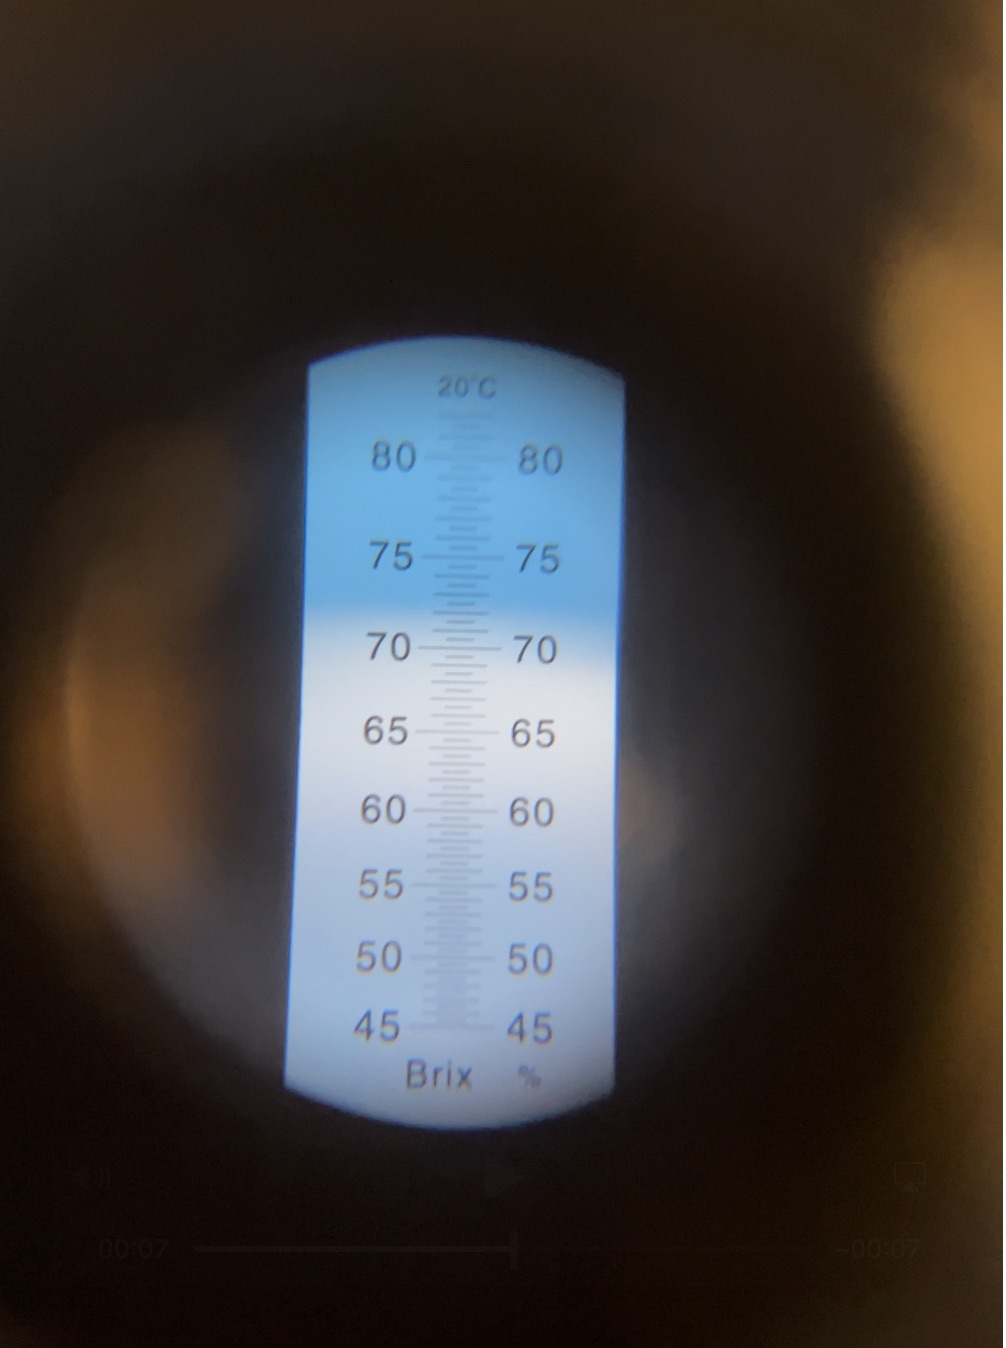
Using a refractometer, I’m aiming for about 67-68% sugar content. When I reach that value, the heat is shut off, and it’s straight to filtration, perhaps the most important step for a quality product. I started out using gravity filters, cone-shaped filters of various grades, simply pouring sap in and letting it seep out the bottom into another pot. A series of more porous pre-filters catch the bulk of “niter,” or “sugar sand”, that naturally occurs during boiling, preventing the more expensive main filter from clogging up too quickly. Apparently that sand makes good coffee sweetener, but I wouldn’t know.
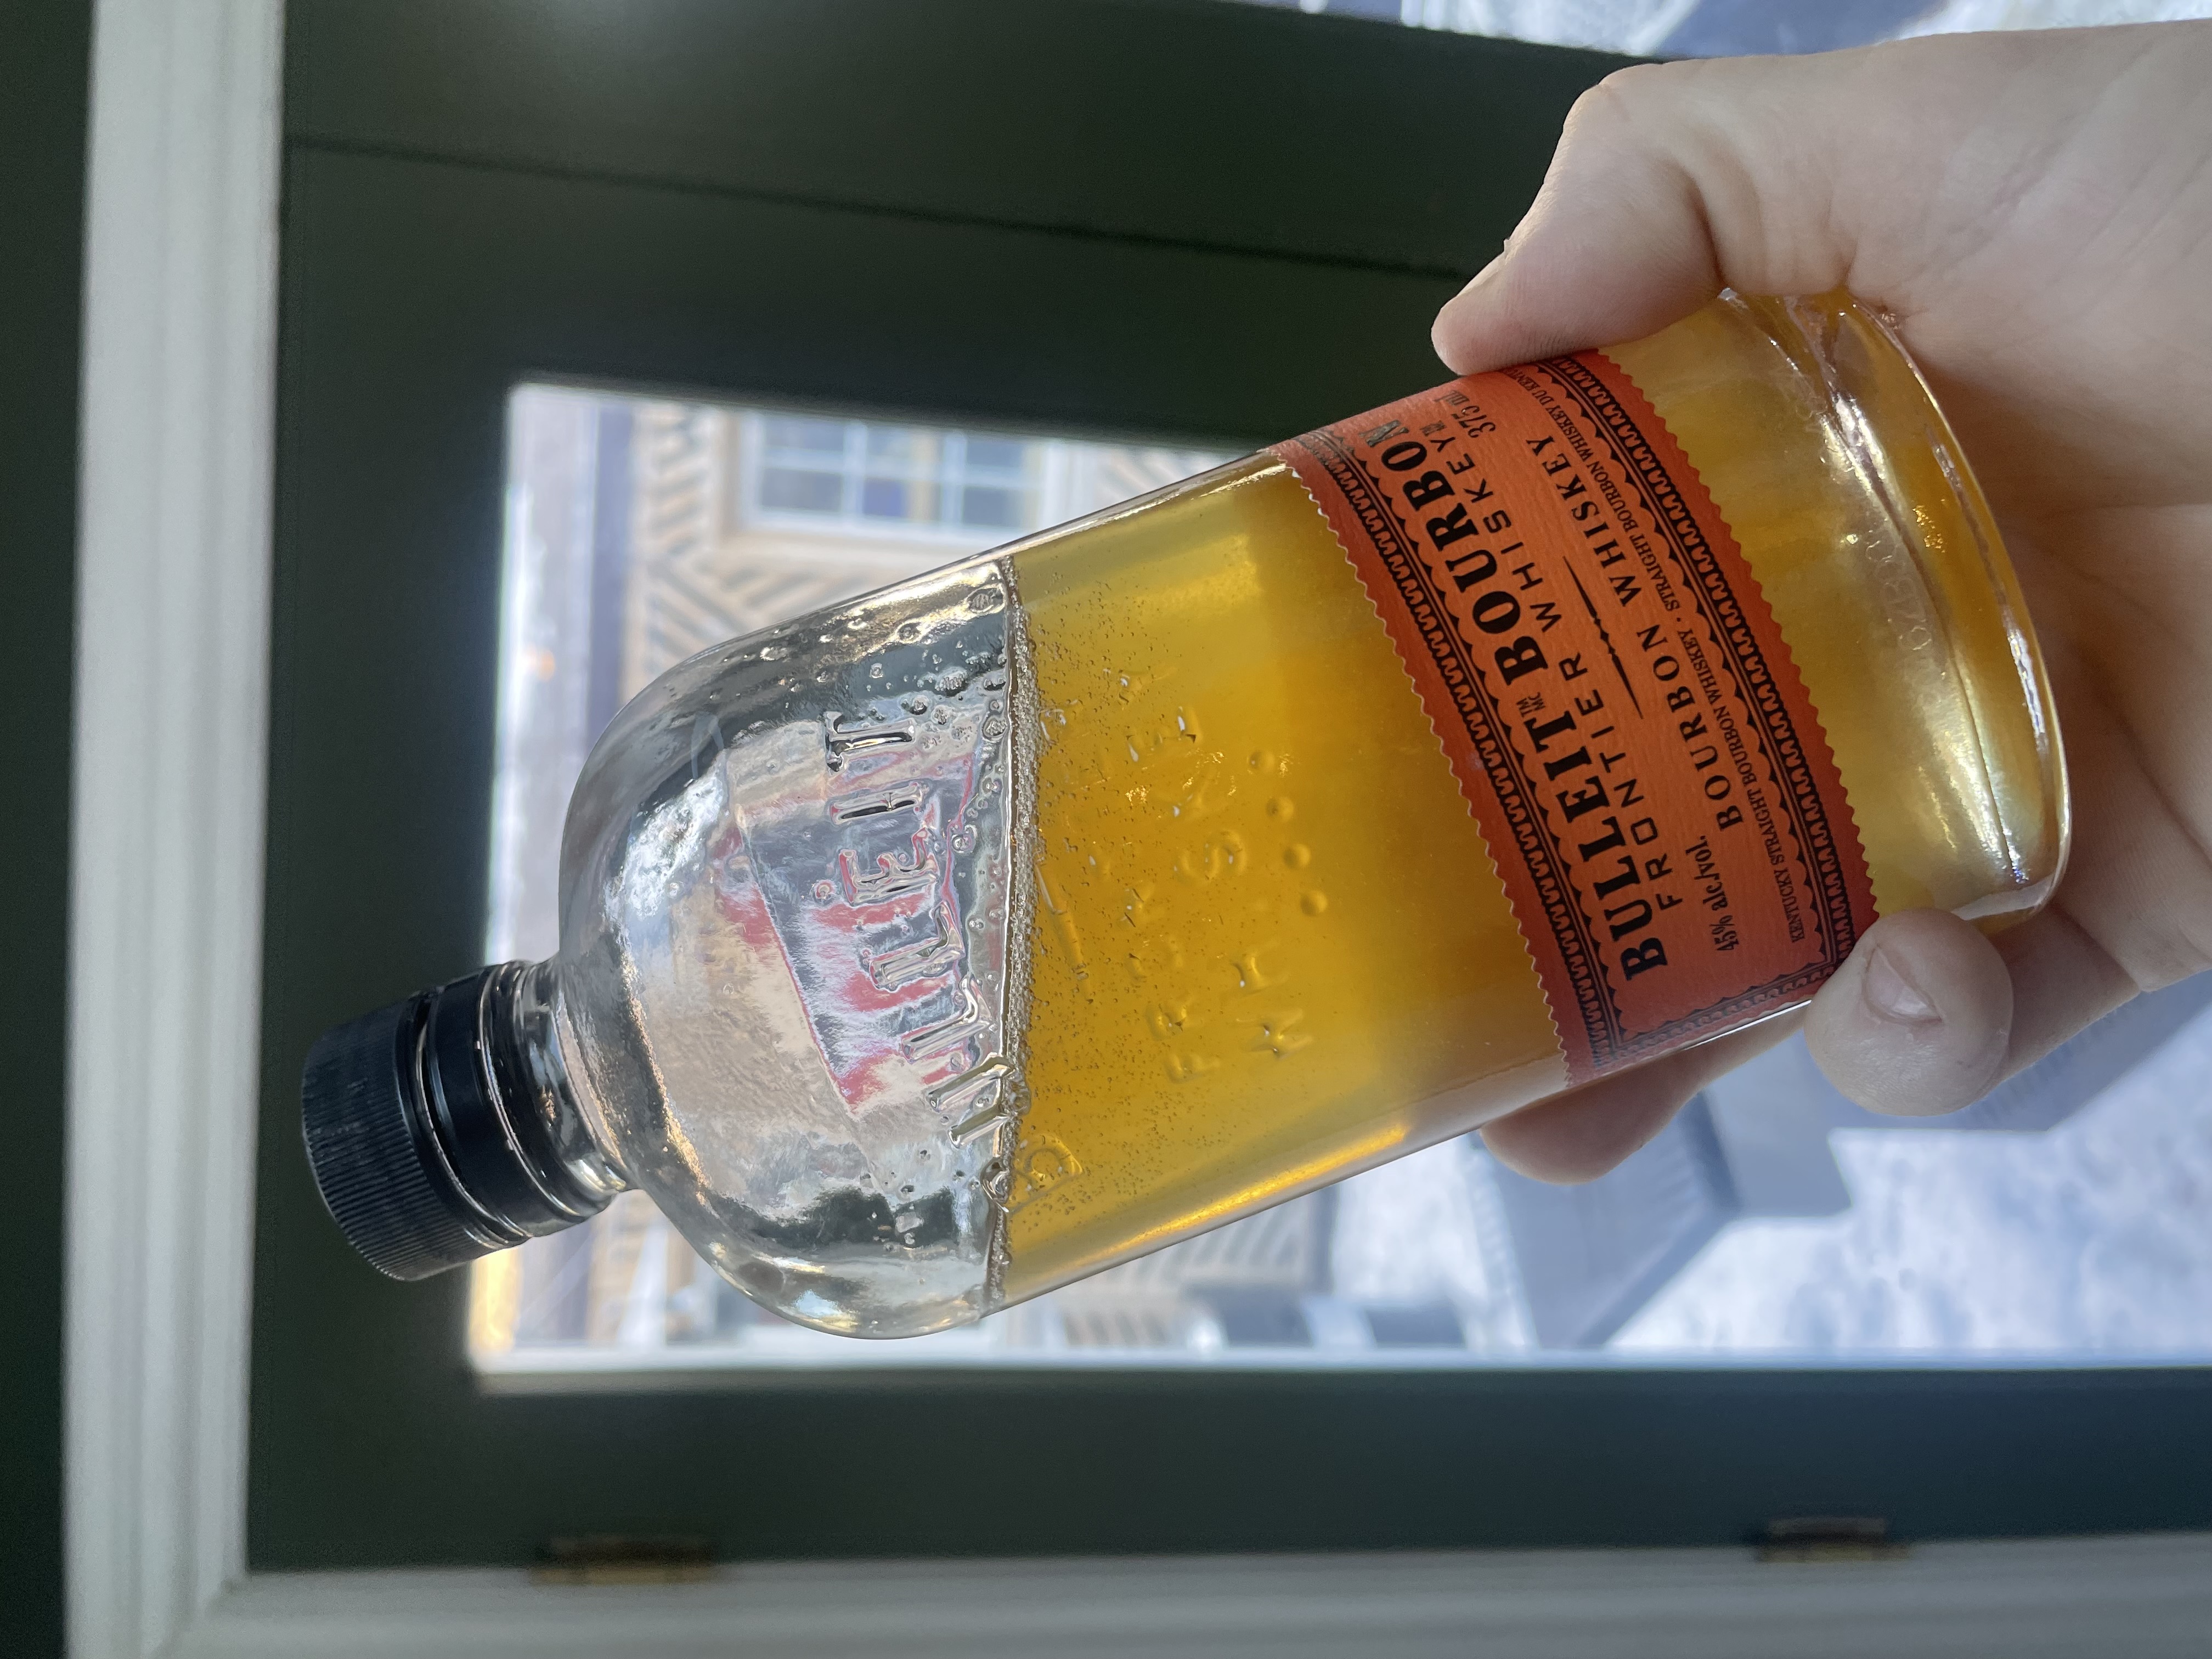
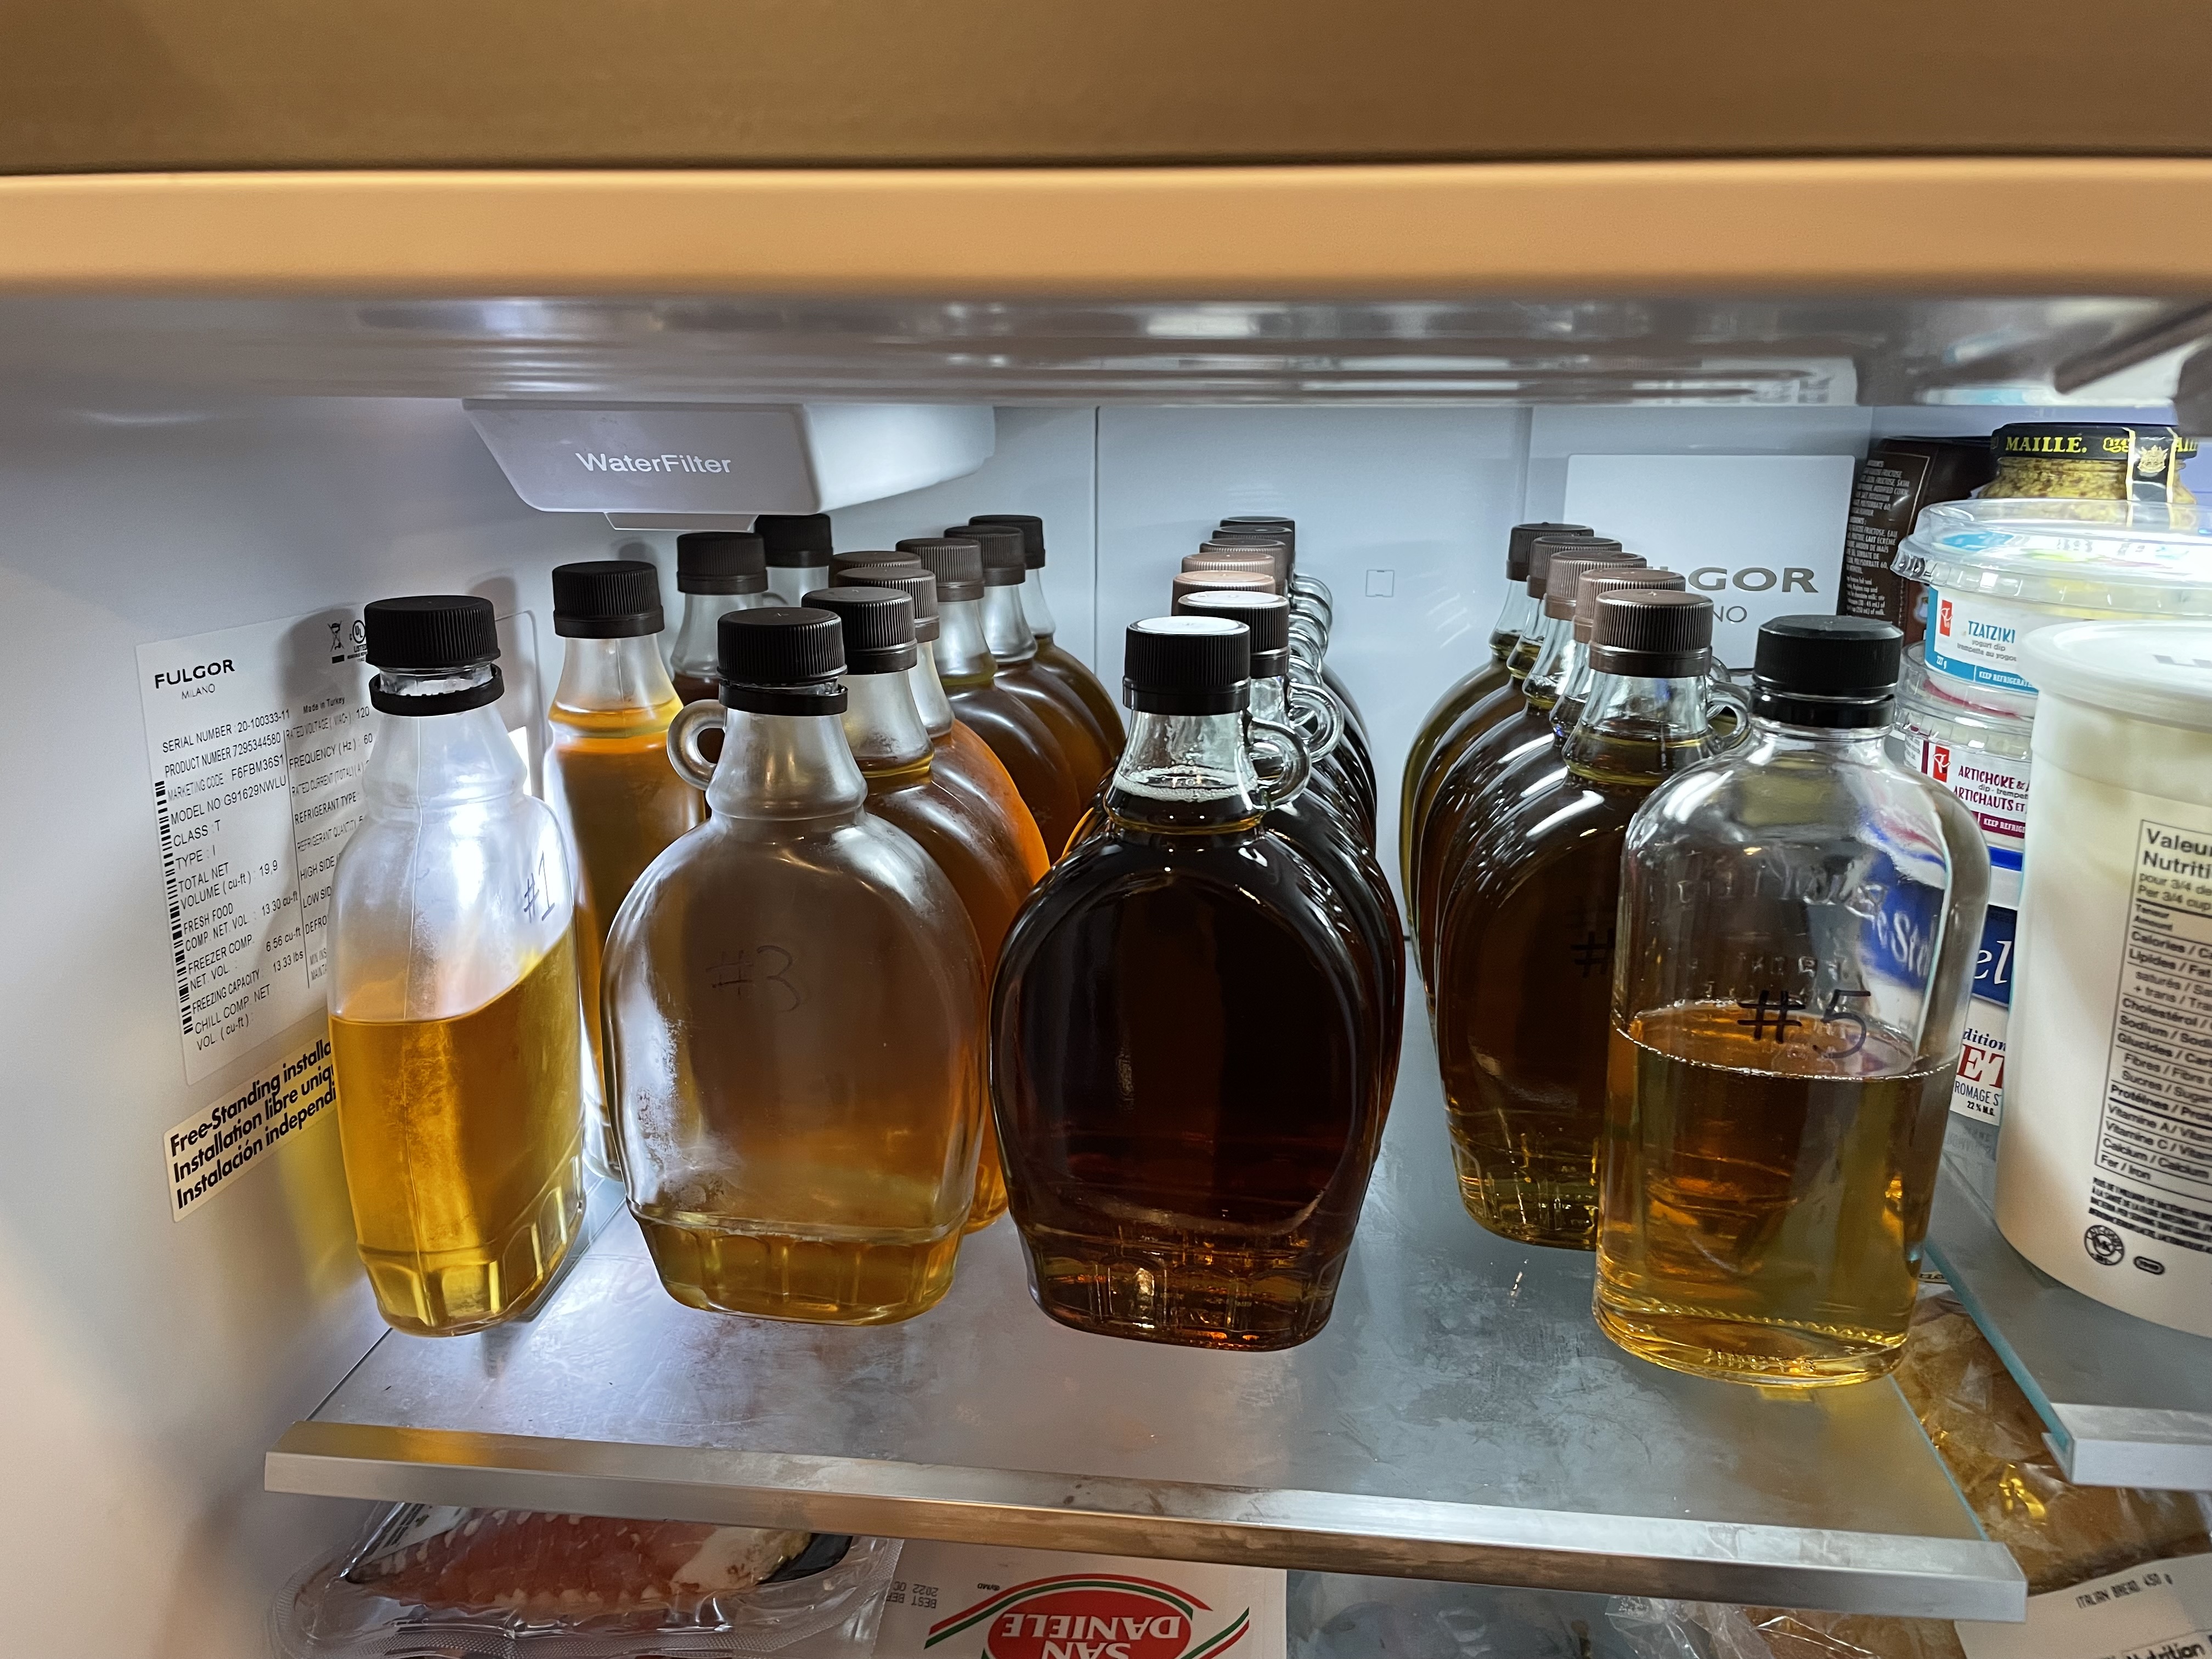
My first few boils were bottled into old whiskey bottles, some mason jars, and at least one pickle jar. To prevent mold growth, I boiled the various vessels before pouring near-boiling syrup in, and capped promptly (with a sanitized cap). Bottles with a narrow neck are preferable to mason jars and the like, as contact with air is where mold growth will start. By the way, that little “handle” that’s common on maple syrup bottles is there for absolutely no good reason. Syrup is shelf stable if bottled correctly, but should be refrigerated after opening.
Expansion
It’s tricky to write about things in the past, having evolved since. A common practice among hobbyist maple syrup producers, however, is changing just enough variables every year to make the following season unknowable. You can always throw a couple/few hundred bucks more at it (or many thousands if you’re really excited), tap more trees, swap out buckets for lines with collection points, improve the evaporation process and filtration, add reverse osmosis to pre-concentrate sap before boiling, even… ahem… build an entire sugar shack to contain this hobby that consumes a month of the year.
Remember, the goal is to provide unlimited maple syrup to your loved ones, friends, neighbours if you like them, and give you a default stocking stuffer/housewarming gift/thank you that nobody can ever be mad about (it’s true, I promise). The market rate for a litre of “home made” syrup is around $25/litre, but everybody who has ever made it knows it should be about $100.
If you know me well, ask me for some syrup. Quantities become limited as winter approaches and supply dwindles.
More photos