Implements

One more tractor thing. Just one more.
As I mentioned in the first tractor-heavy post, a tractor is a core on which to install tools. I’ll go through my solution for each task:
- material handling (pallet forks)
- clearing snow (snow blower? plow?)
- logging (pulling logs out of the forest for primarily firewood)
- firewood splitting
- wood chipper
Making tractor do stuff
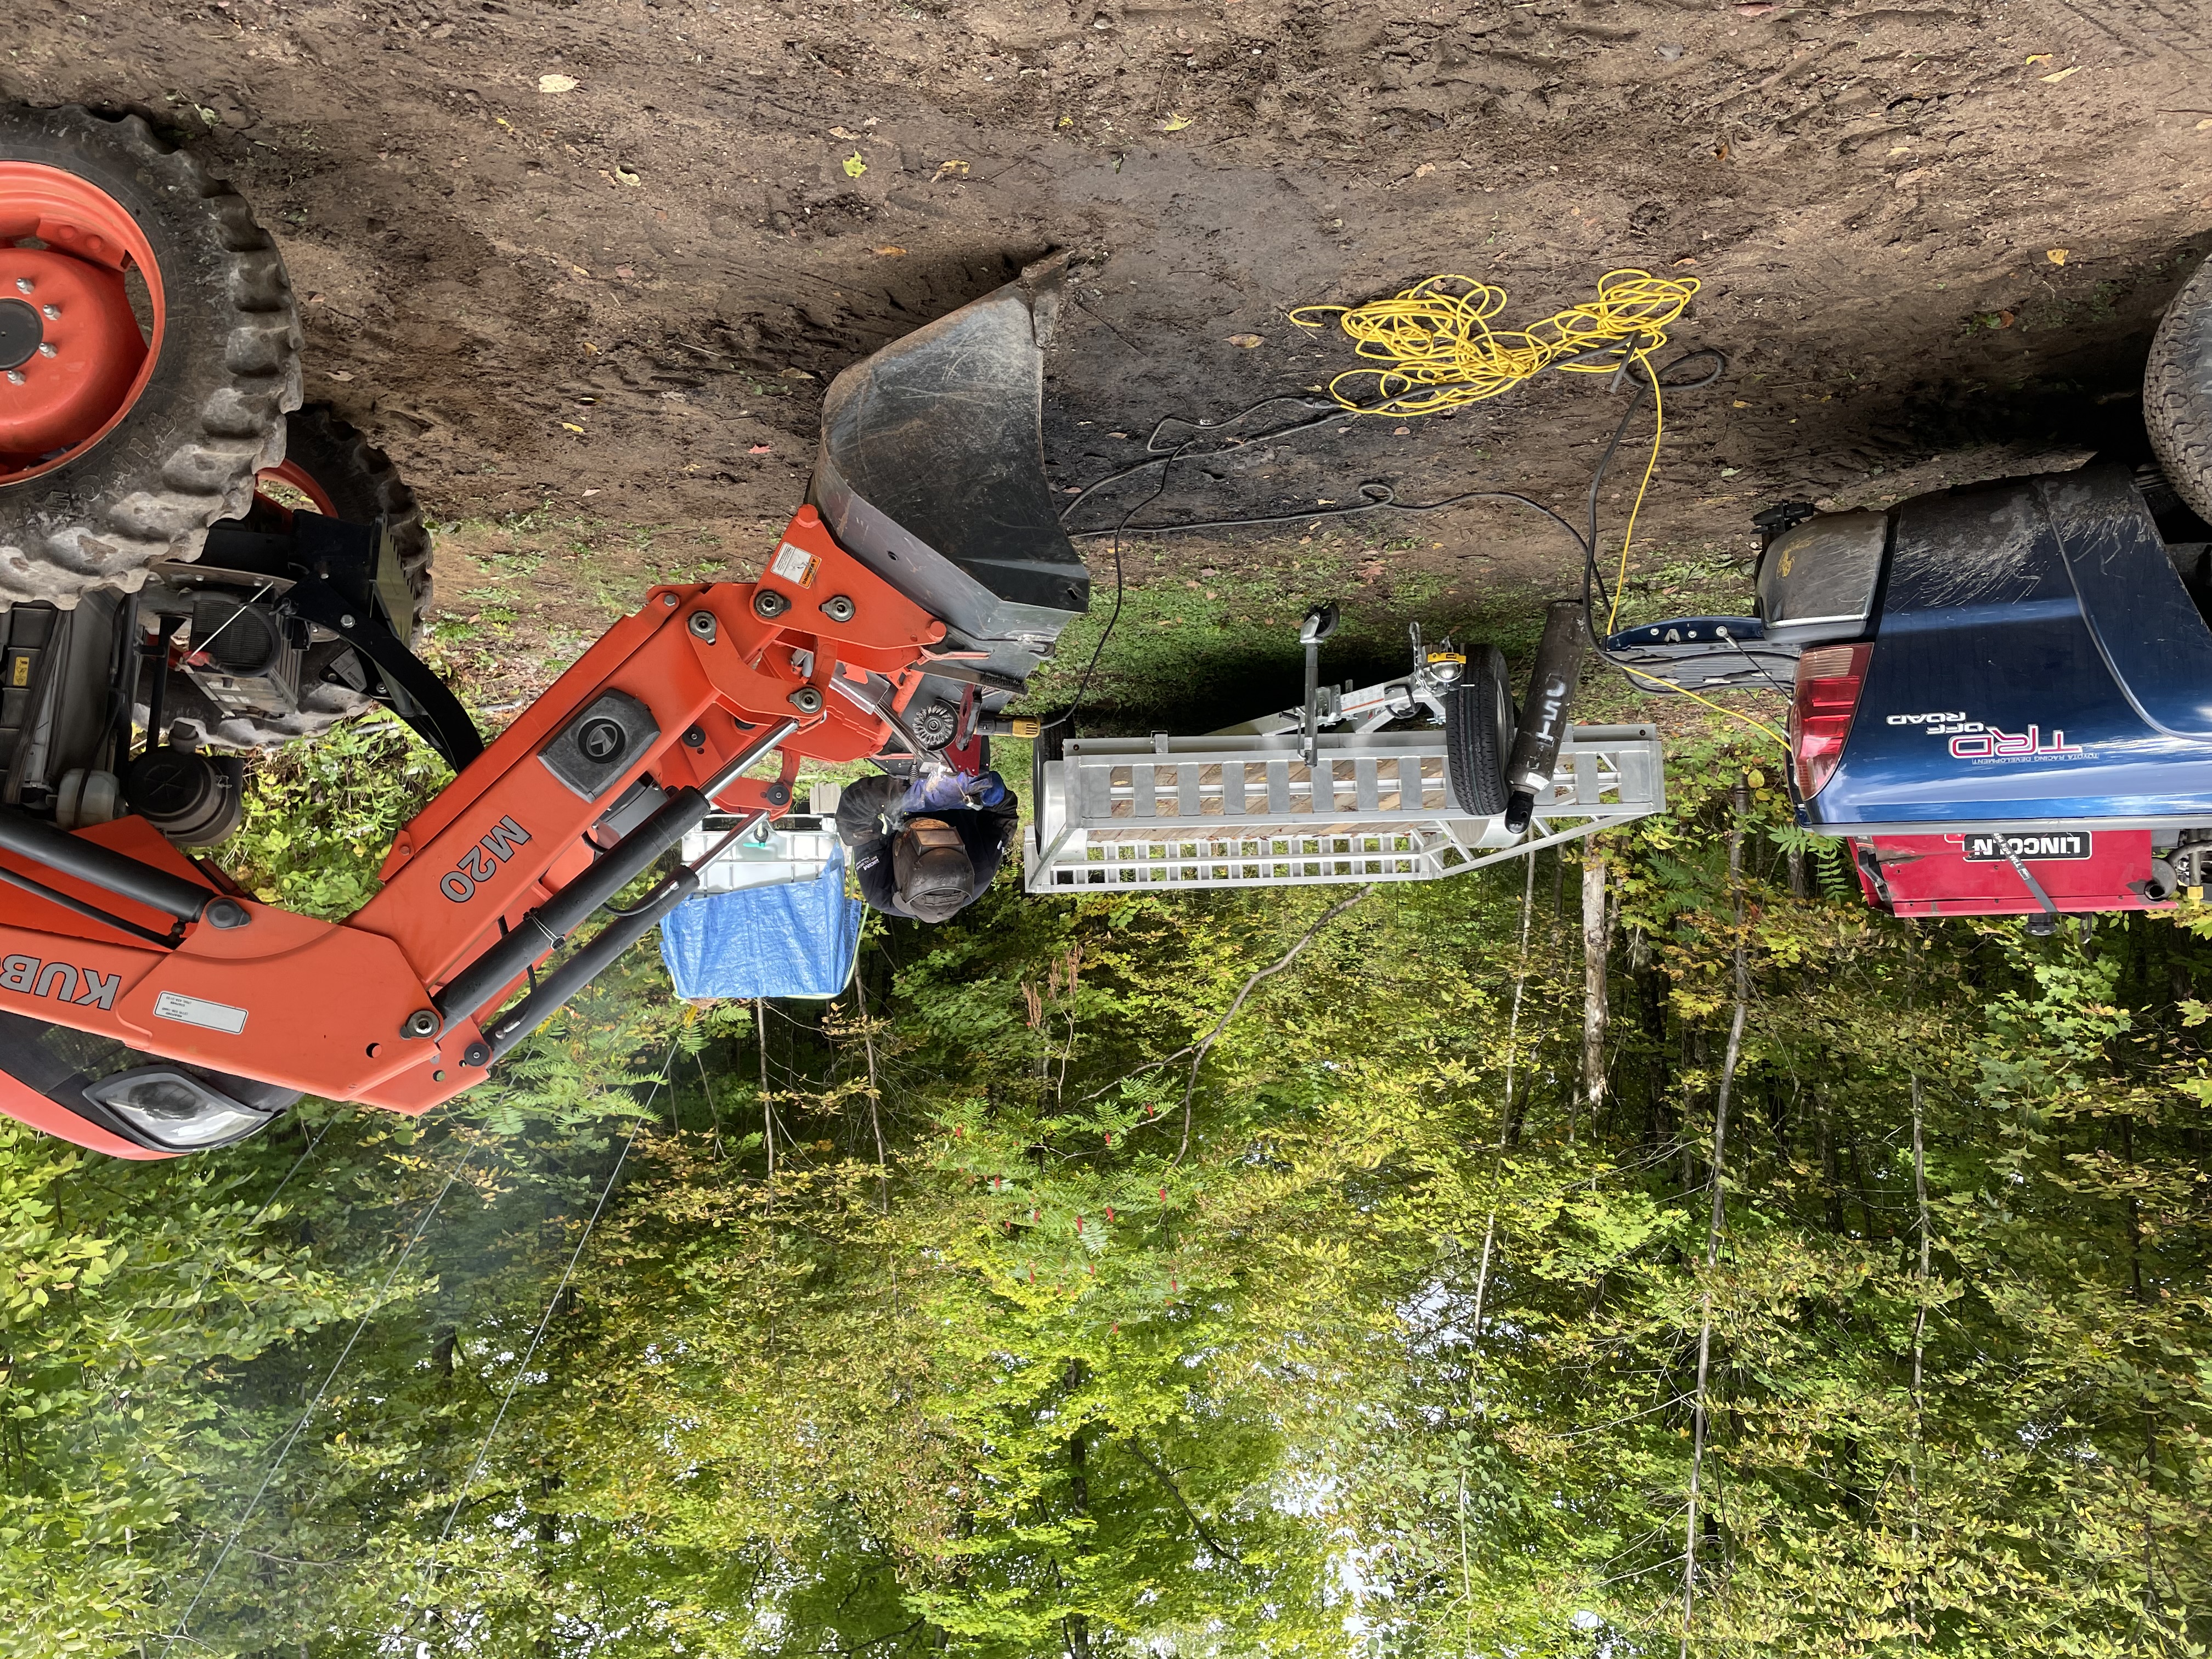
There are two places to accessorize a tractor. The loader, which uses standard mount points for buckets, forks, grapple, etc., and the 3 point hitch (3PH or 3-point). For the latter, an implement can use either or both the power take-off (PTO), or hydraulic remotes (quick-attach ports to plumb into the hydraulic system, each controllable from the seat).
In order of purchase, here’s the stable of implements.
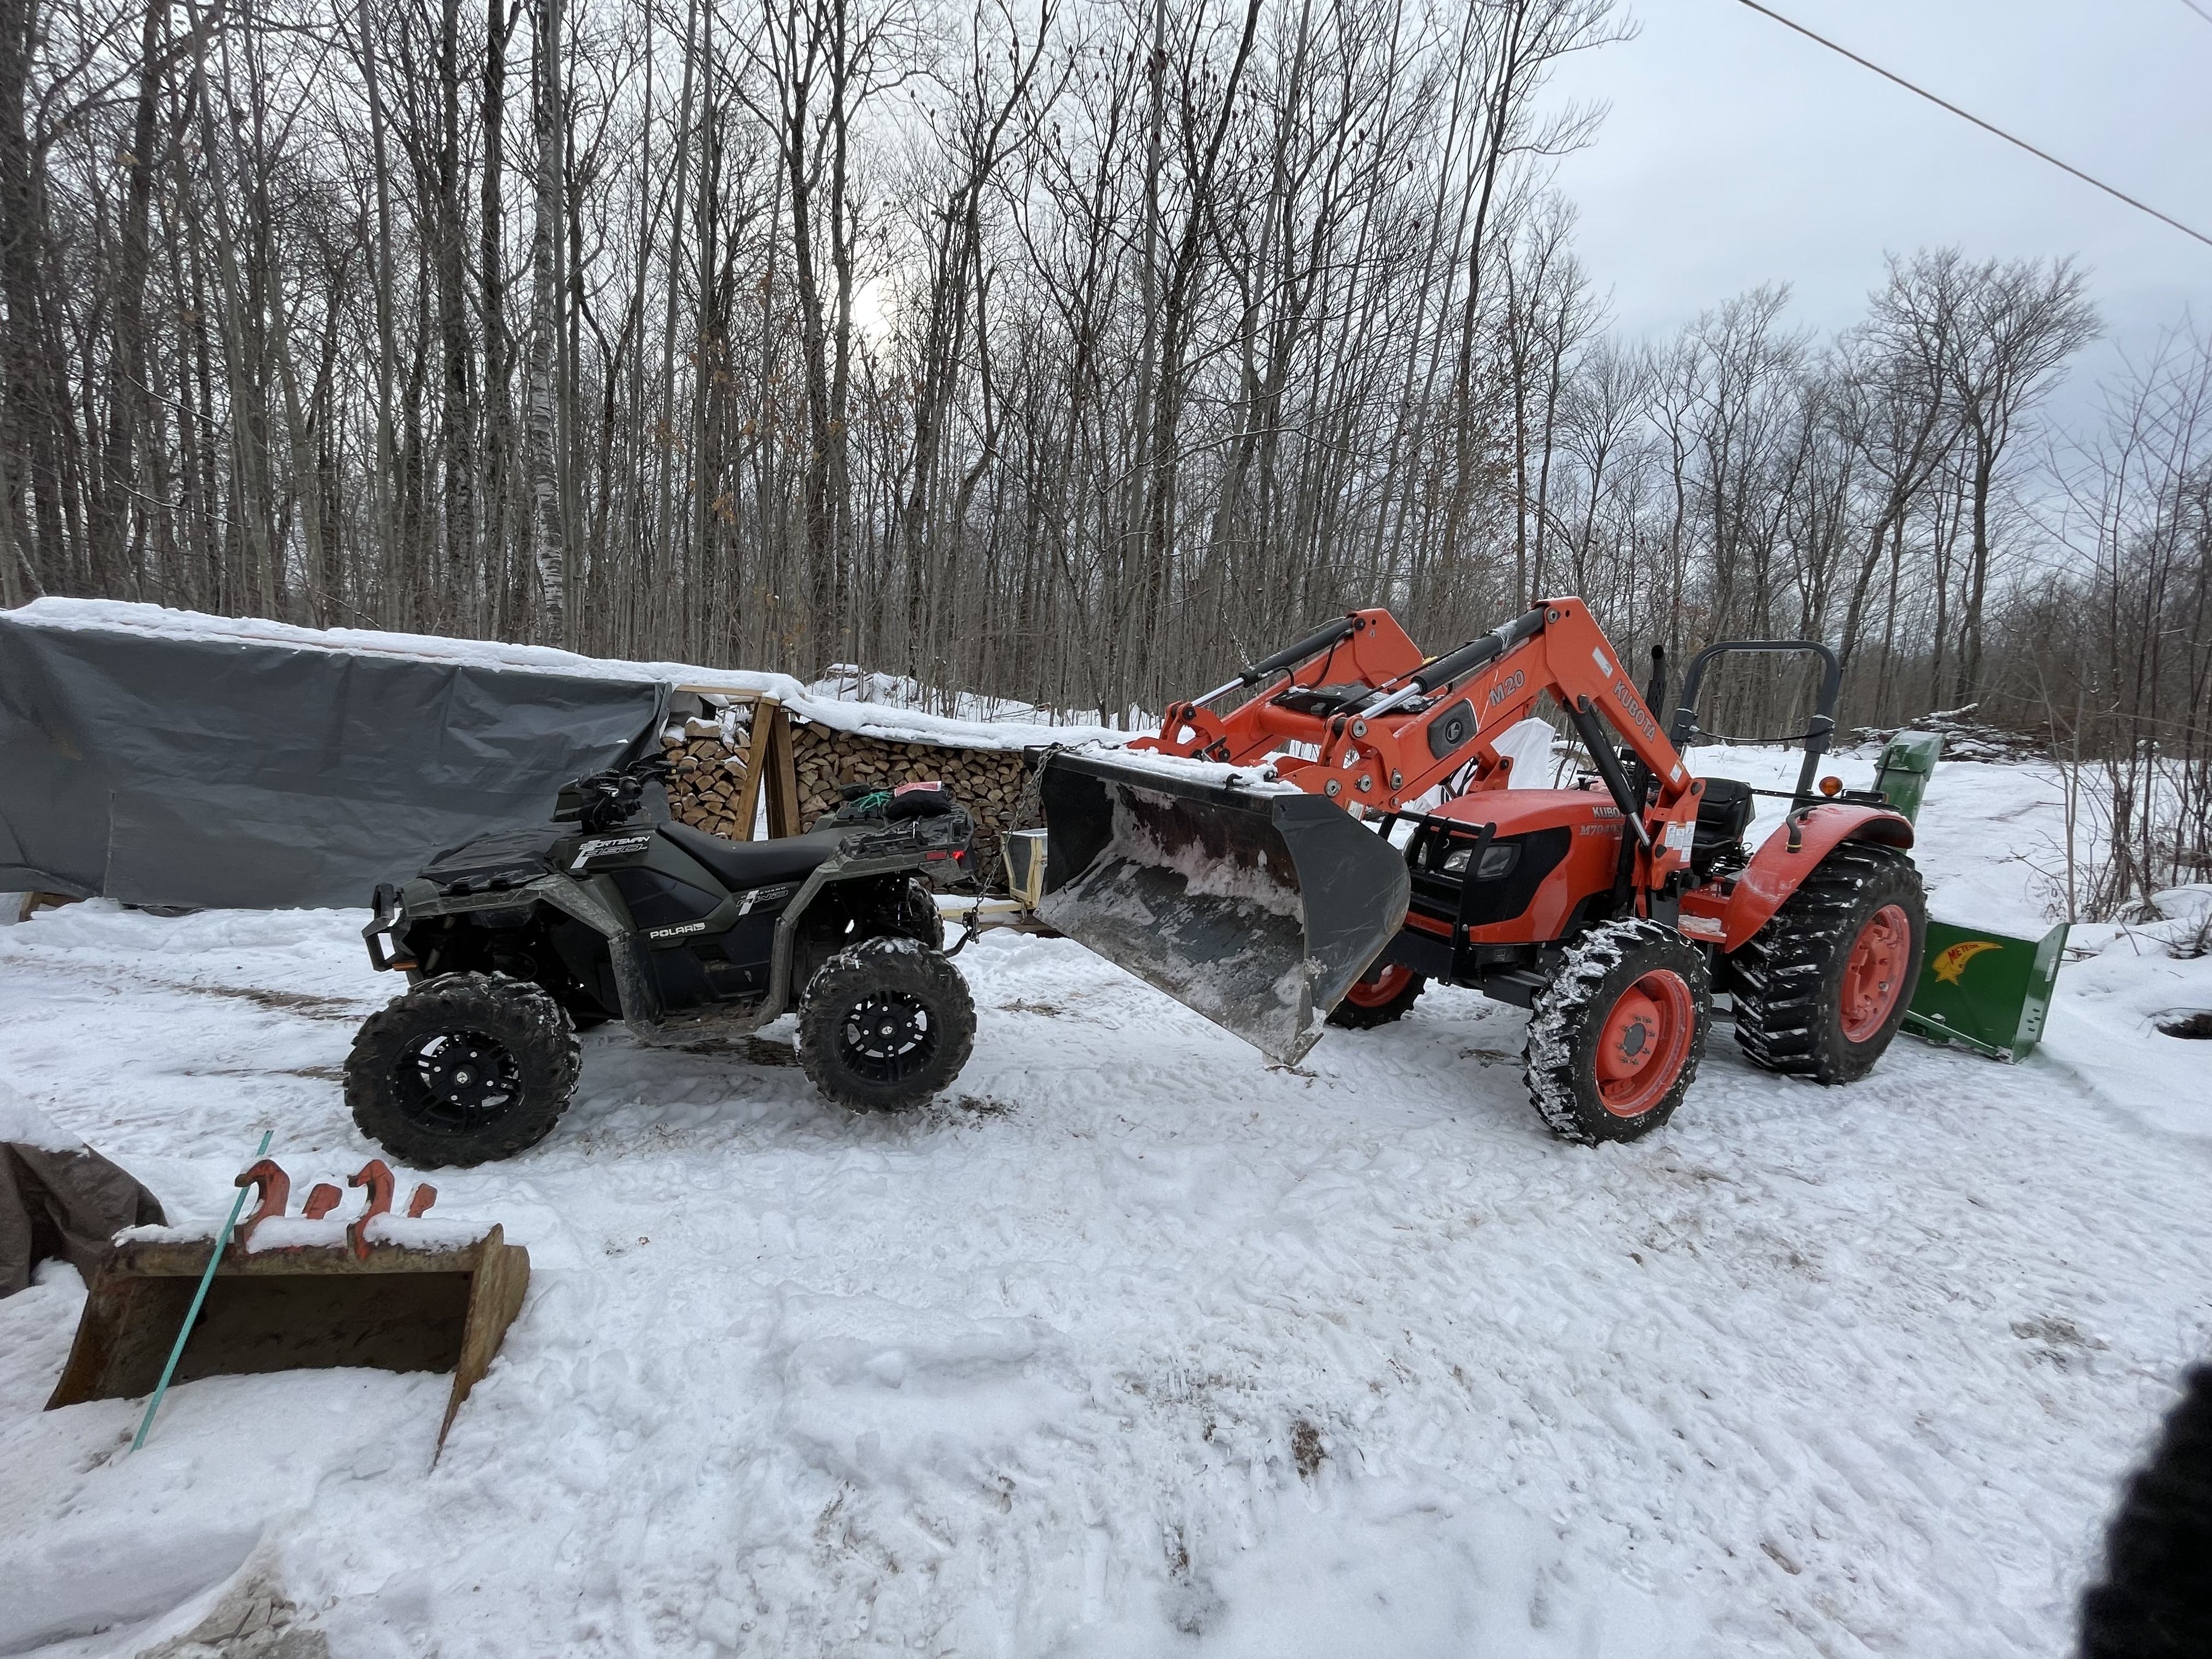
The loader
This tractor has an ALO quick attach on its loader. Any form of quick attach is simply a means to change attachments without using tools (usually), as opposed to taking out a couple bolts and using a hammer and punch to knock pins out in order to change attachments. ALO is common for slightly larger tractors, while “skid steer style” quick attach is the norm for compact tractors, sharing attachments with construction equipment. They’re similar, both requiring a handle or two to be rotated 90º to release the attachment.
A shortcoming of this particular tractor is that it doesn’t have “third function” plumbing, a way to describe hydraulic ports out on the loader arms. This would allow for a grapple, a bucket with grabby arms for handling logs and the like. It would be prohibitively expensive to add third function hydraulics, unfortunately.
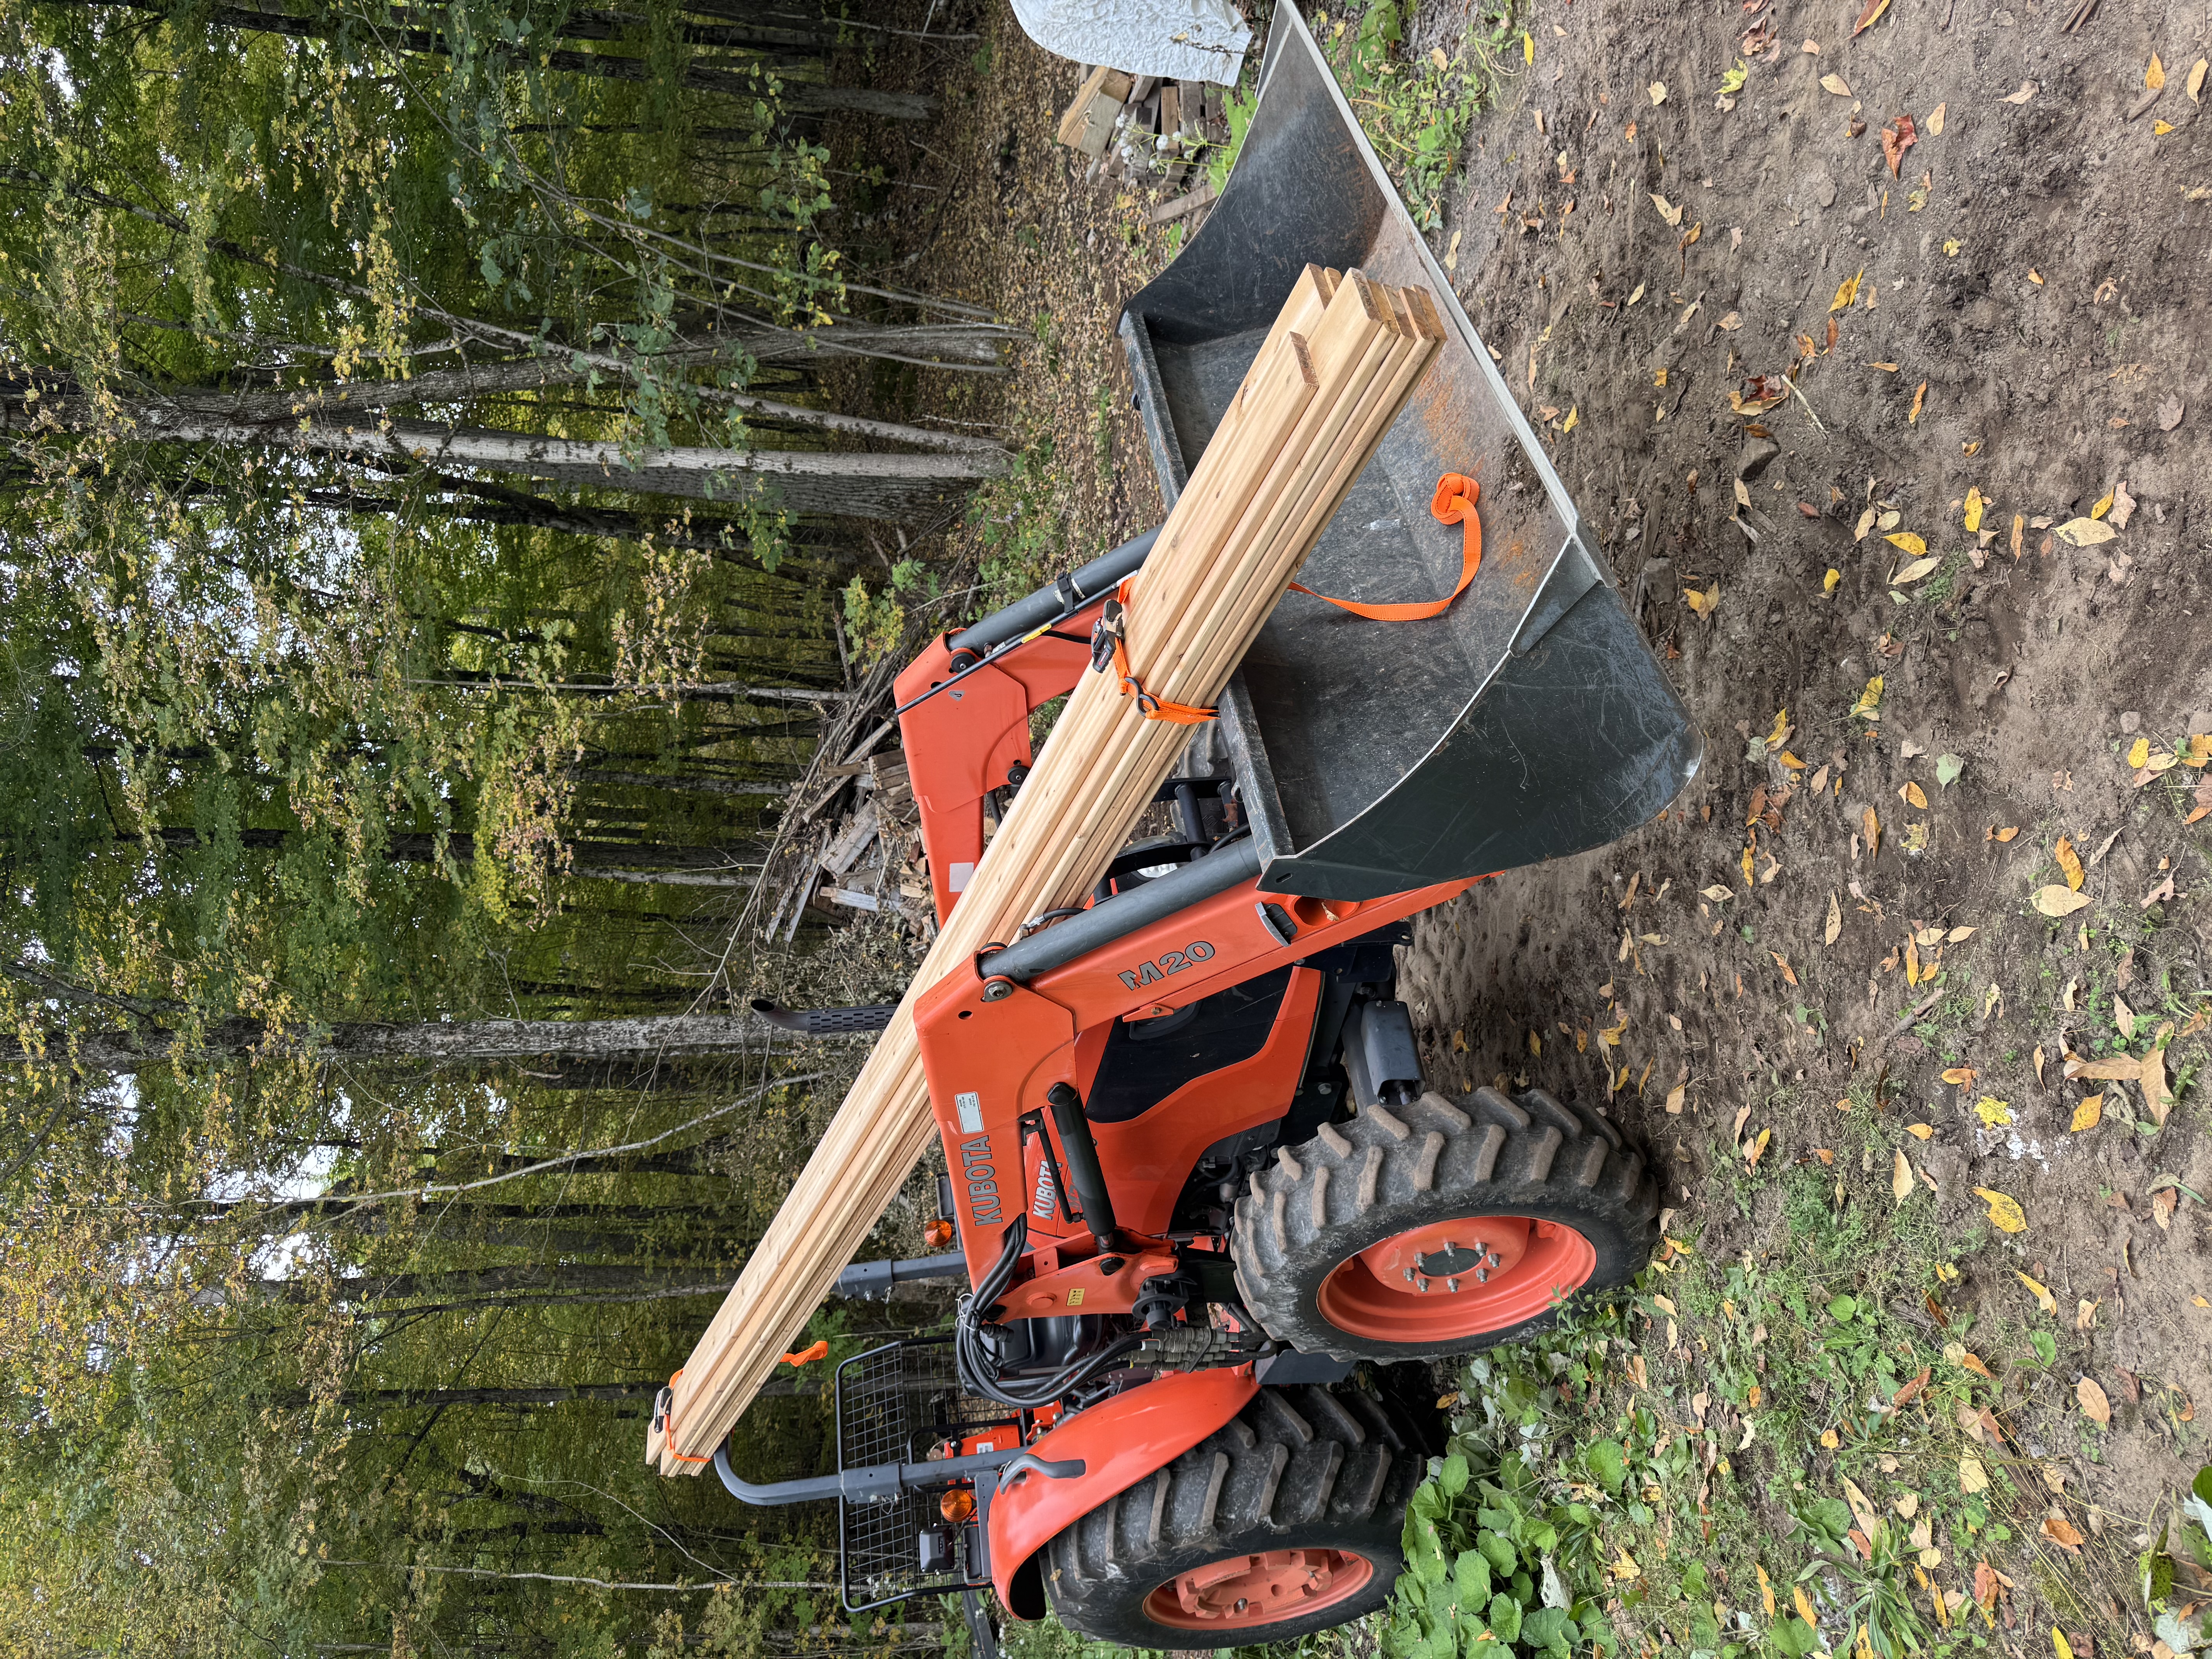
In lieu of a grapple bucket, I bought a set of forks to make moving bulky or long materials easier. The forks themselves can be spread apart or pushed together to match the load they’re faced with. Without forks or dragging the log long-ways, moving a log would generally require wrapping them with chain in two places to attach to the bucket or loader itself, which I did for a few weeks and can’t recommend.
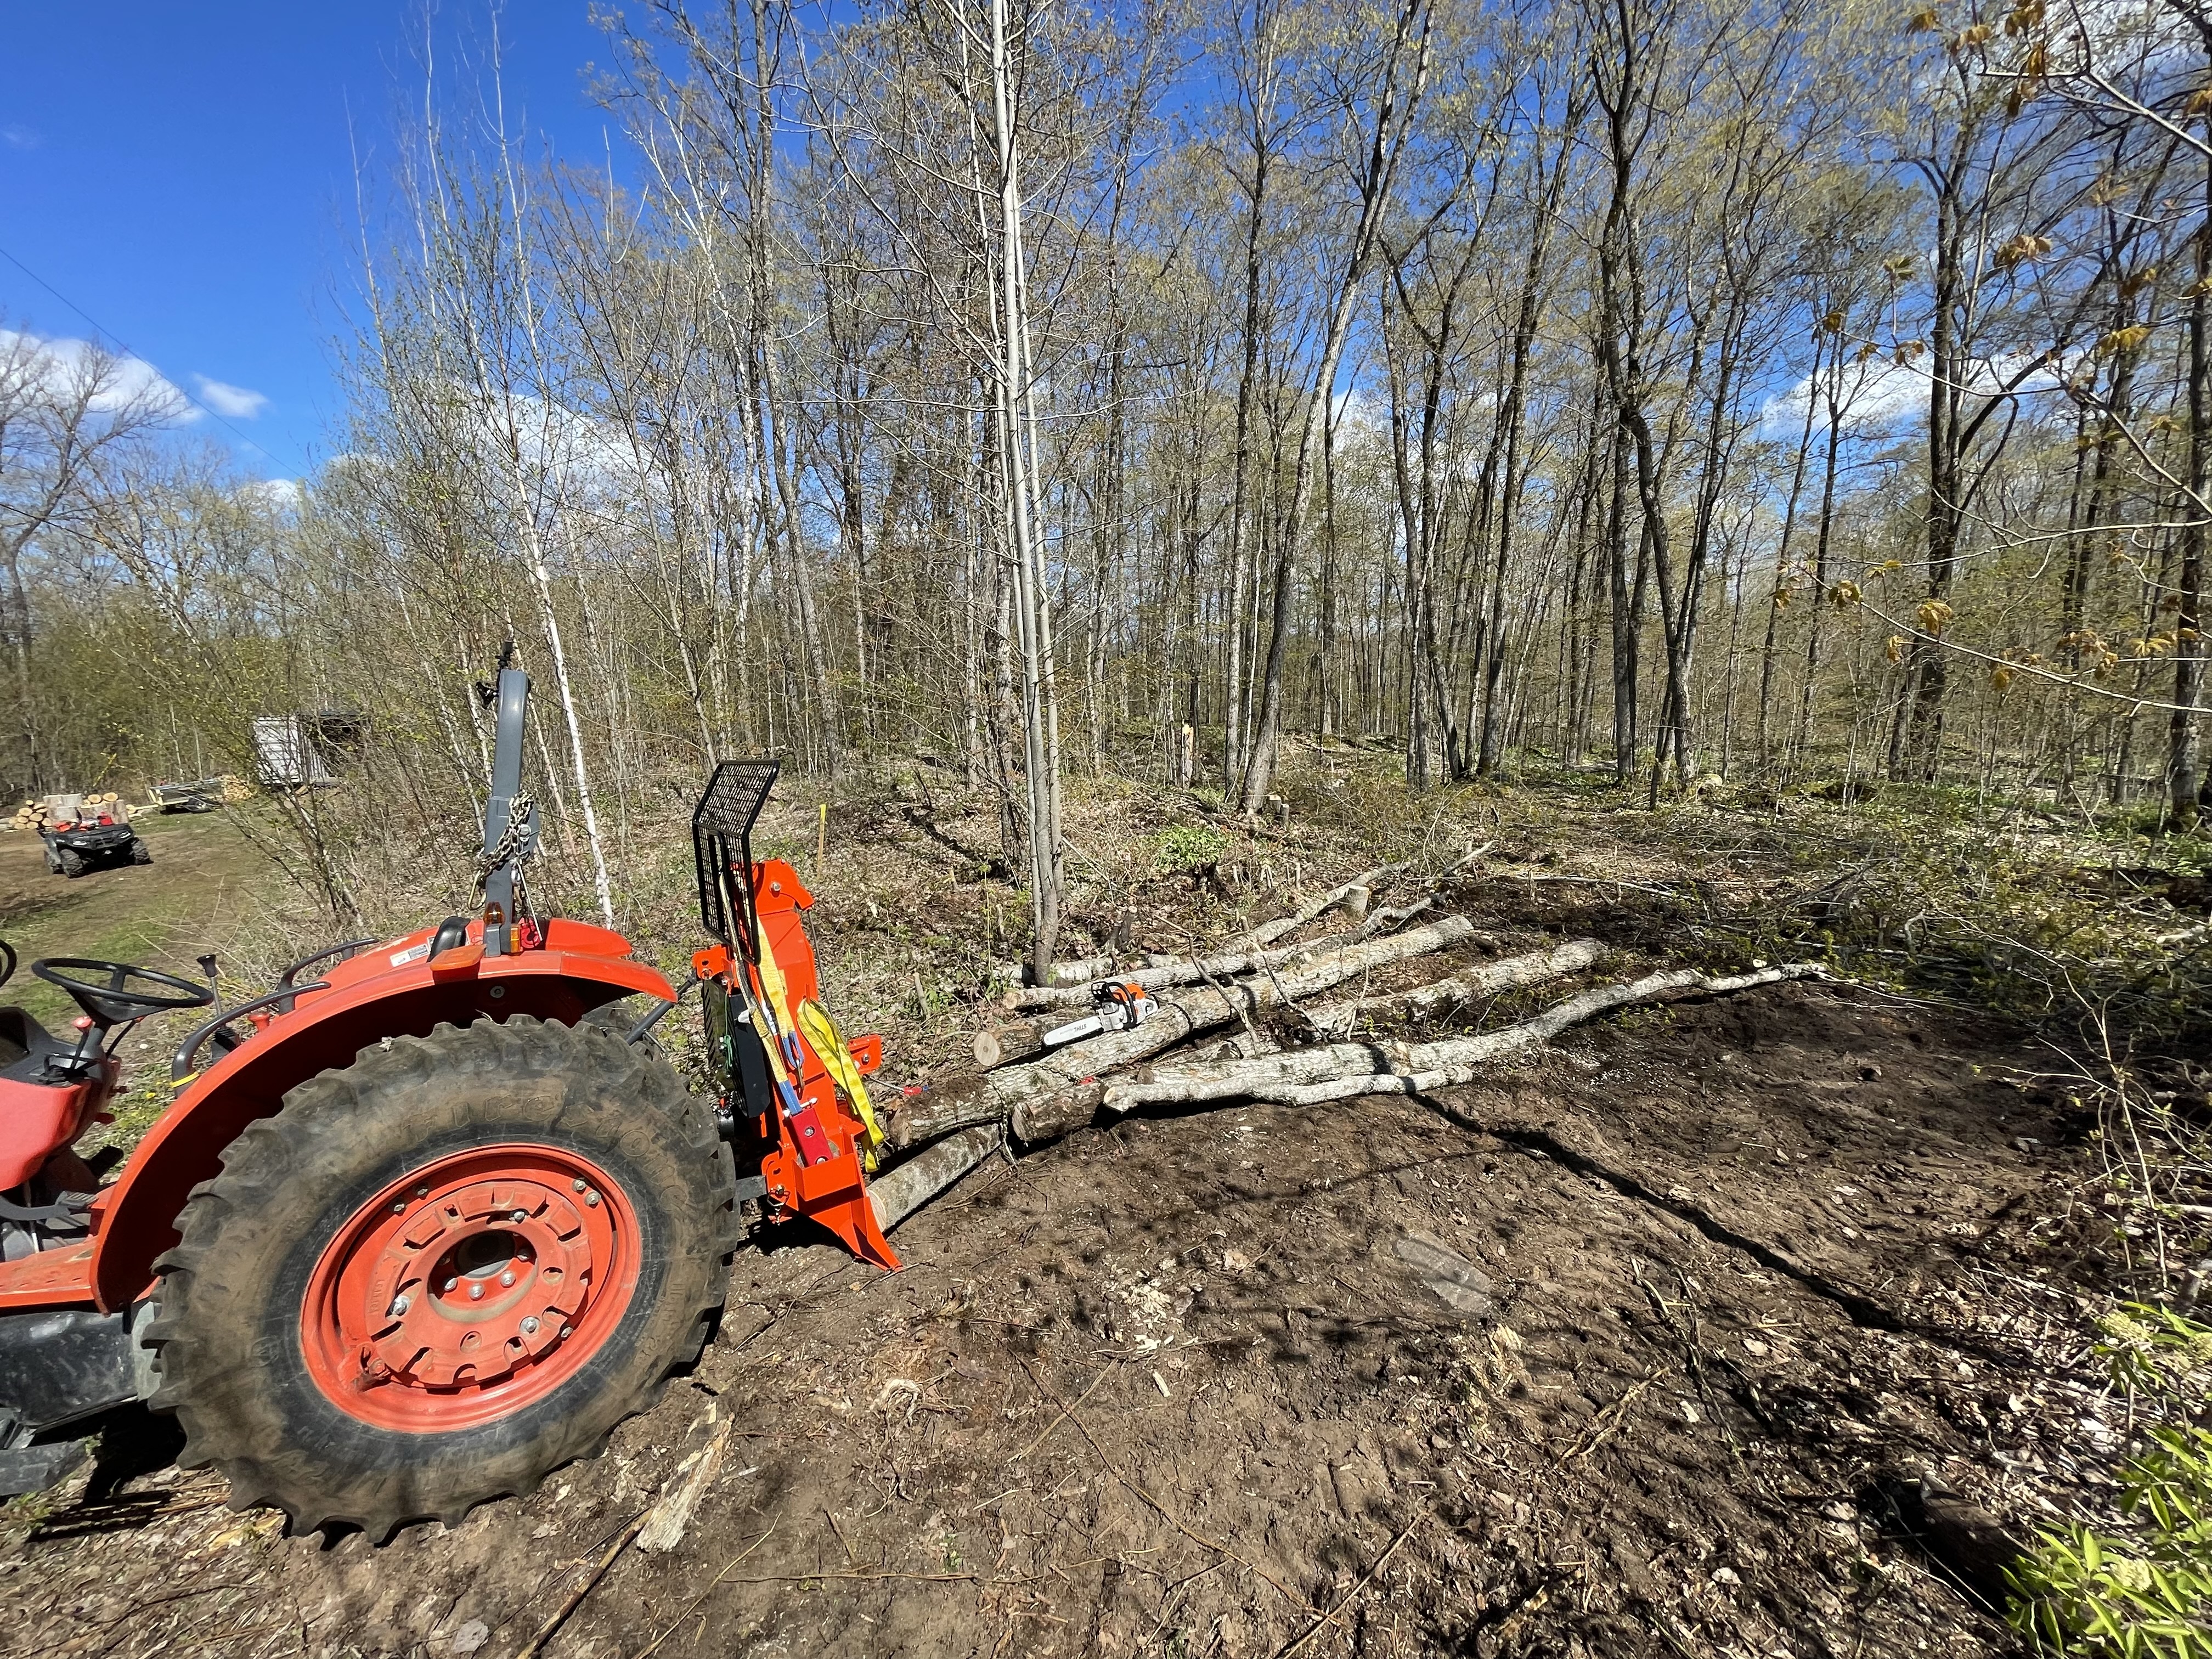
Logging winch
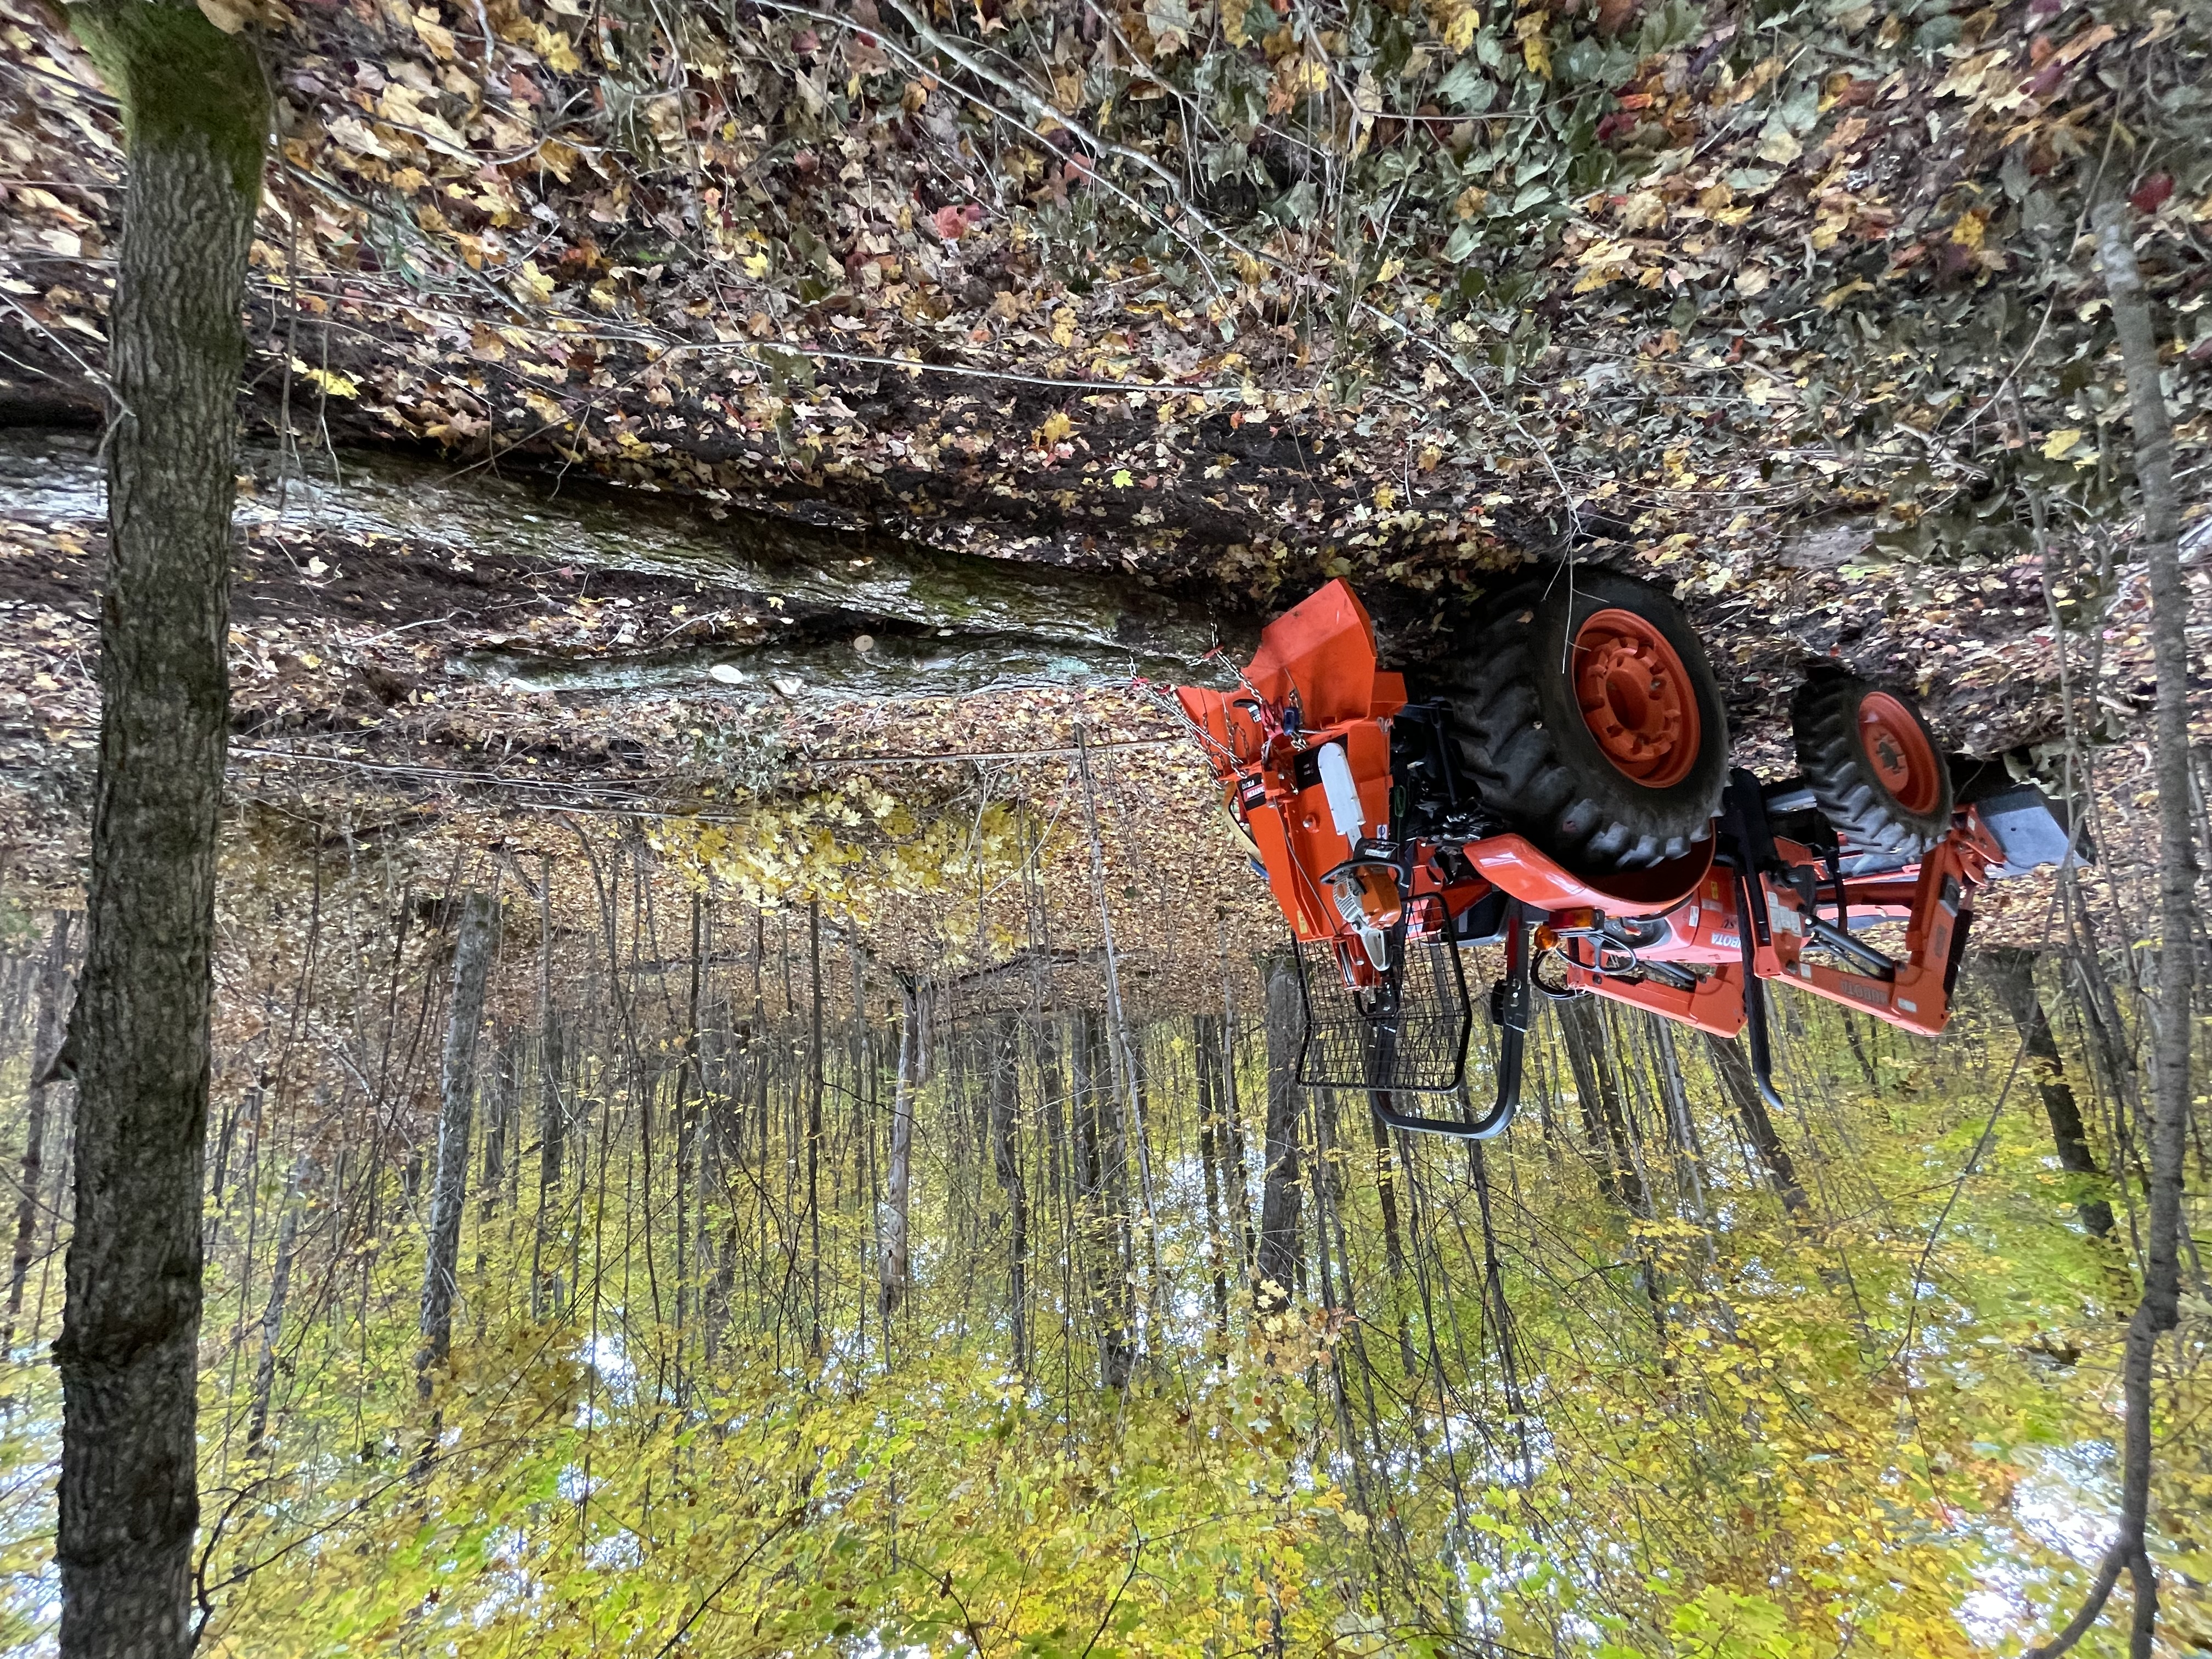
I wouldn’t have thought to look for a winch for this purpose. After all, can’t you just put a chain around a fallen tree and drag it out with, you know, the tractor? The reality is, unless the tree happens to be immediately adjacent to a road, it’s going to be hard to pull it out. Especially if the direction of the road isn’t the direction you initially need to pull the log in.
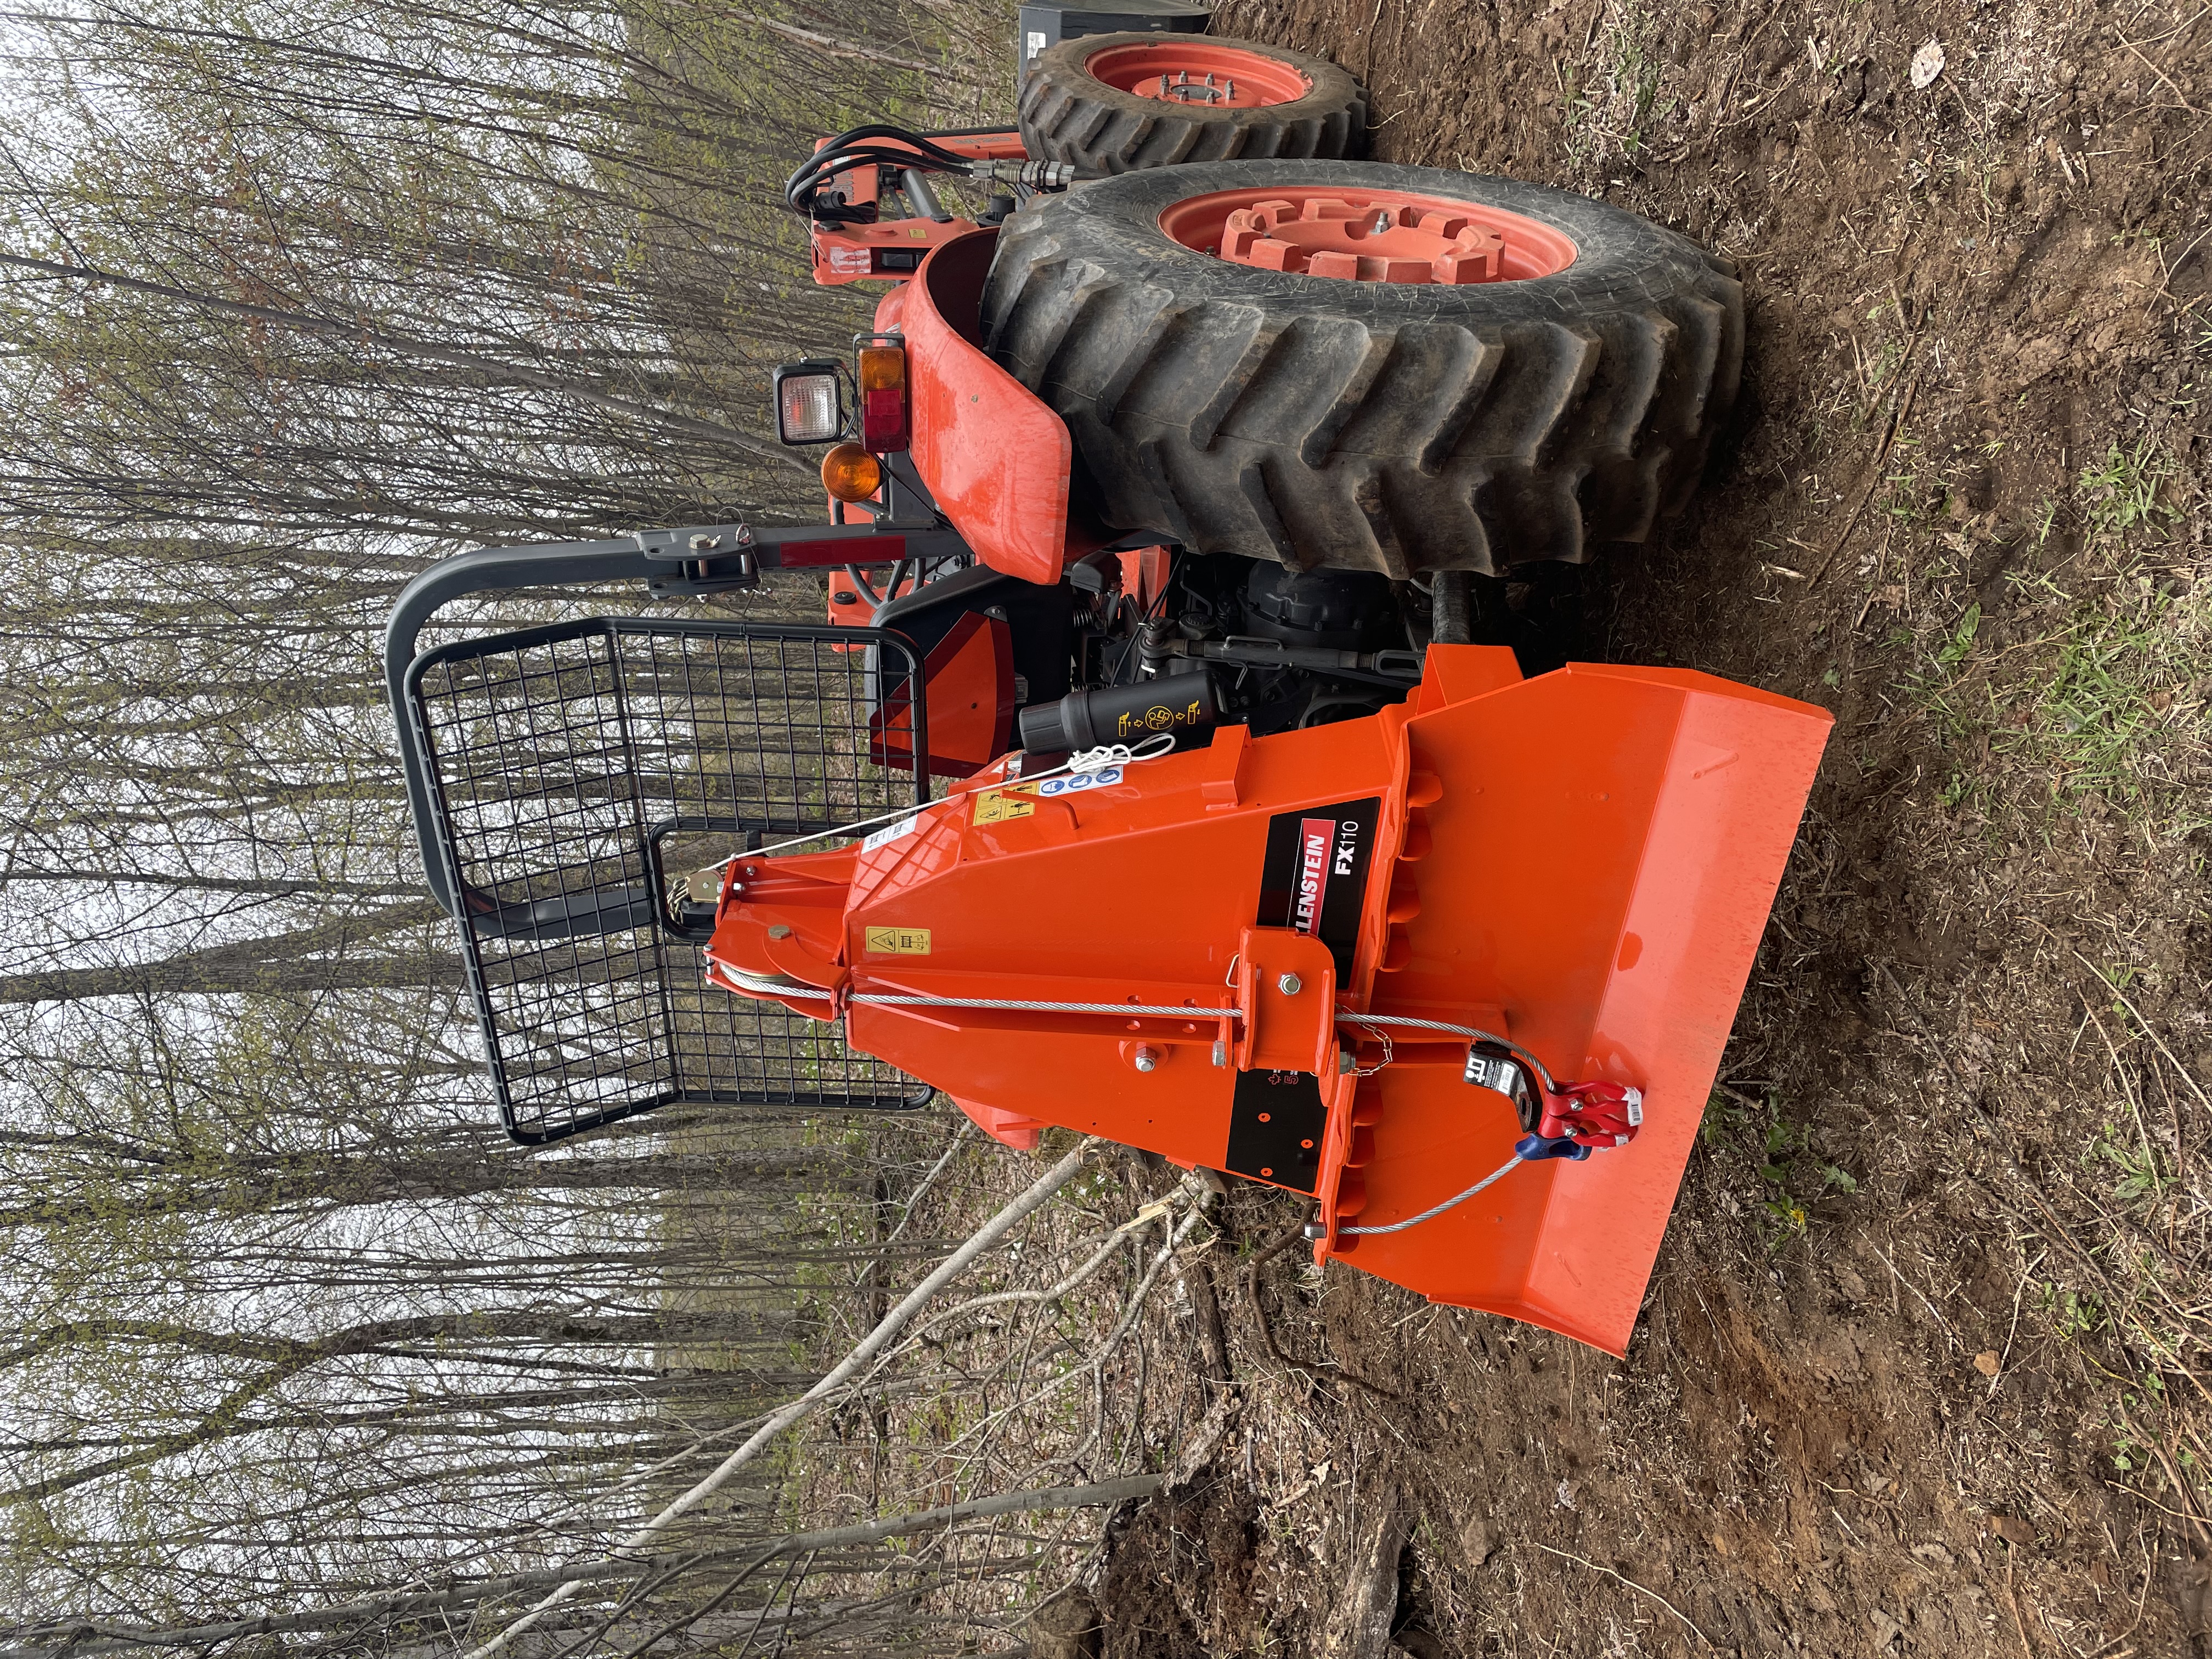
Enter logging winch, my first PTO-driven implement. Mounted to the 3-point and connected to the PTO, the winch contains a spool of heavy duty braided steel cable and a clutch. The cable runs through some configurable pulleys and away from the back of the machine. The bottom of the winch, meant to be sitting on the ground when in use, is a blade designed to dig in and prevent the winch from pulling the tractor instead of the load. The cable includes multiple means of fixing itself to logs.
In a rare occurrence, I bought a brand new thing for this role. I went with the Wallenstein FX110, an 11,000LB pull capacity model. Made in Canada (not far from me, in fact), 5 year warranty, and visibly well built. I’ll get into the details on how logging works with this thing another time, there’s a lot to it and it’s very, very fun.
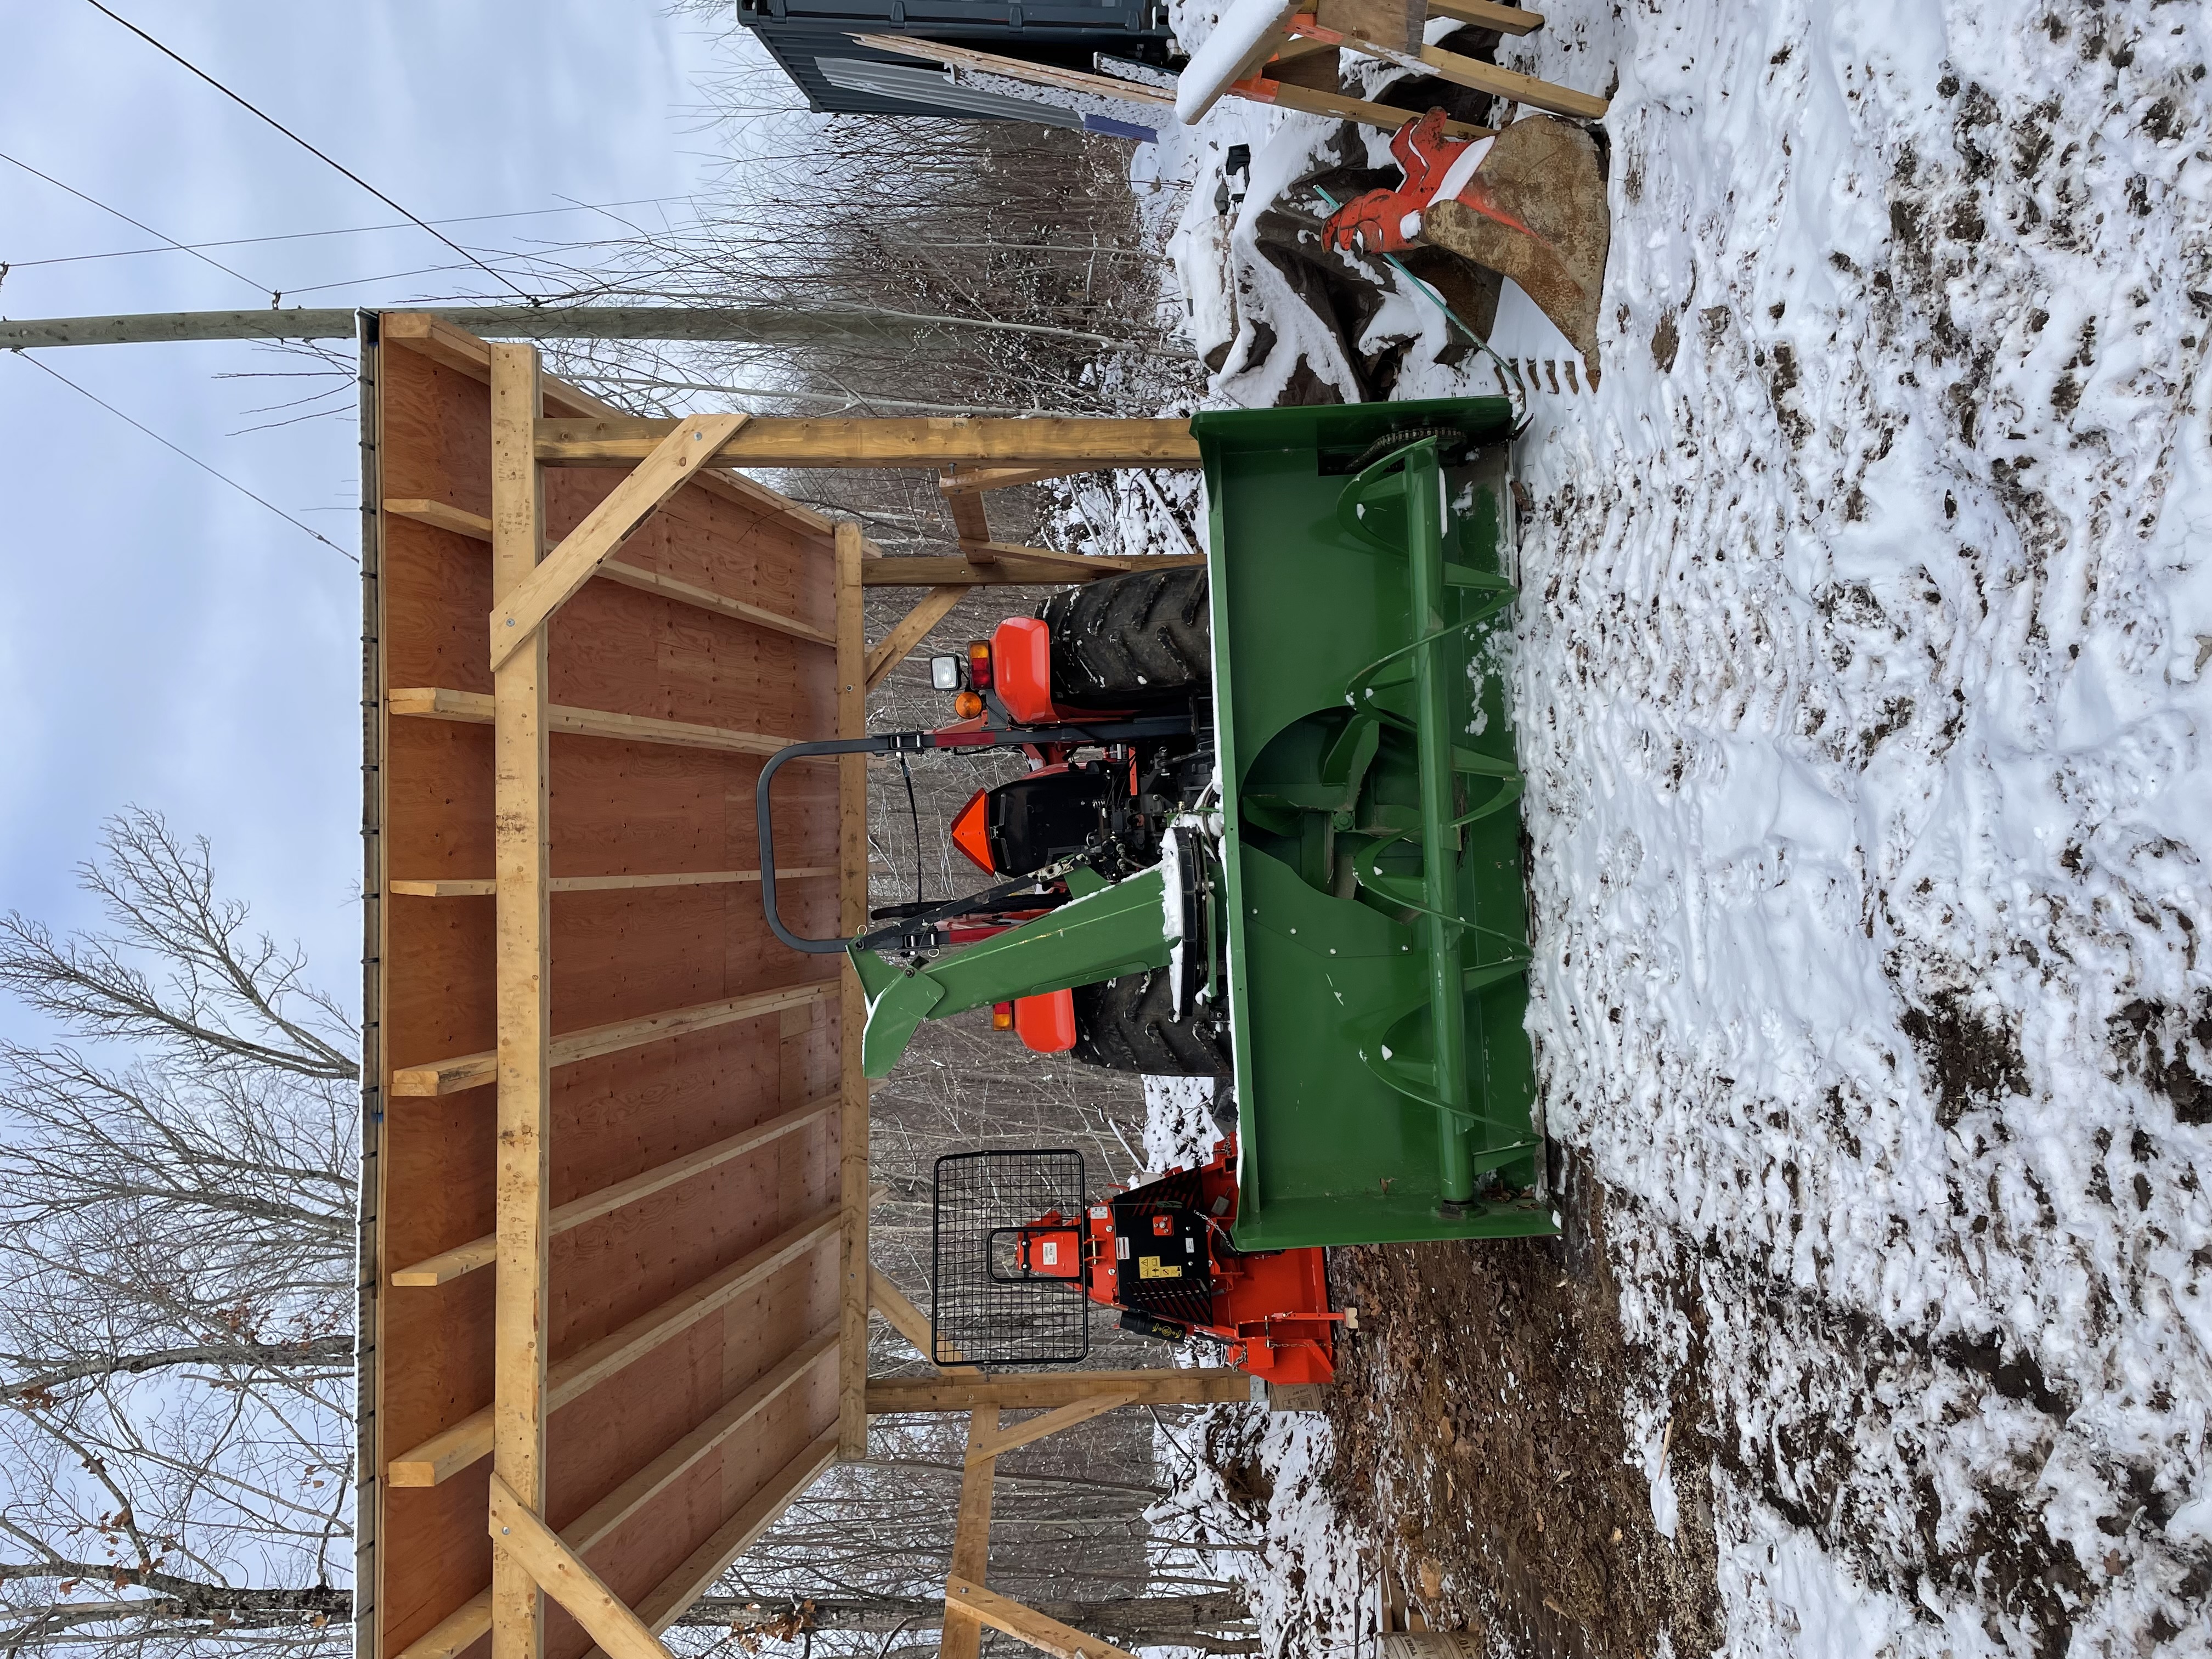
Snow blower

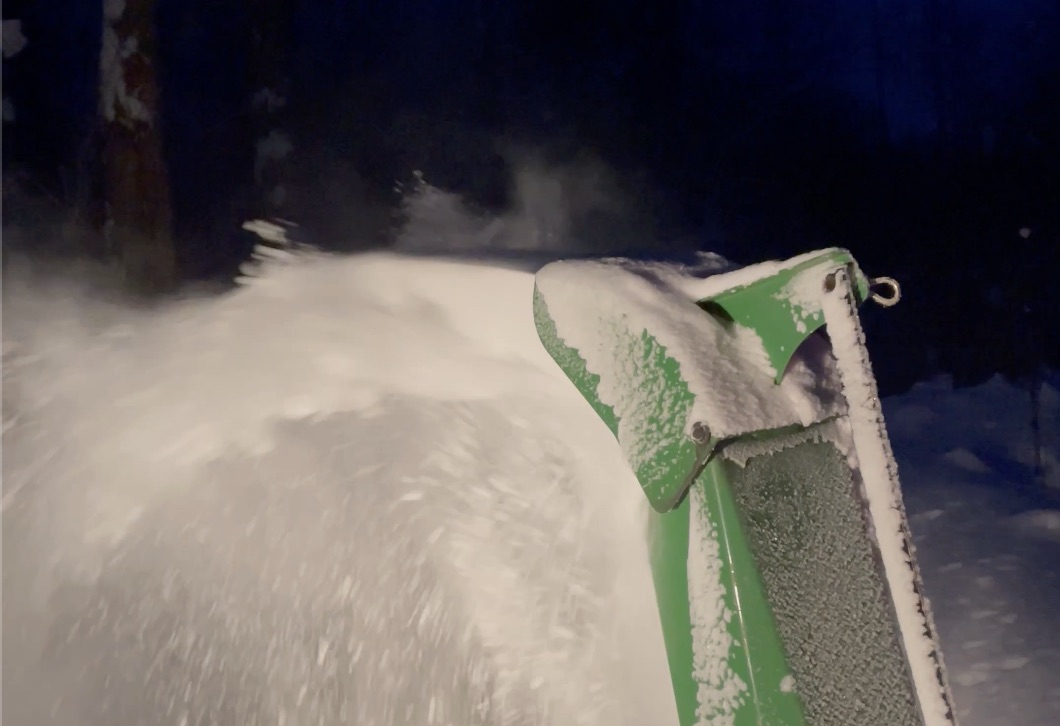
I’d only seen one winter at this point, but it was clear that the snow gets deep, and that the private section of road (1.4km worth) is not consistently maintained by anyone. I’ve been asked why I didn’t get a plow for my Tacoma, and the answer is simply that it isn’t big enough and plows are very hard on trucks, especially transmissions. I decided to go the route of a snow blower when I found a good deal on a used Walco MK Martin (also made in Canada) 7-foot wide model.
The blower is also a 3-point mount, with both PTO for the snow auger and hydraulics for remotely rotating the chute (for when you start blowing into the wind or at the side of your truck). Notably, this is a very typical PTO blower in that it points backwards, meaning you drive backwards to use it. If this doesn’t sound terribly fun, you’d be right, but remember that you get to do that while diligently contorting yourself to look backwards and being exposed to the elements in their entirety. So at least you get to be a popsicle, too. There are units called “rear pull” blowers that allow you to drive forward, and they seem to work as long as the tractor is capable of first driving through the snow head-on to get the blower to it (not always a given). These also wouldn’t allow you to clear by backing up to a building or dead end of any sort. Finally, they seem to cost three times as much, I’m not entirely sure why.
Apart from those downsides, the blower blows. After all, it’s a 61 horsepower snowblower standing a couple feet tall. With the right gear selection and throttle, it has cleared a metre of snow along the 1.4km of road, plus my driveway, in one pass. A second pass helps to widen the road a bit. There is a learning curve, and early in the season before the road is frozen solid, it’s easy to scoop some gravel accidentally, which is more a waste of gravel than anything else.
Wood chipper
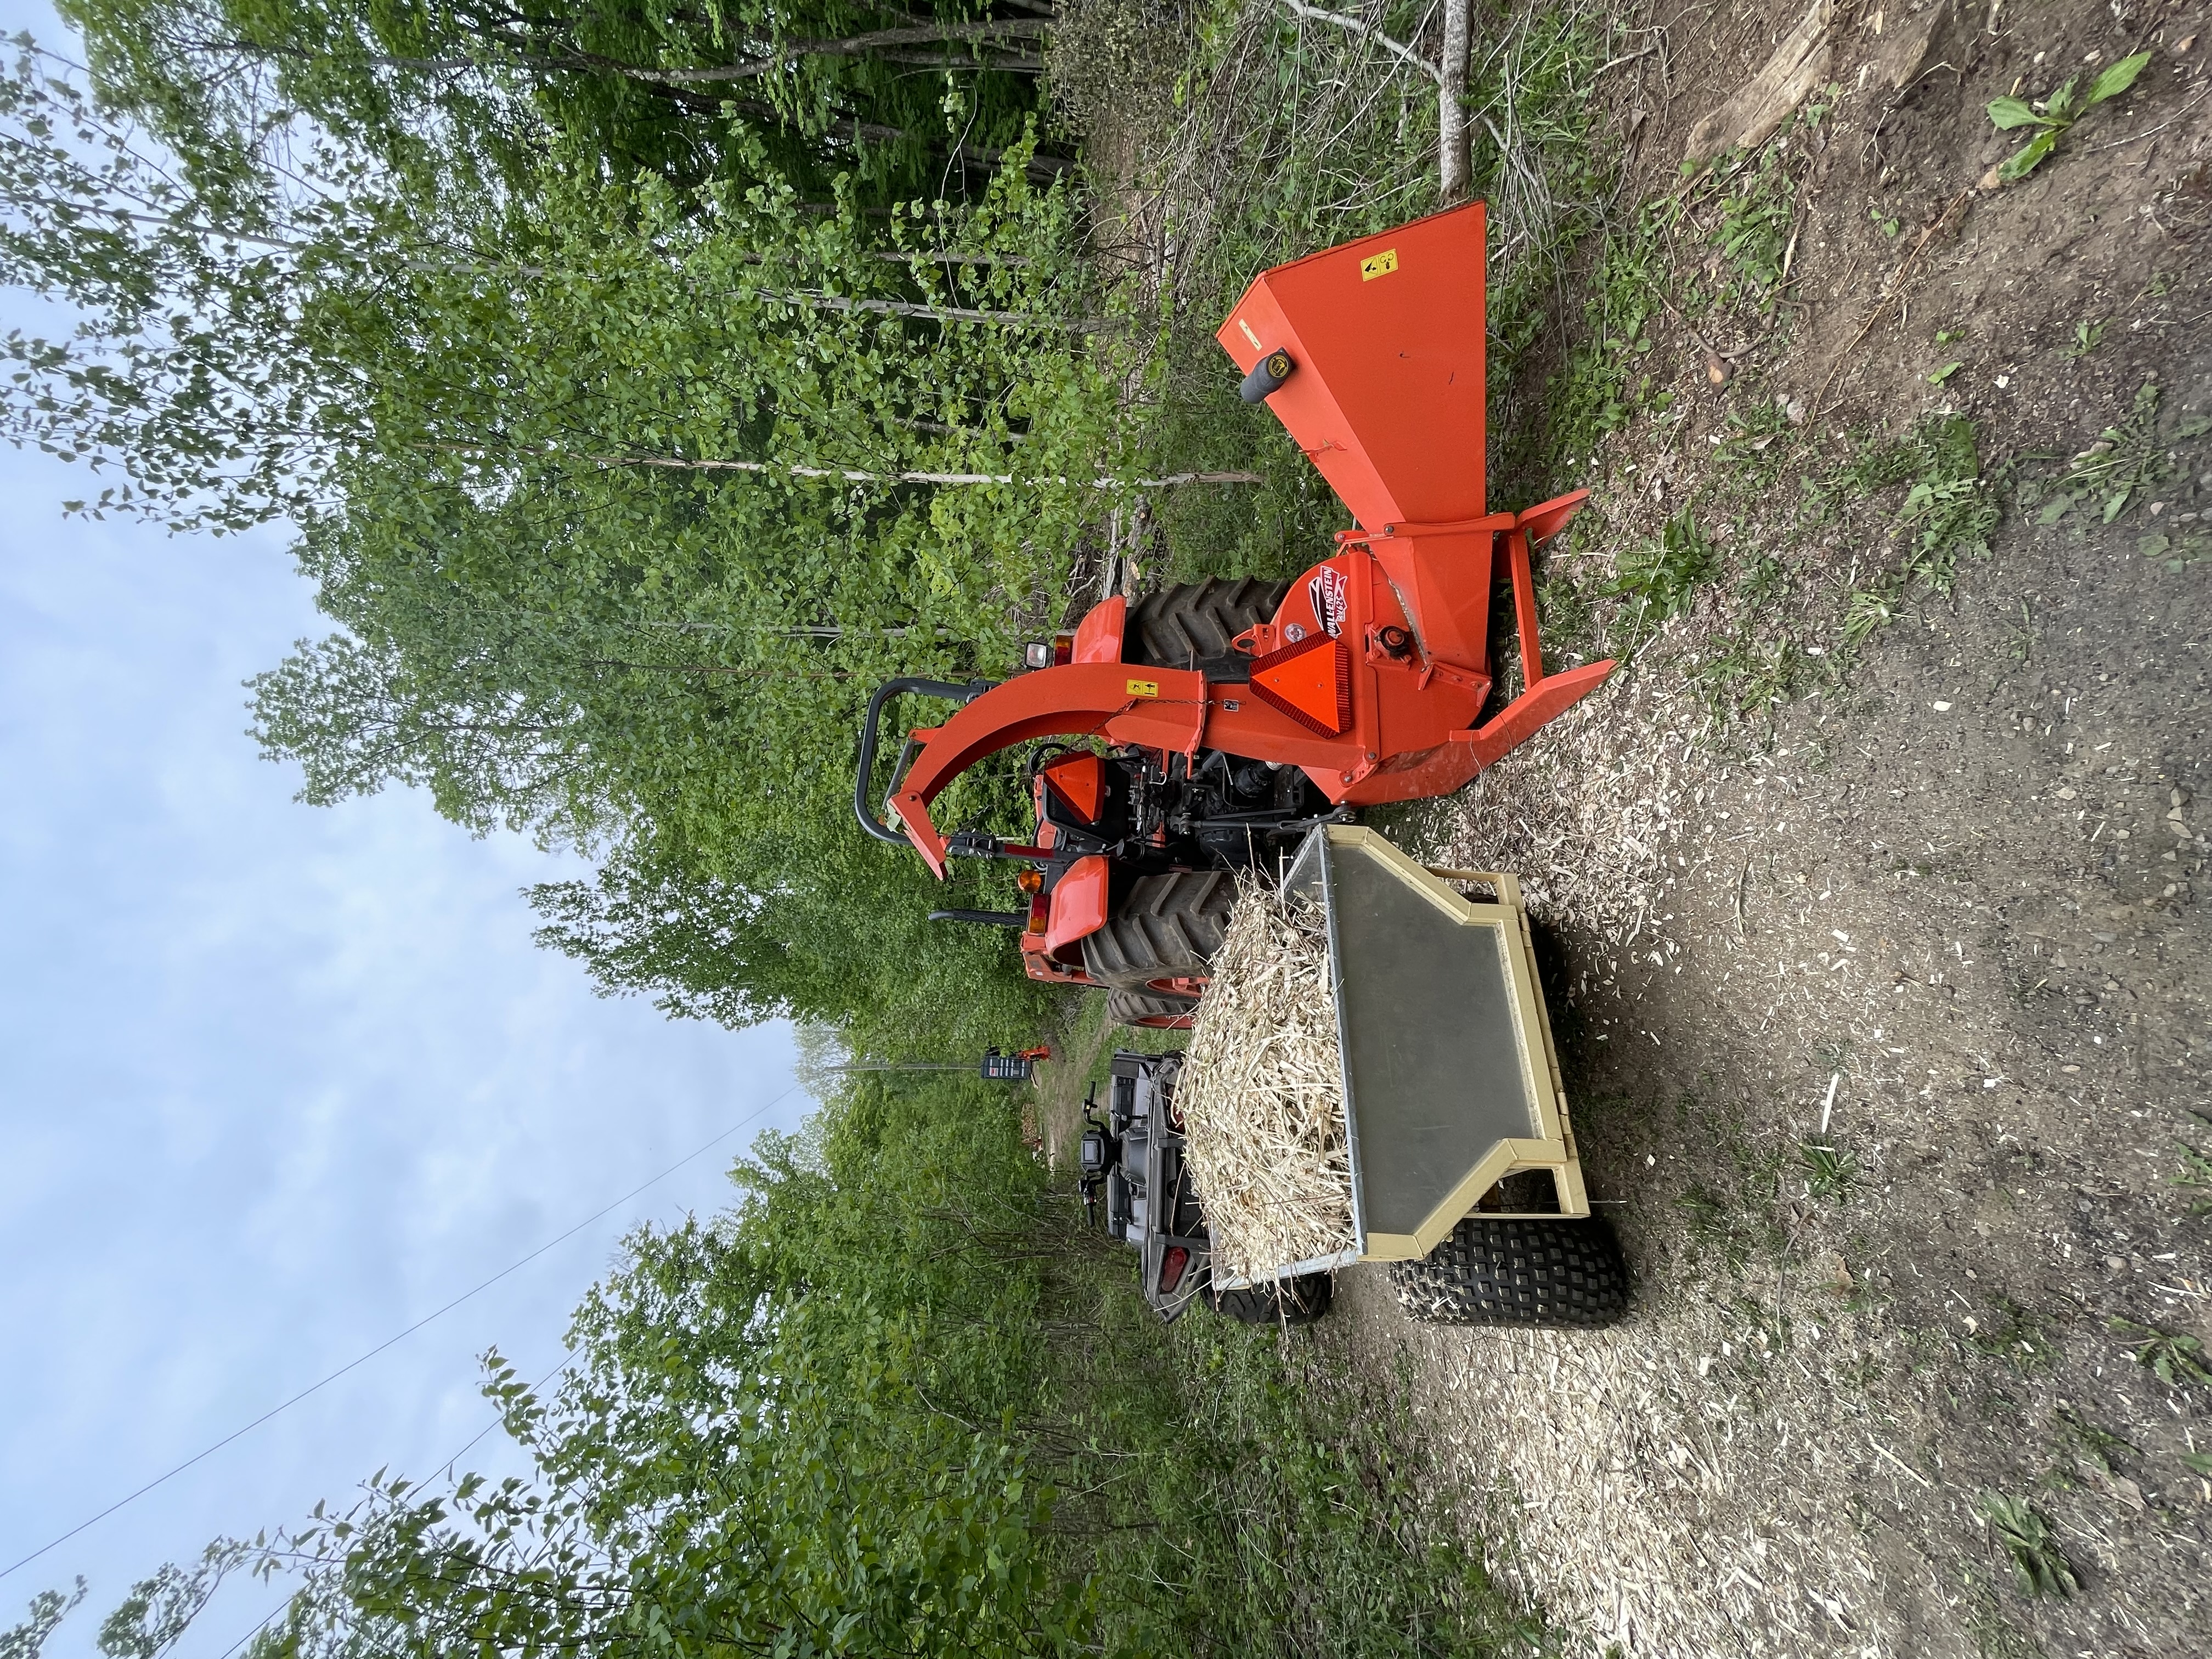
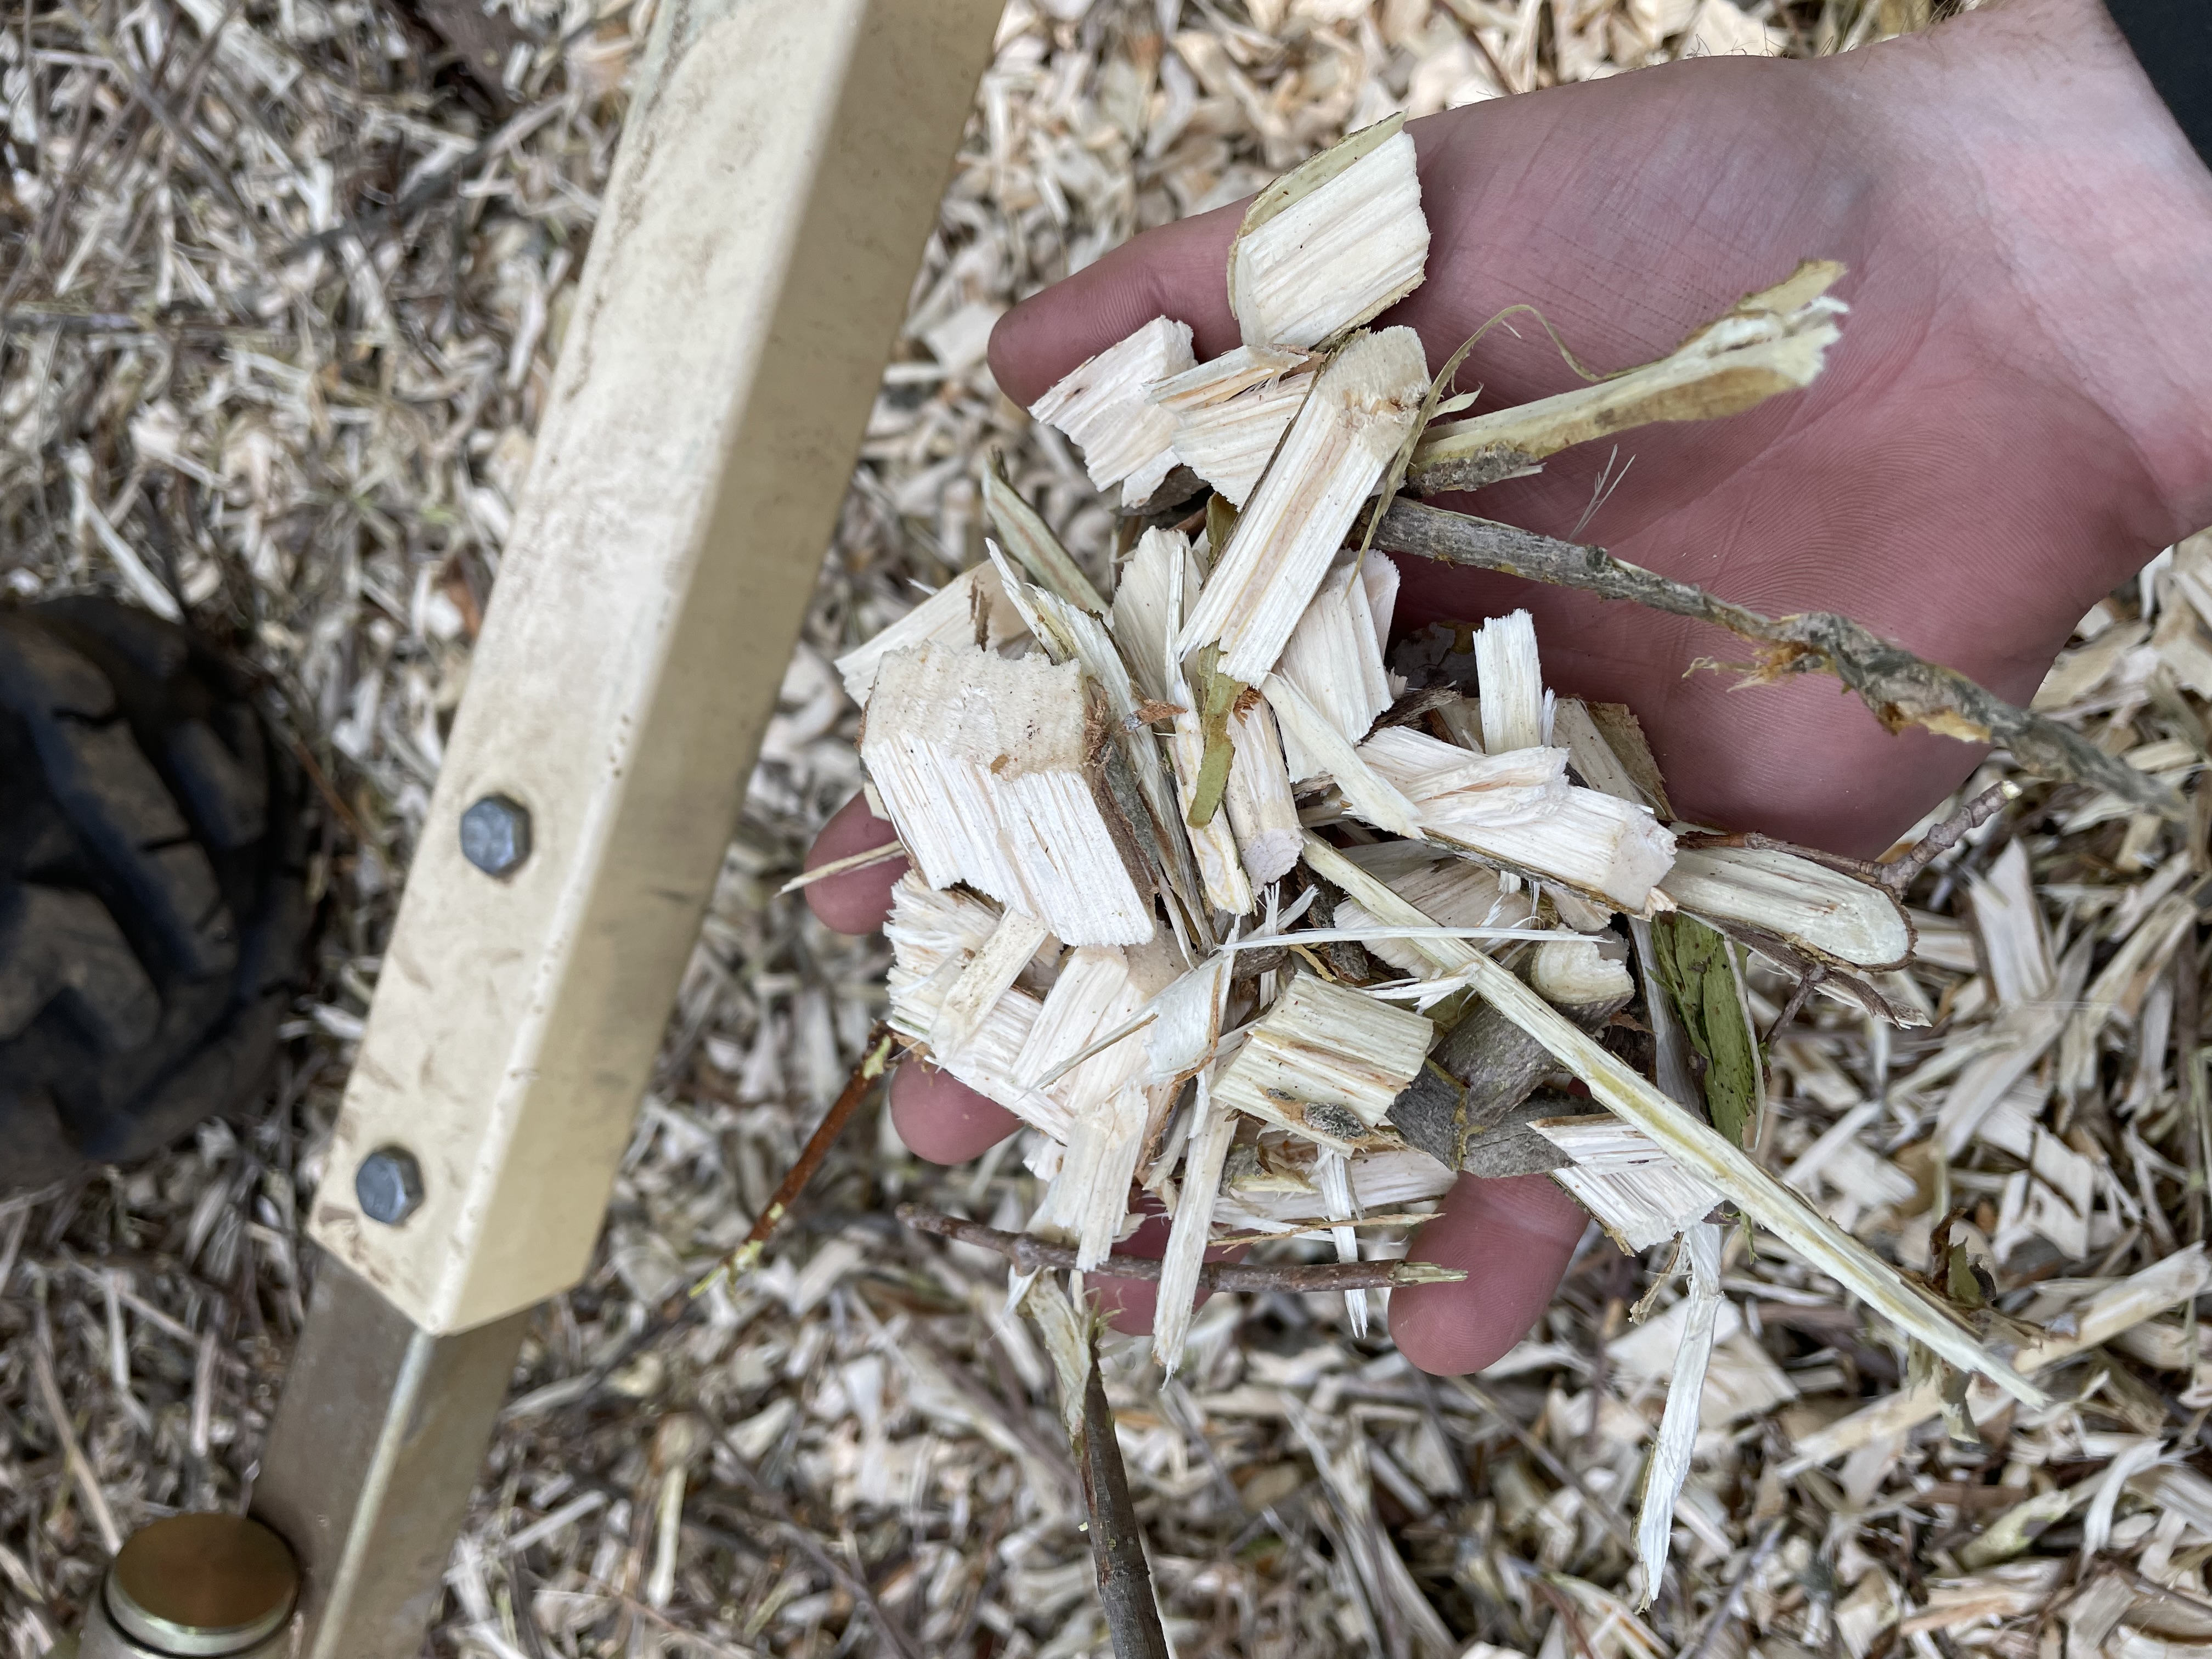
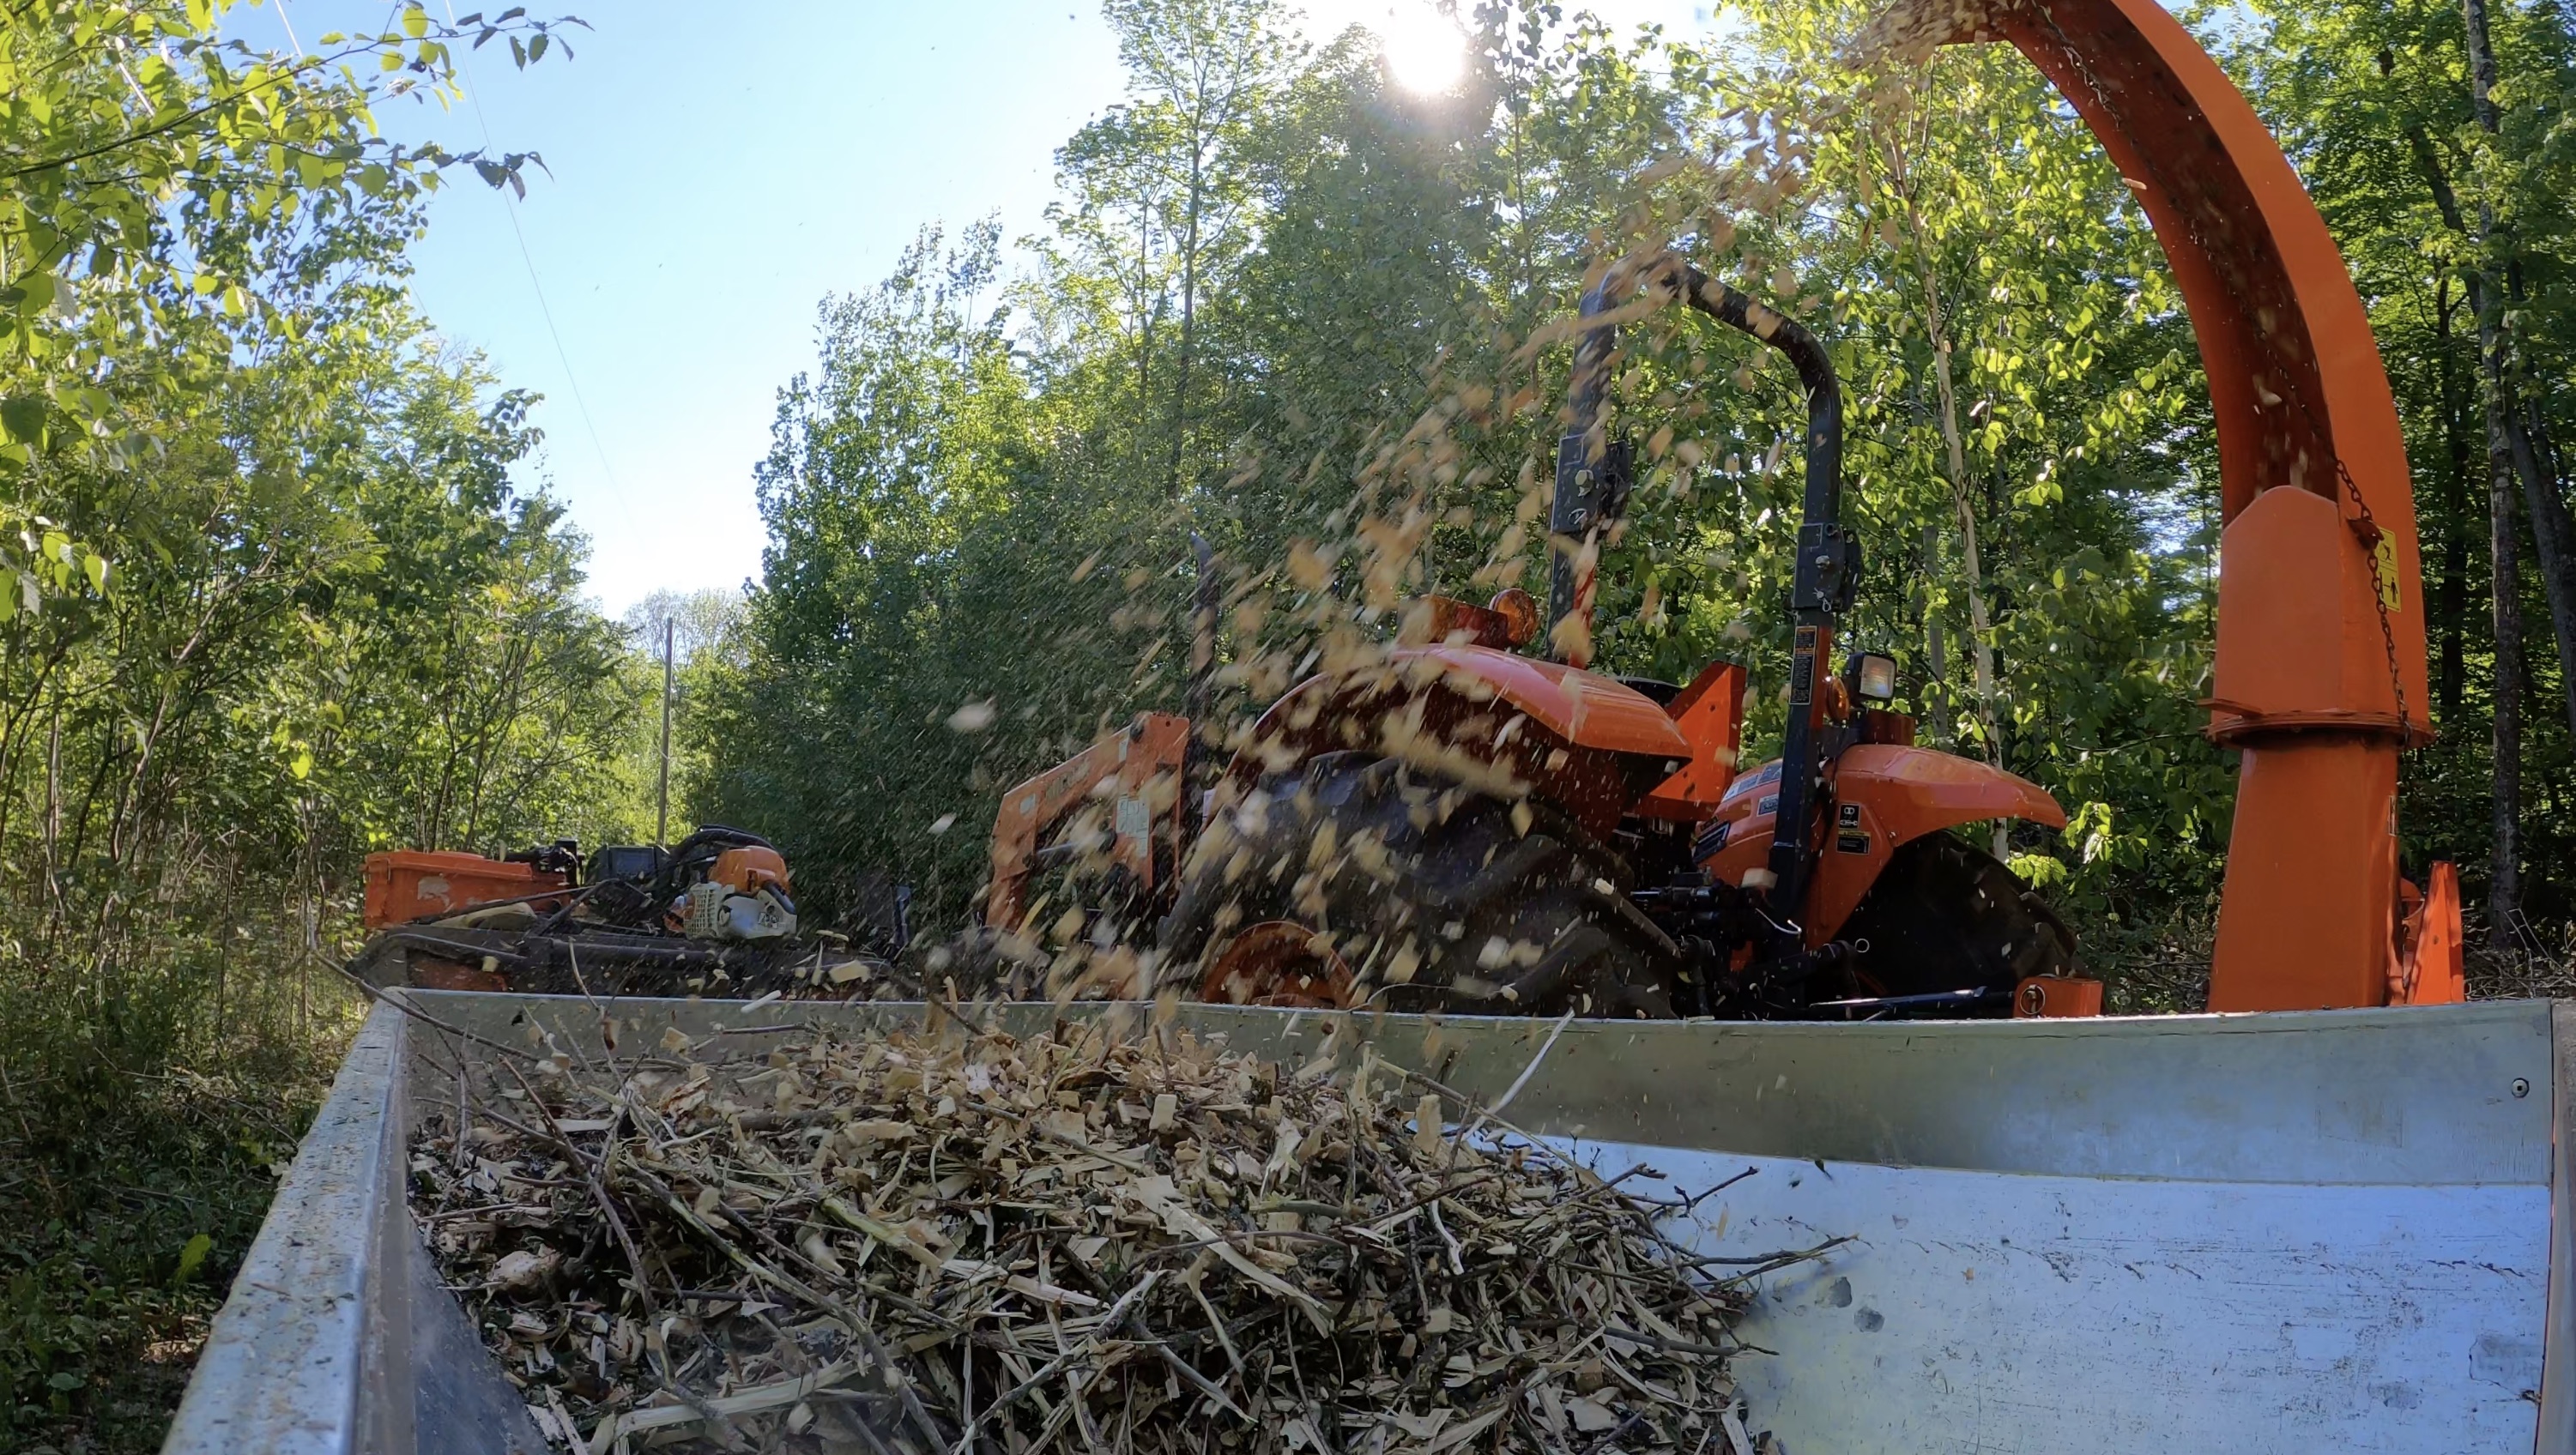
Another accessory that turns rotational energy (PTO) into a useful mechanism. A wood chipper, at its simplest, is a giant steel “flywheel” with blades embedded in it. Because the wheel is a massive, heavy piece of steel, once it is up to speed, it has enough momentum to avoid slowing down too much as hearty wood is shoved through it I think somebody once called this Conservation of Momentum. I had a couple projects I won’t get into just yet that involved a lot of tree branches laying around, and as a pleasant side effect, a chipper produces wood chips as a byproduct, which is useful as ground cover.
I found a Wallenstein BX62 3-point chipper that was clearly a few years old, but had so little use that the paint on the input chute wasn’t even worn yet, and the cutting knives showed no wear on their first (of two) edge. The unit takes wood up to about 6 inches, depending on the species (6 inch pine? no problem! ironwood? let’s talk about shear pins!).
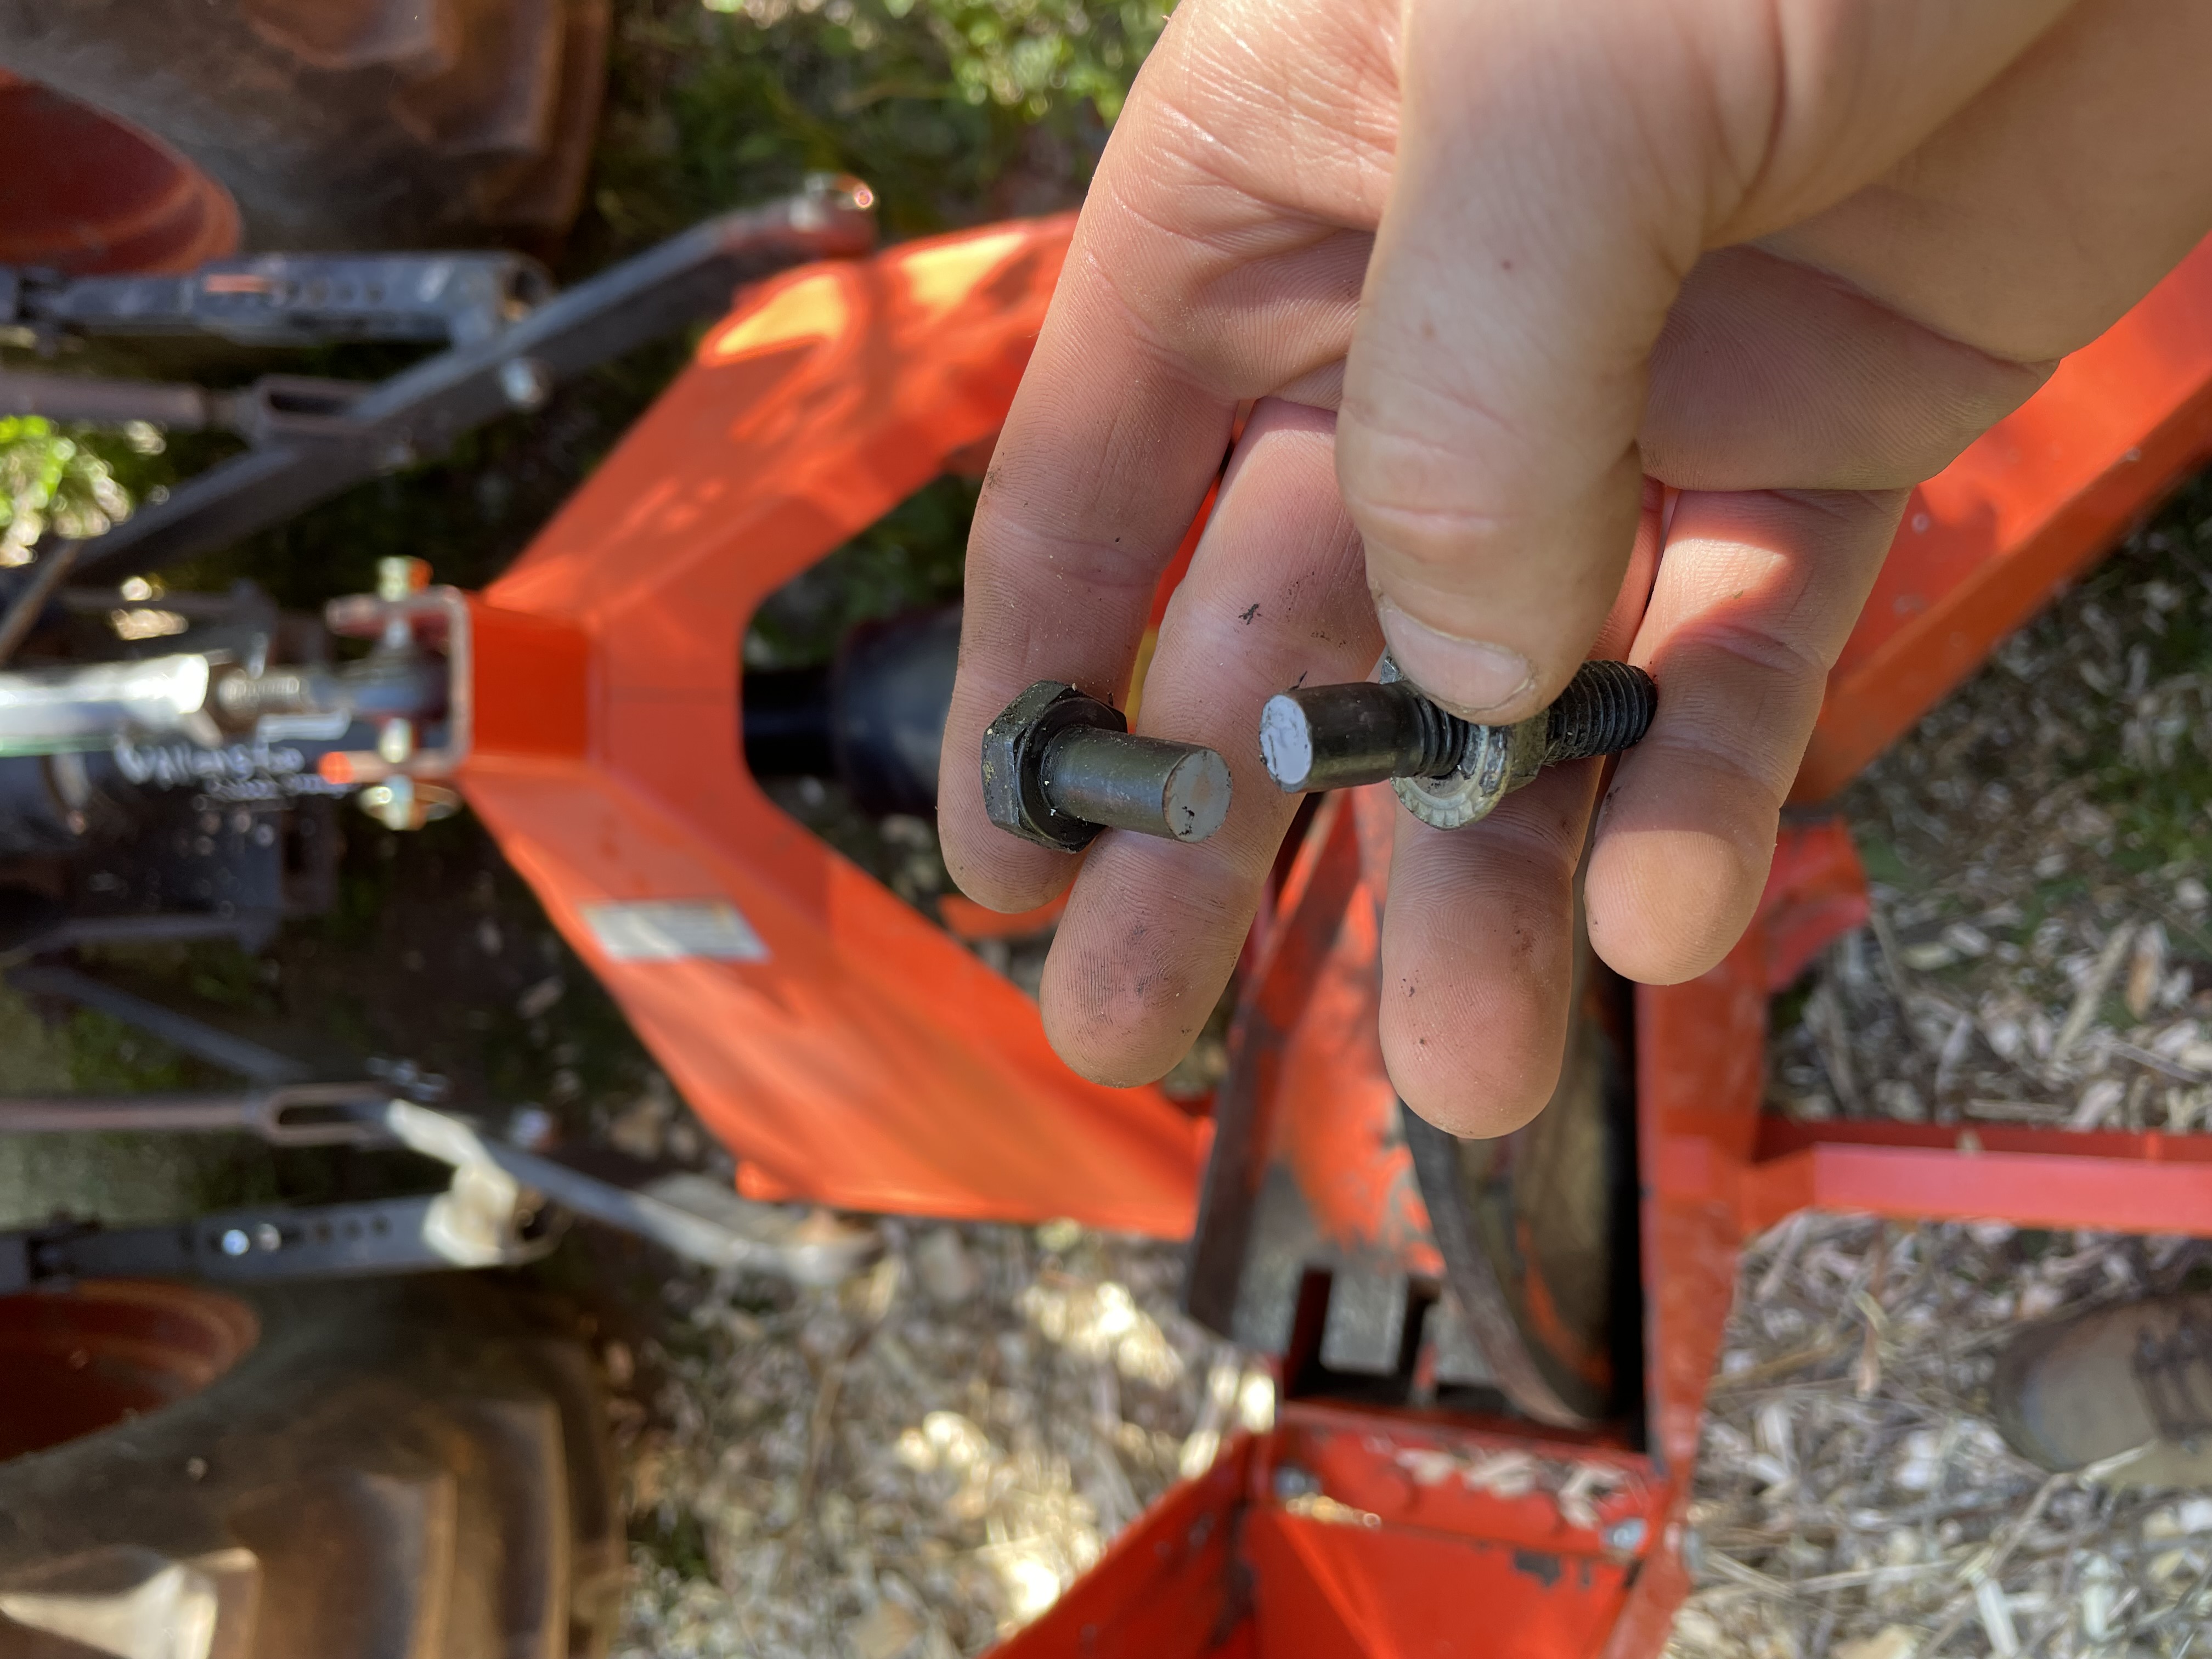
Both the snow blower and chipper have “shear pins” (or “shear bolts”). These are designed to break under high stress (specifically calibrated) before any other, more expensive components do. If a machine has shear pins on a hard-working component, one should also have spare shear pins on hand in case they try to find the upper limit of the machine. There’s nothing wrong with snapping a shear pin here and there, but it should teach you about the limits of the machine and how to operate within them. I’ve also blown the snowblower pin by inhaling a steel stake in the auger by accident.
Part of what made this unit affordable was that is a “gravity feed” model, meaning the only things sending wood through the chipper is gravity and the operator. The chipper tends to pull through material when it’s not too crooked (causing it to get caught up on the chute), and a little trick to “convince” it to eat is to stick something straighter in beside a hangup to drag it all in. The alternative is a hydraulic feed unit, which at least doubles the cost. These use a hydraulic motor with a set of teeth to force material into the chipper. It would be nice, but for occasional use, gravity feed works just fine.
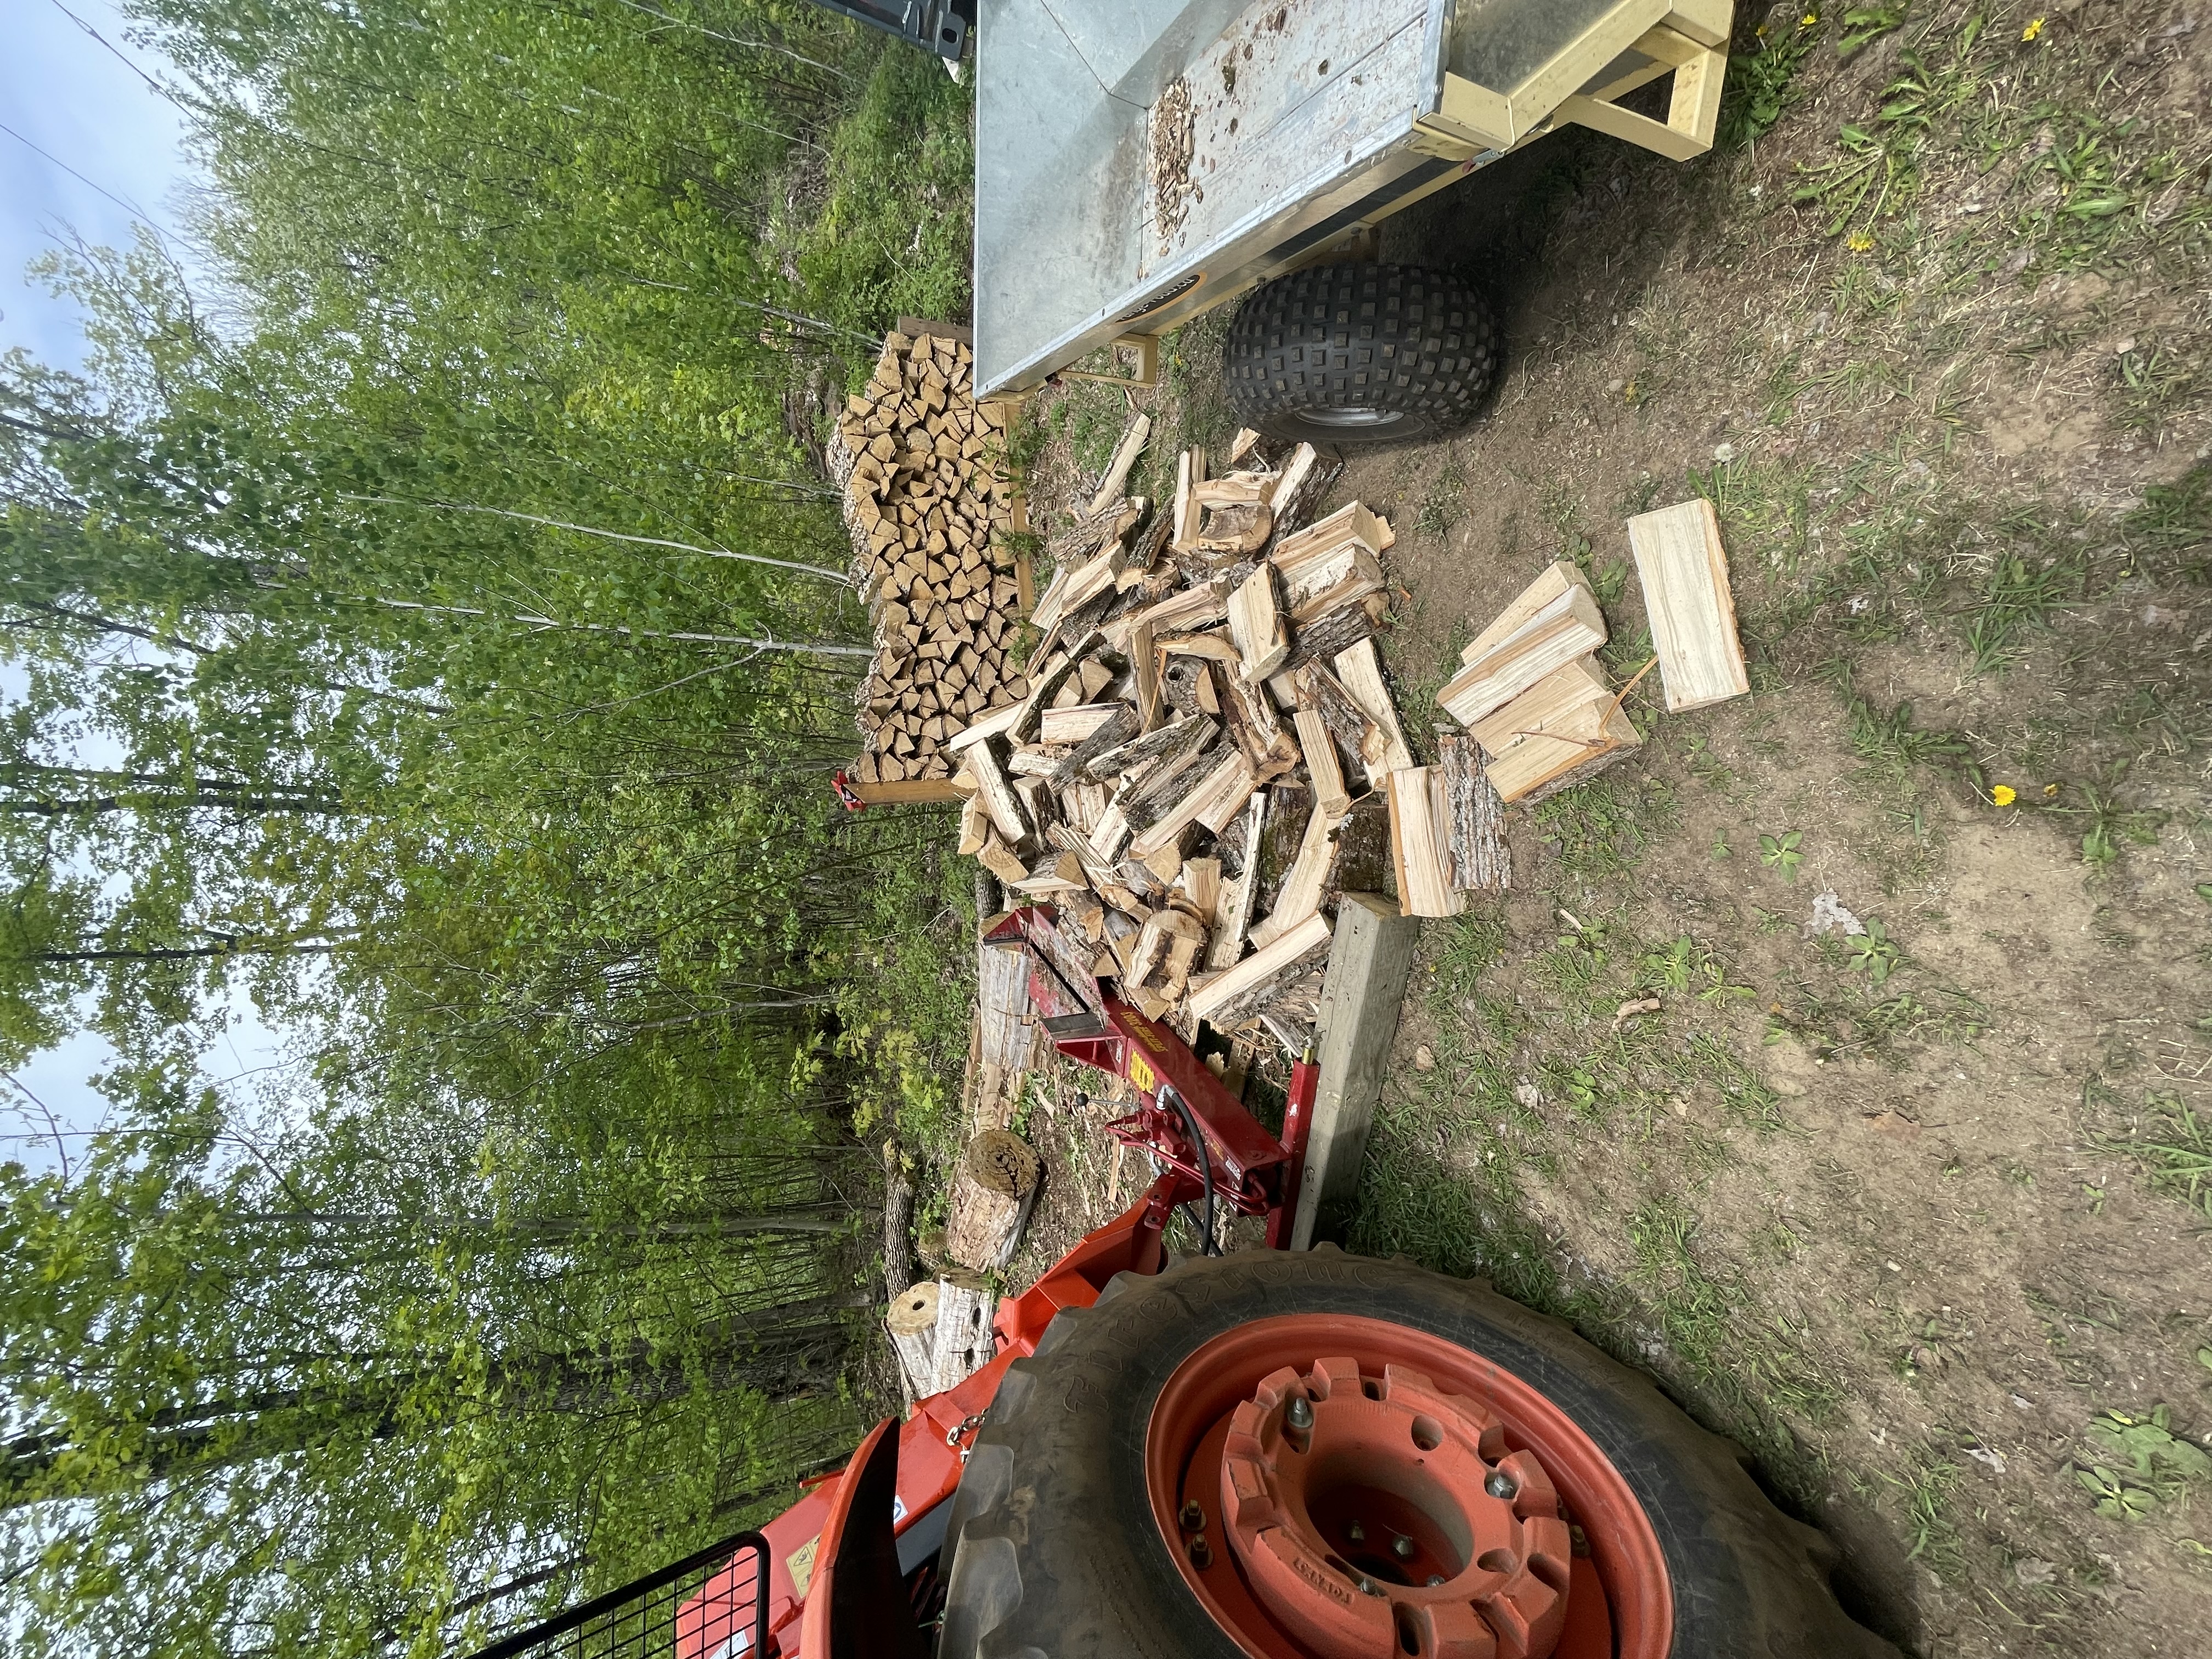
Log splitter
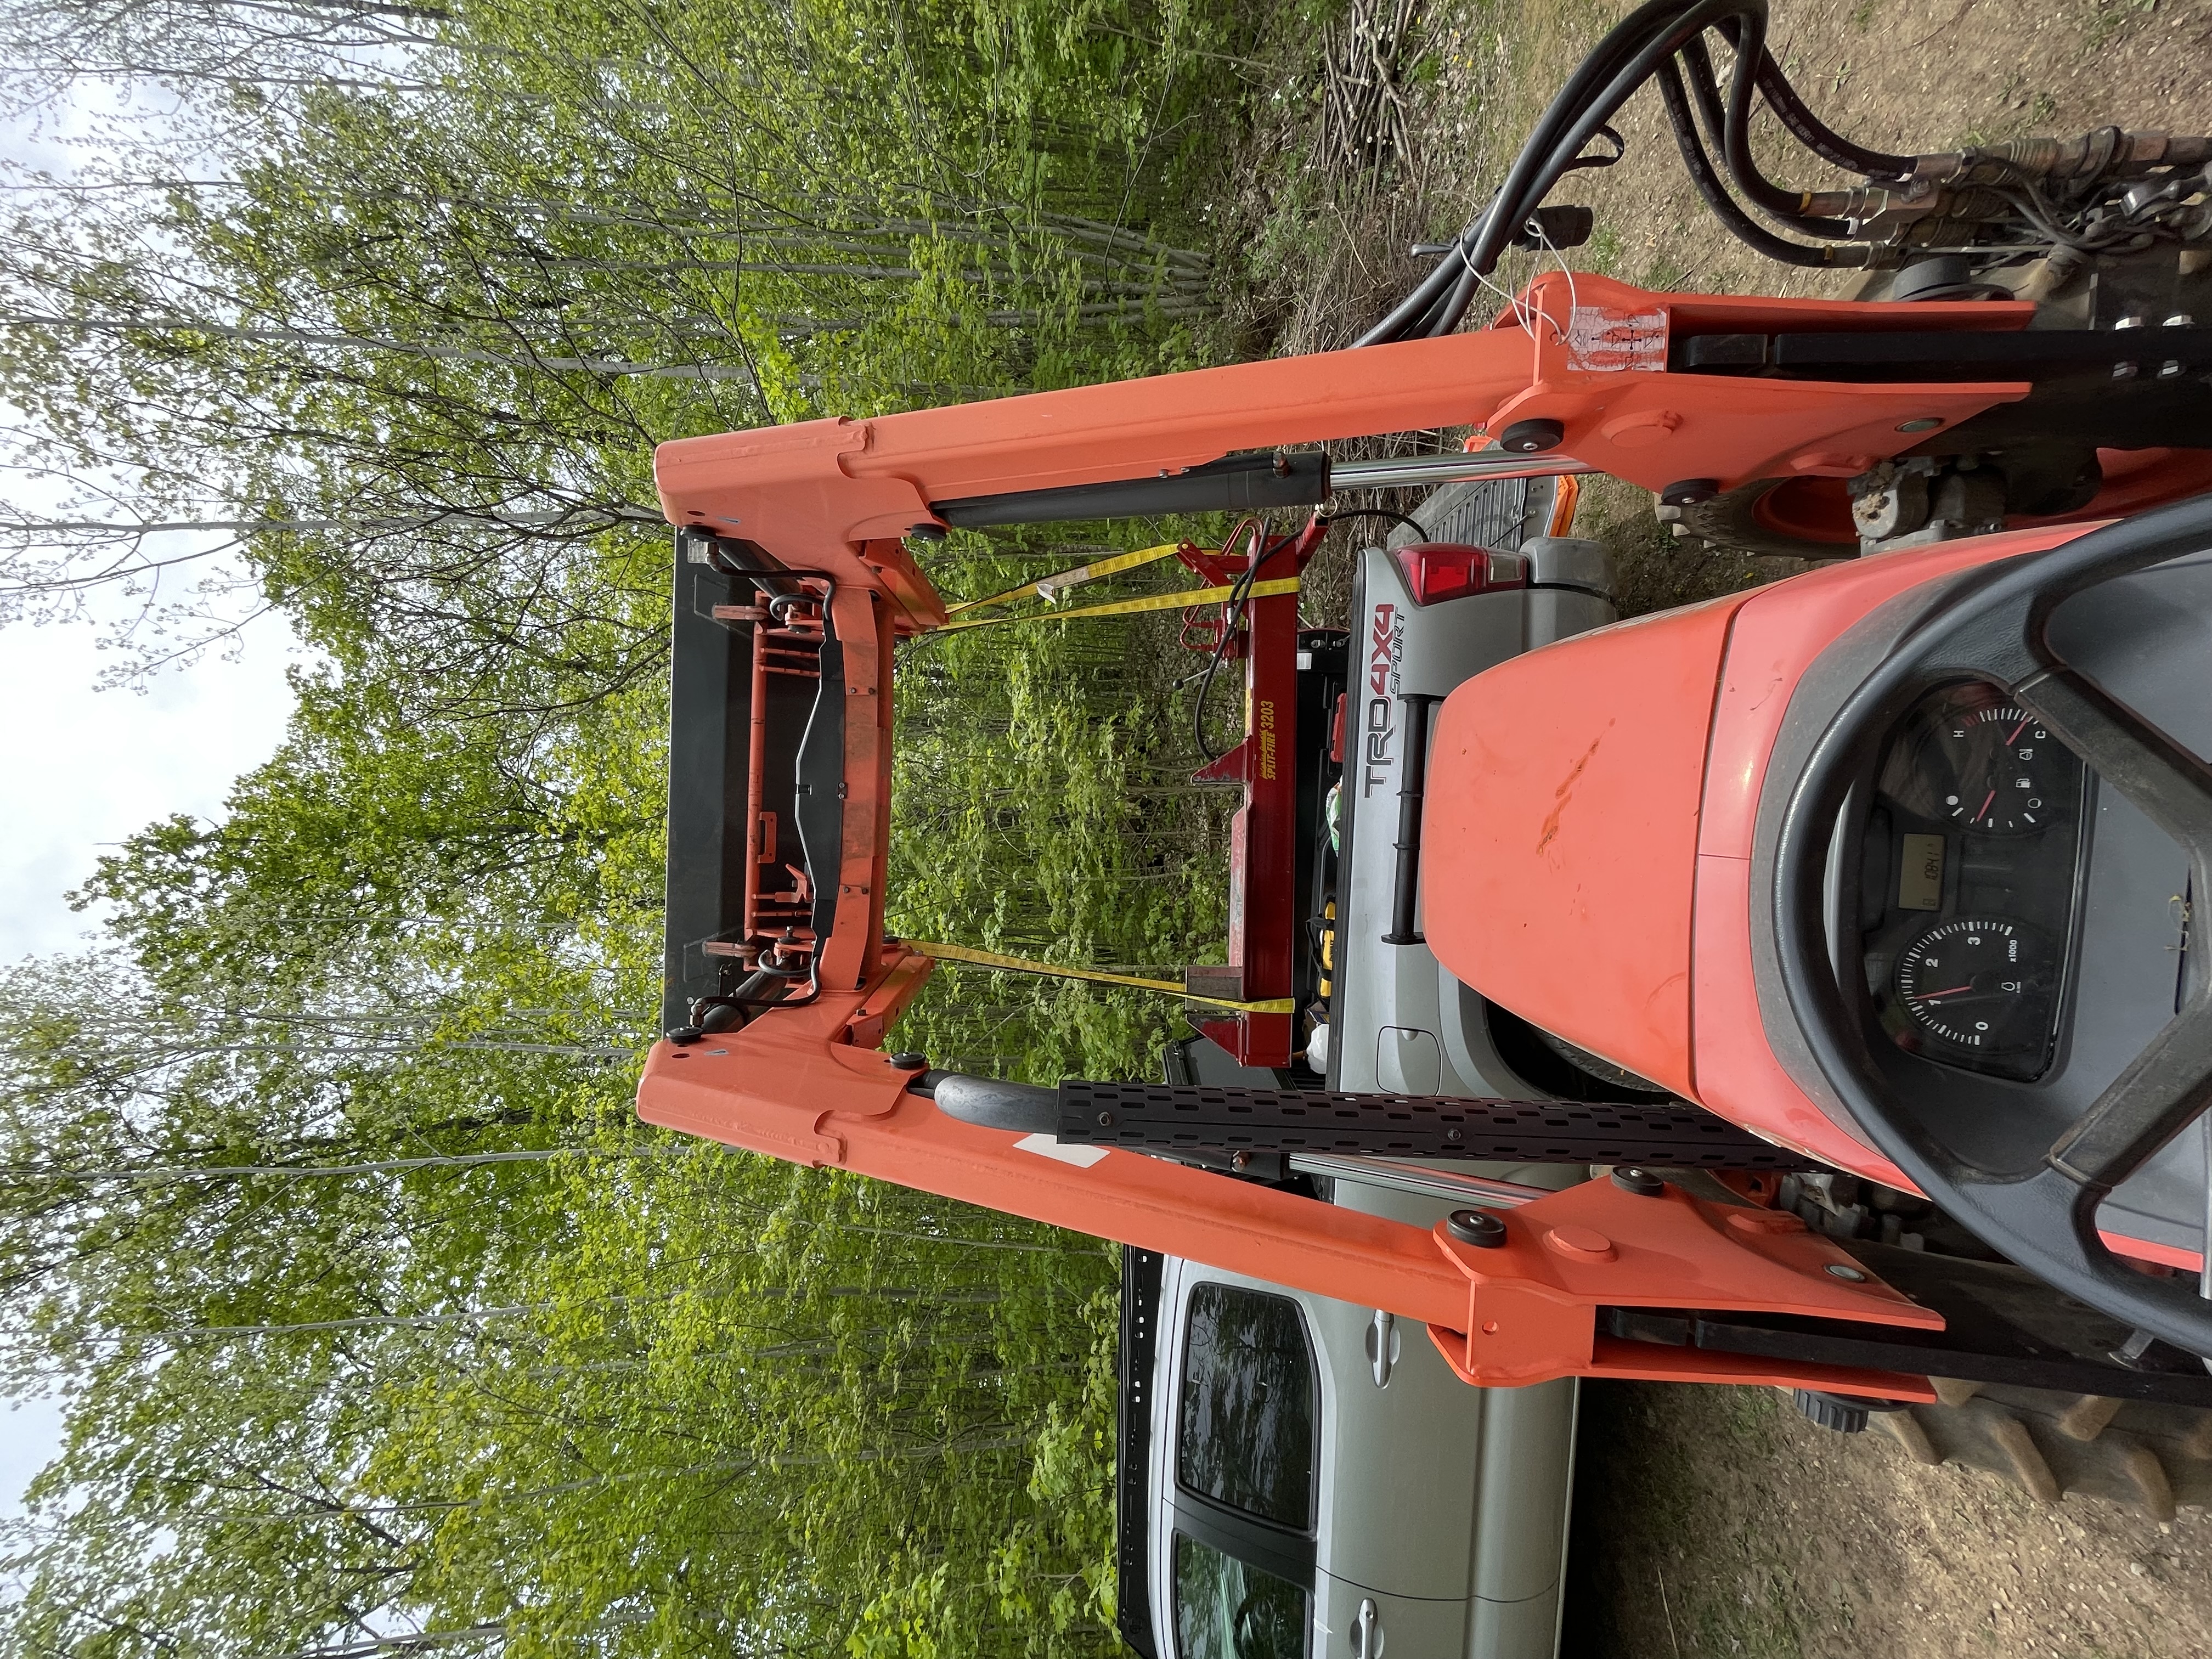
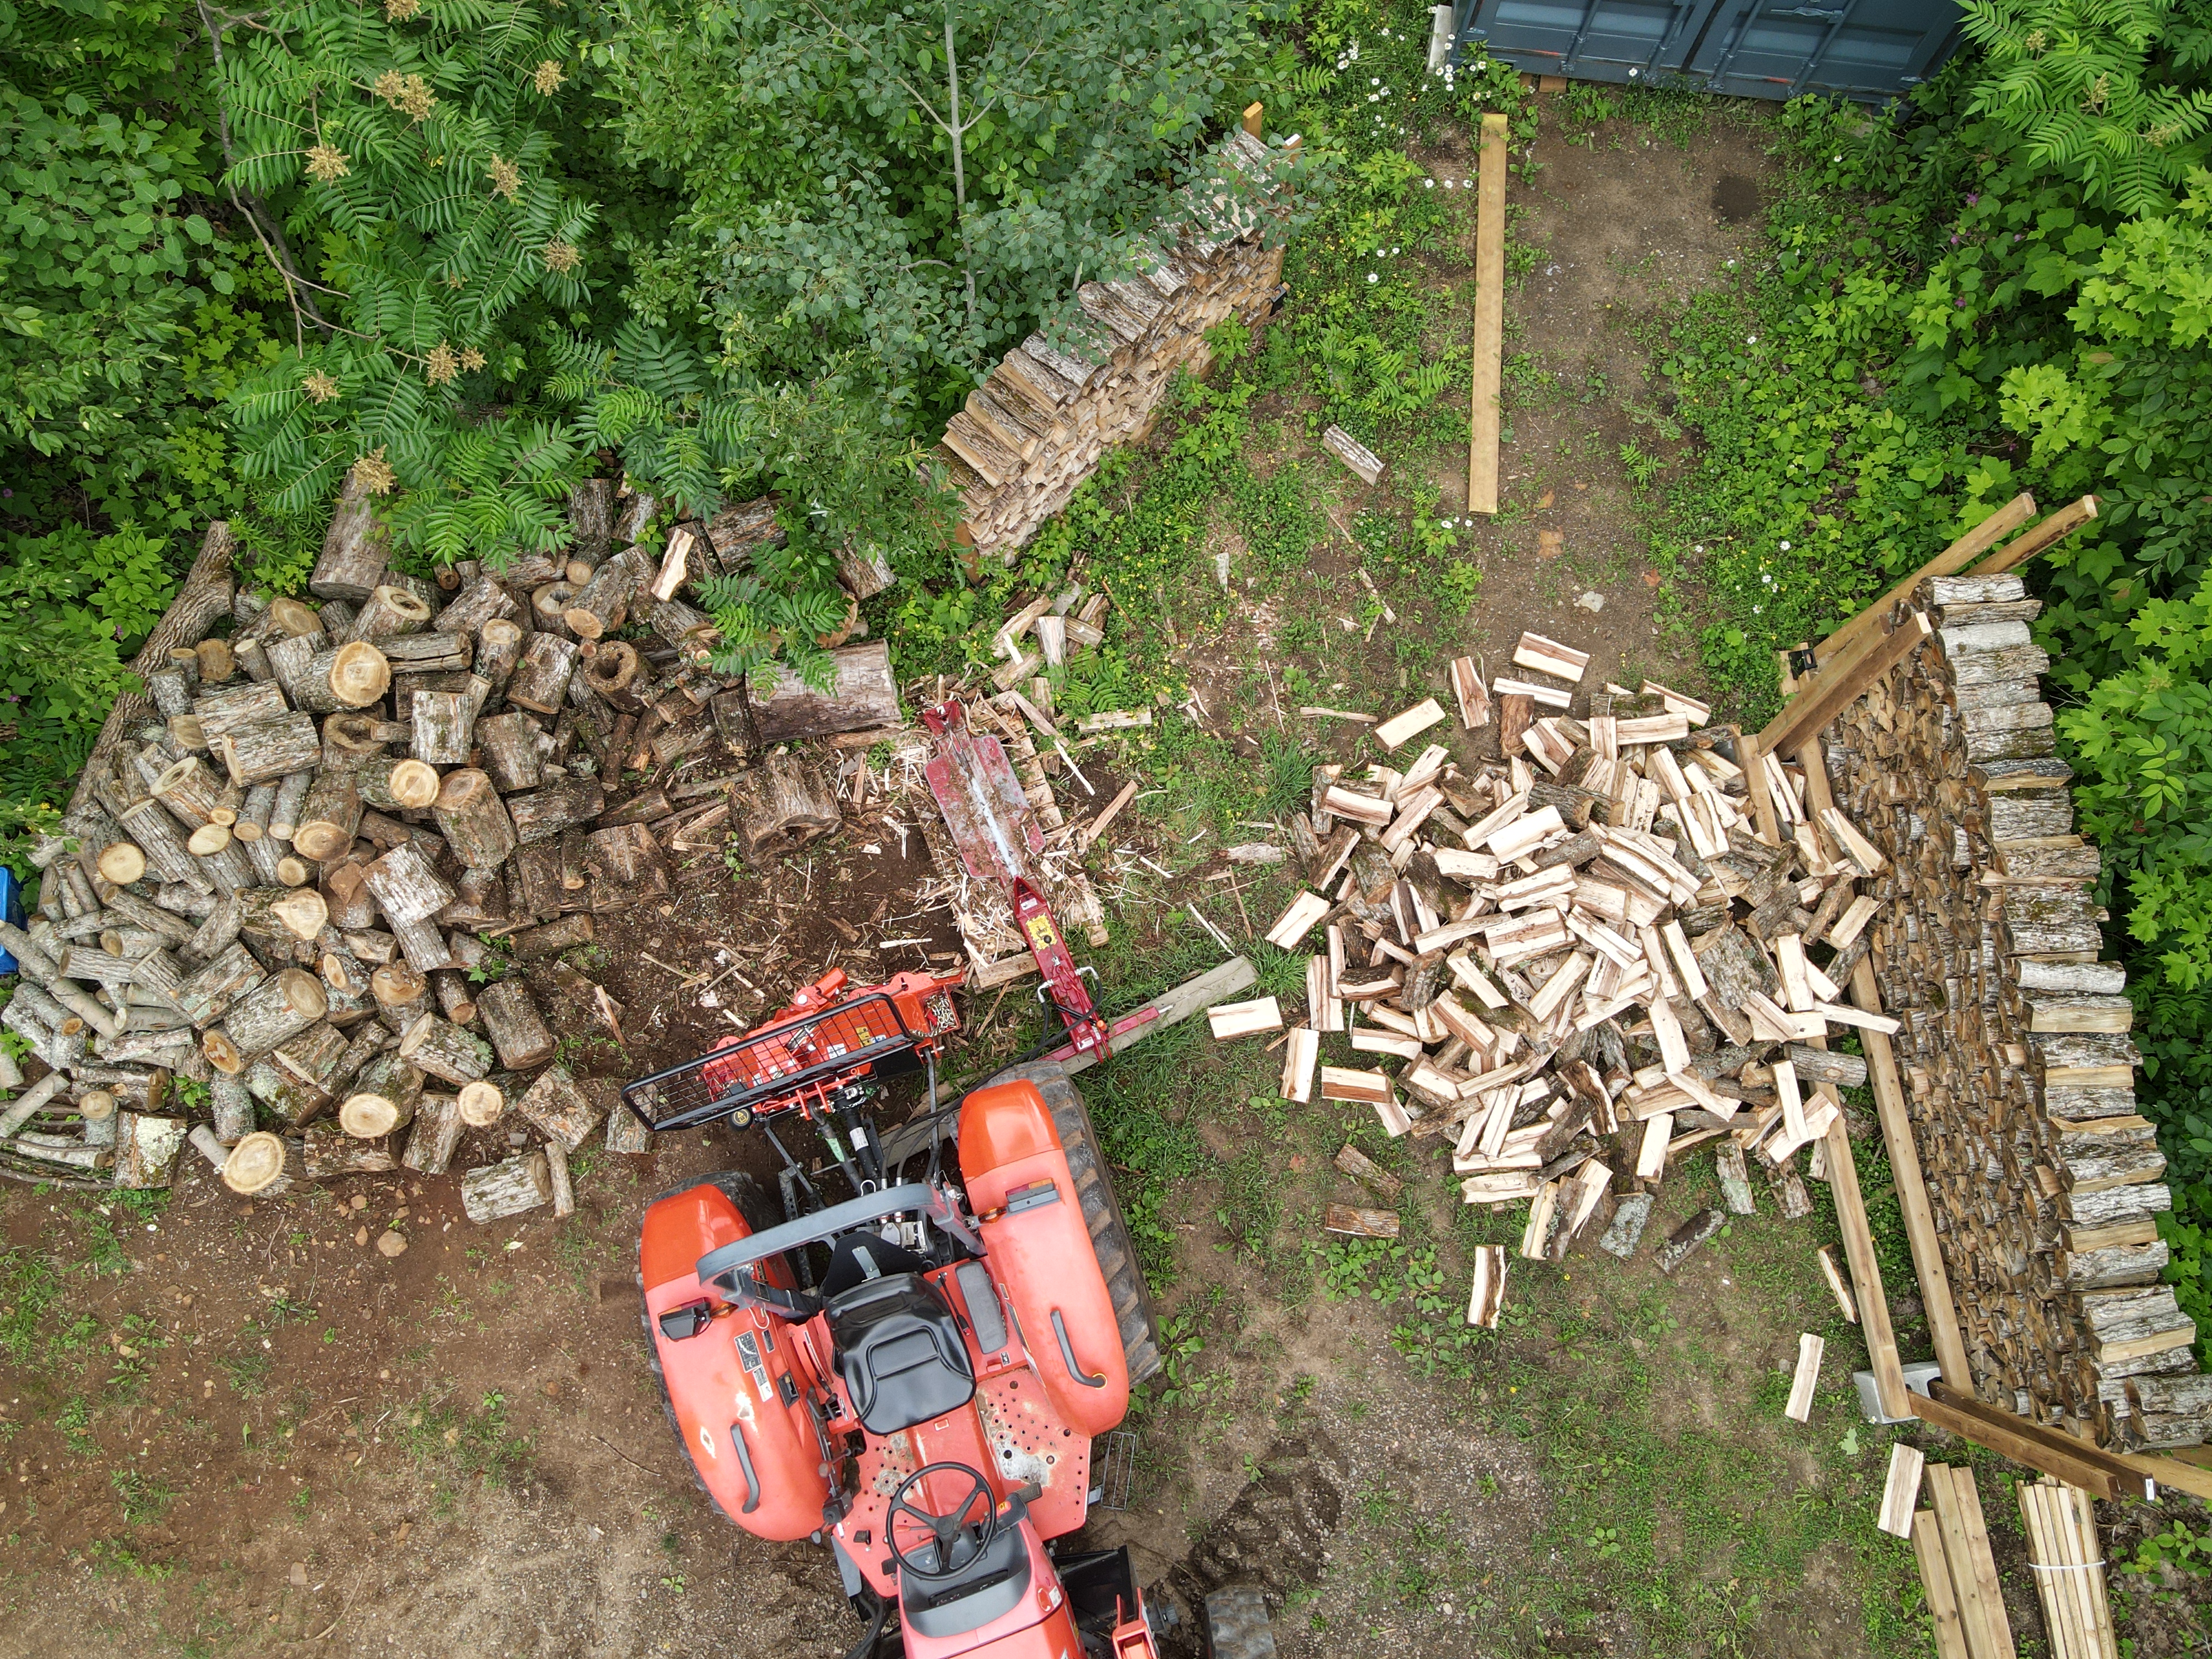
I didn’t know tractor log splitters were a Thing. A log splitter is simply a hydraulic ram (like the shiny chrome things on the tractor loader that extend and retract) with a wedge on it, and a hard “stop” to push the log against, so it makes sense that it could be powered from the tractor’s hydraulics.
The only thing I knew going in was I was getting a Splitfire. They’re what rental companies generally carry, because they’re well built and put up with abuse. They’re also and yet another Made in Canada item. Their “trick” is that the wedge has two splitting edges, front and back, and a log can be split on either side of the wedge, theoretically increasing efficiency. Once again, I found a decent deal ($1,200 if I remember correctly).
Okay, so I did end up selling this thing. I bring that up so I can better list pros and cons of a tractor-mounted log splitter:
Pros
- Not adding another engine to maintain (before the property I had one engine, at this point… five and counting.)
- Height of the machine can be adjusted using the 3-point to find the comfortable spot
- Seems fun
Cons
- Puts hours on the tractor (on which maintenance is more expensive than a standalone small engine)
- Requires some set-up and tear-down to use (swapping it onto the 3-point in place of whatever was on previously, which can easily take ten minutes each for installing and un-installing)
- Can’t use the tractor loader to handle the split firewood, as it’s on the other end of the tractor, which is in use
- Can’t move the splitter around without a machine (freestanding units are usually on trailer wheels and can be muscled around a bit)
What it really comes down to is setup time. If the splitter never sits on the tractor by default (and it never will), it means that any time you decide you want to throw an hour at generating firewood, the first and last ten minutes are spent swearing at inanimate objects. It’s enough to stop those short firewood sessions from happening, and subsequently, enough to let your firewood stash run low (ask me how I know).
I found another deal on a standalone Splitfire, mounted to trailer wheels and hitch, with a Honda engine (the correct small engine) and sold the 3-point model on.
That’s it, that’s the Tractor Stuff.
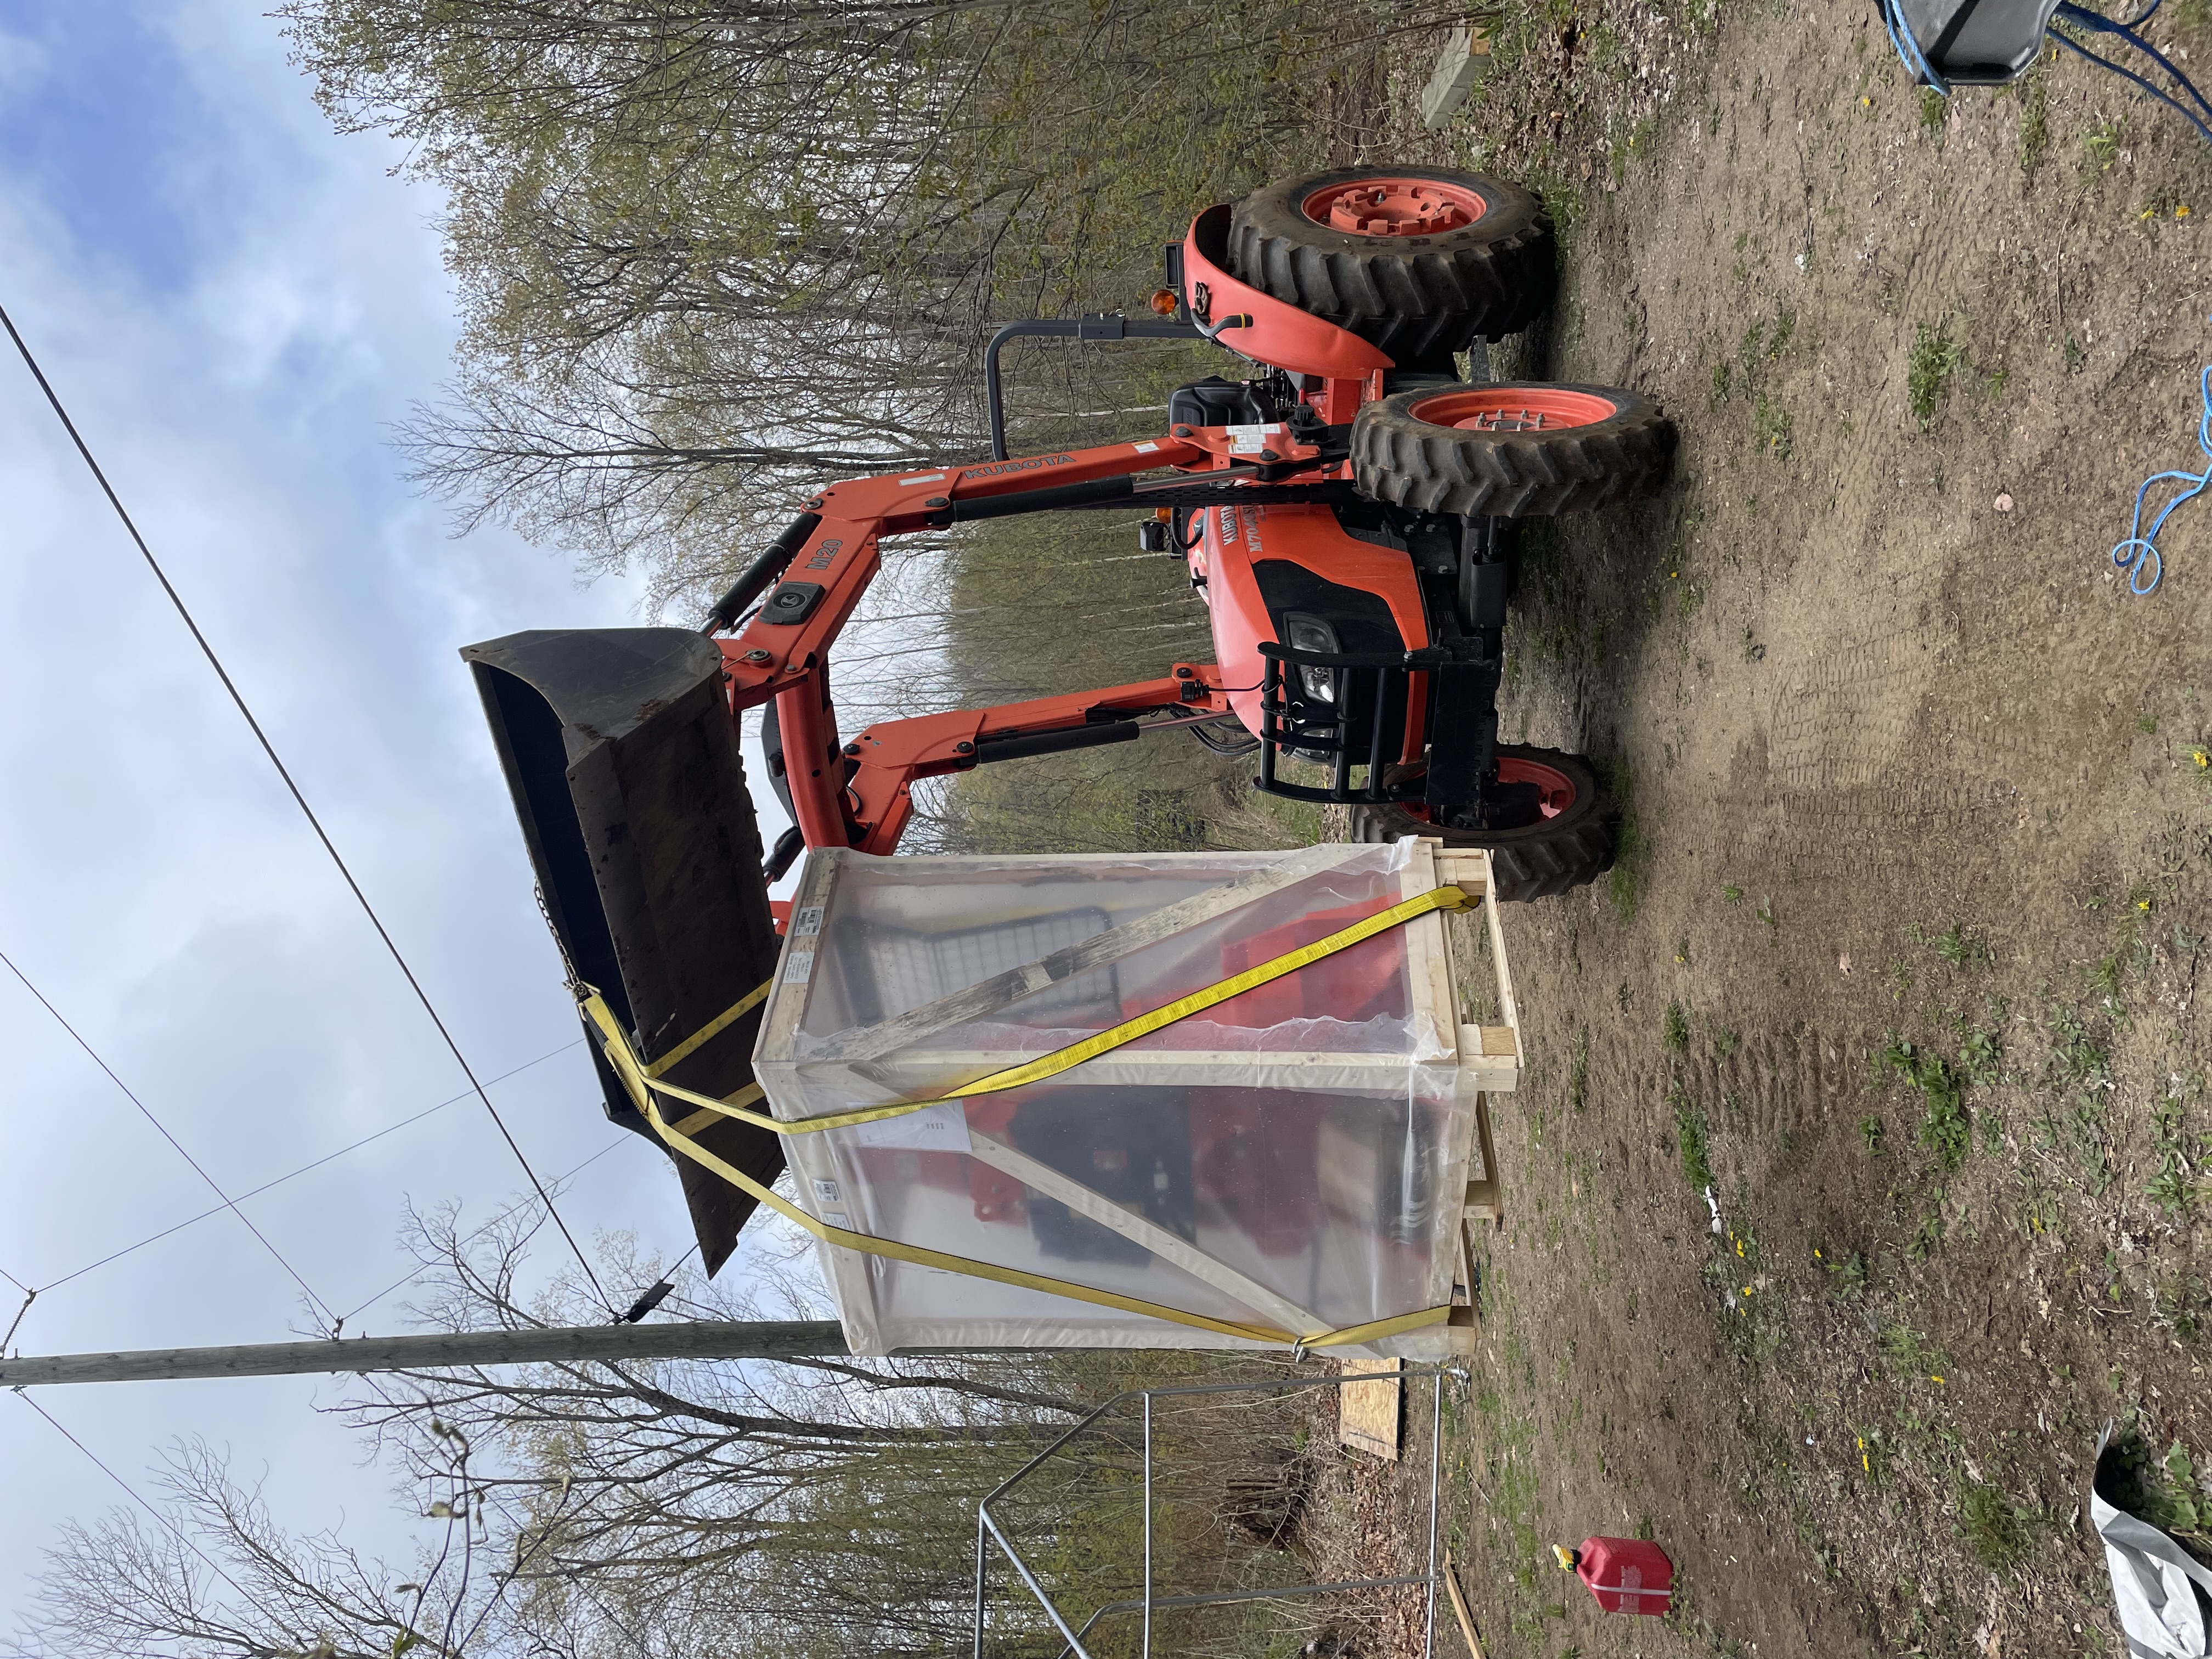
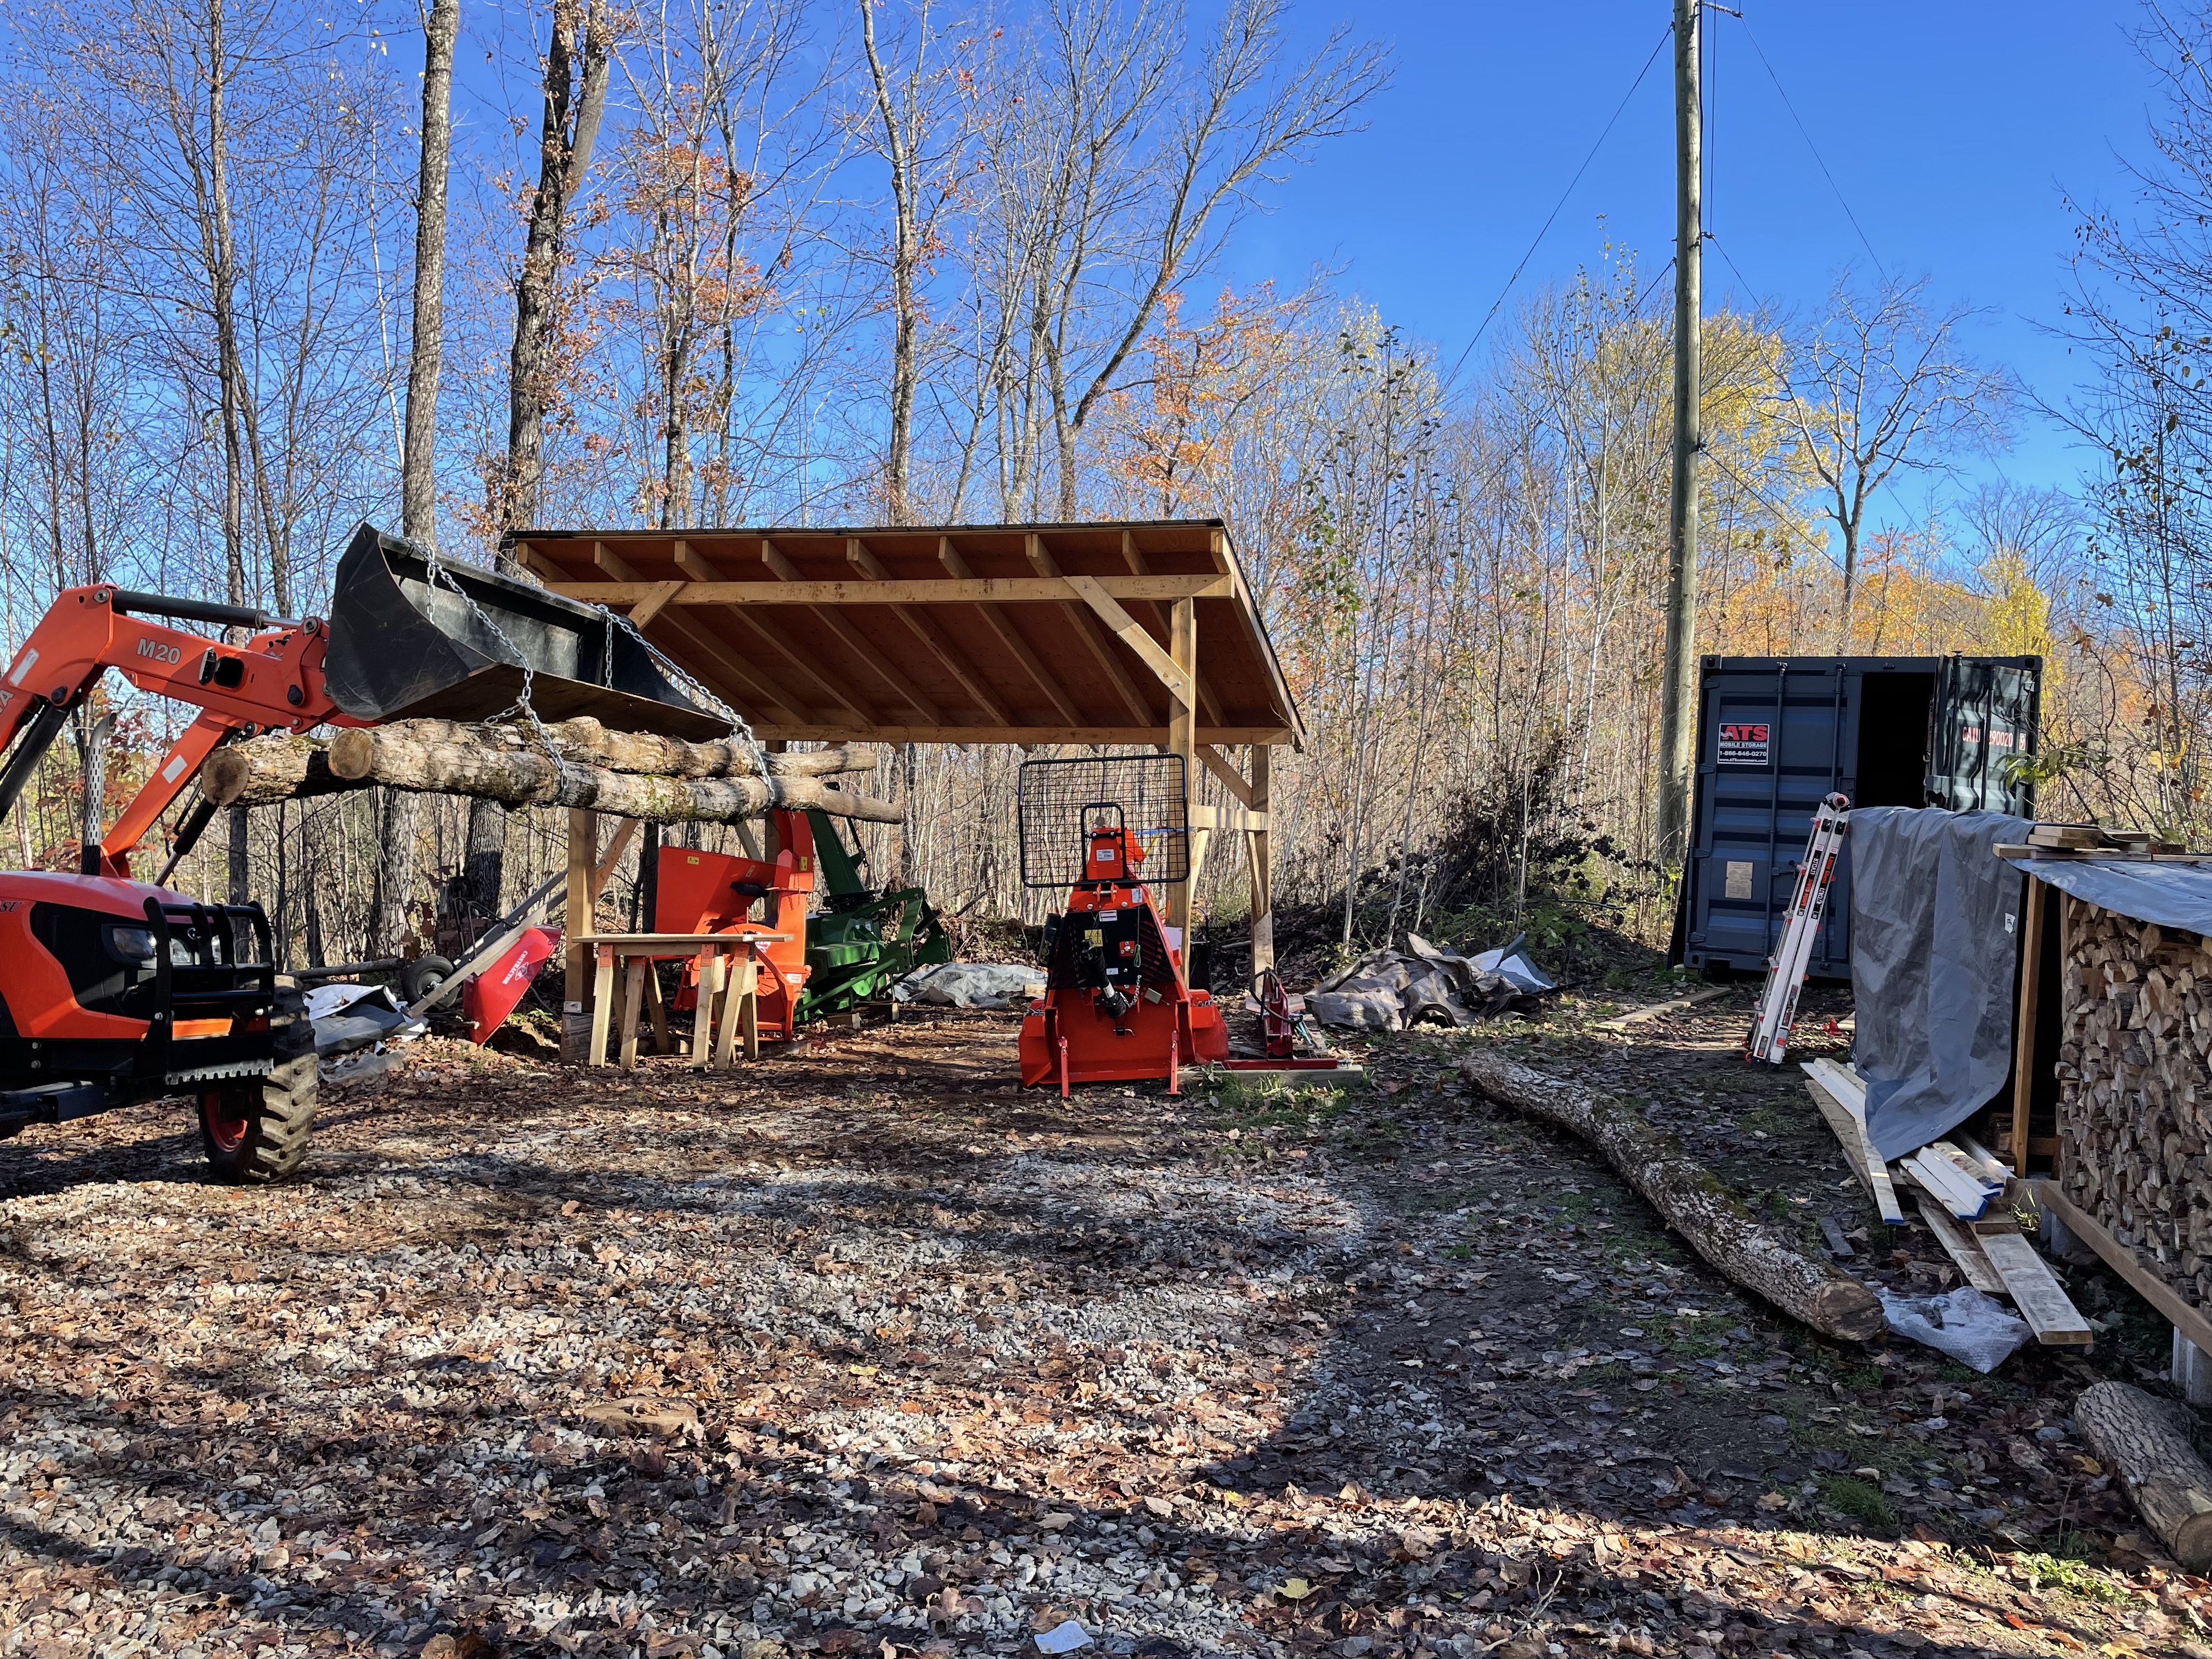
That’s the fleet. By default, the tractor has its bucket and the logging winch installed. I don’t use the winch all the time, but it’s relatively compact while being nice and heavy, assisting rear traction. I have one or two more items in mind for the future, but nothing urgent.
The next post will not be about tractor stuff. promise.
More photos