Tractor Shed
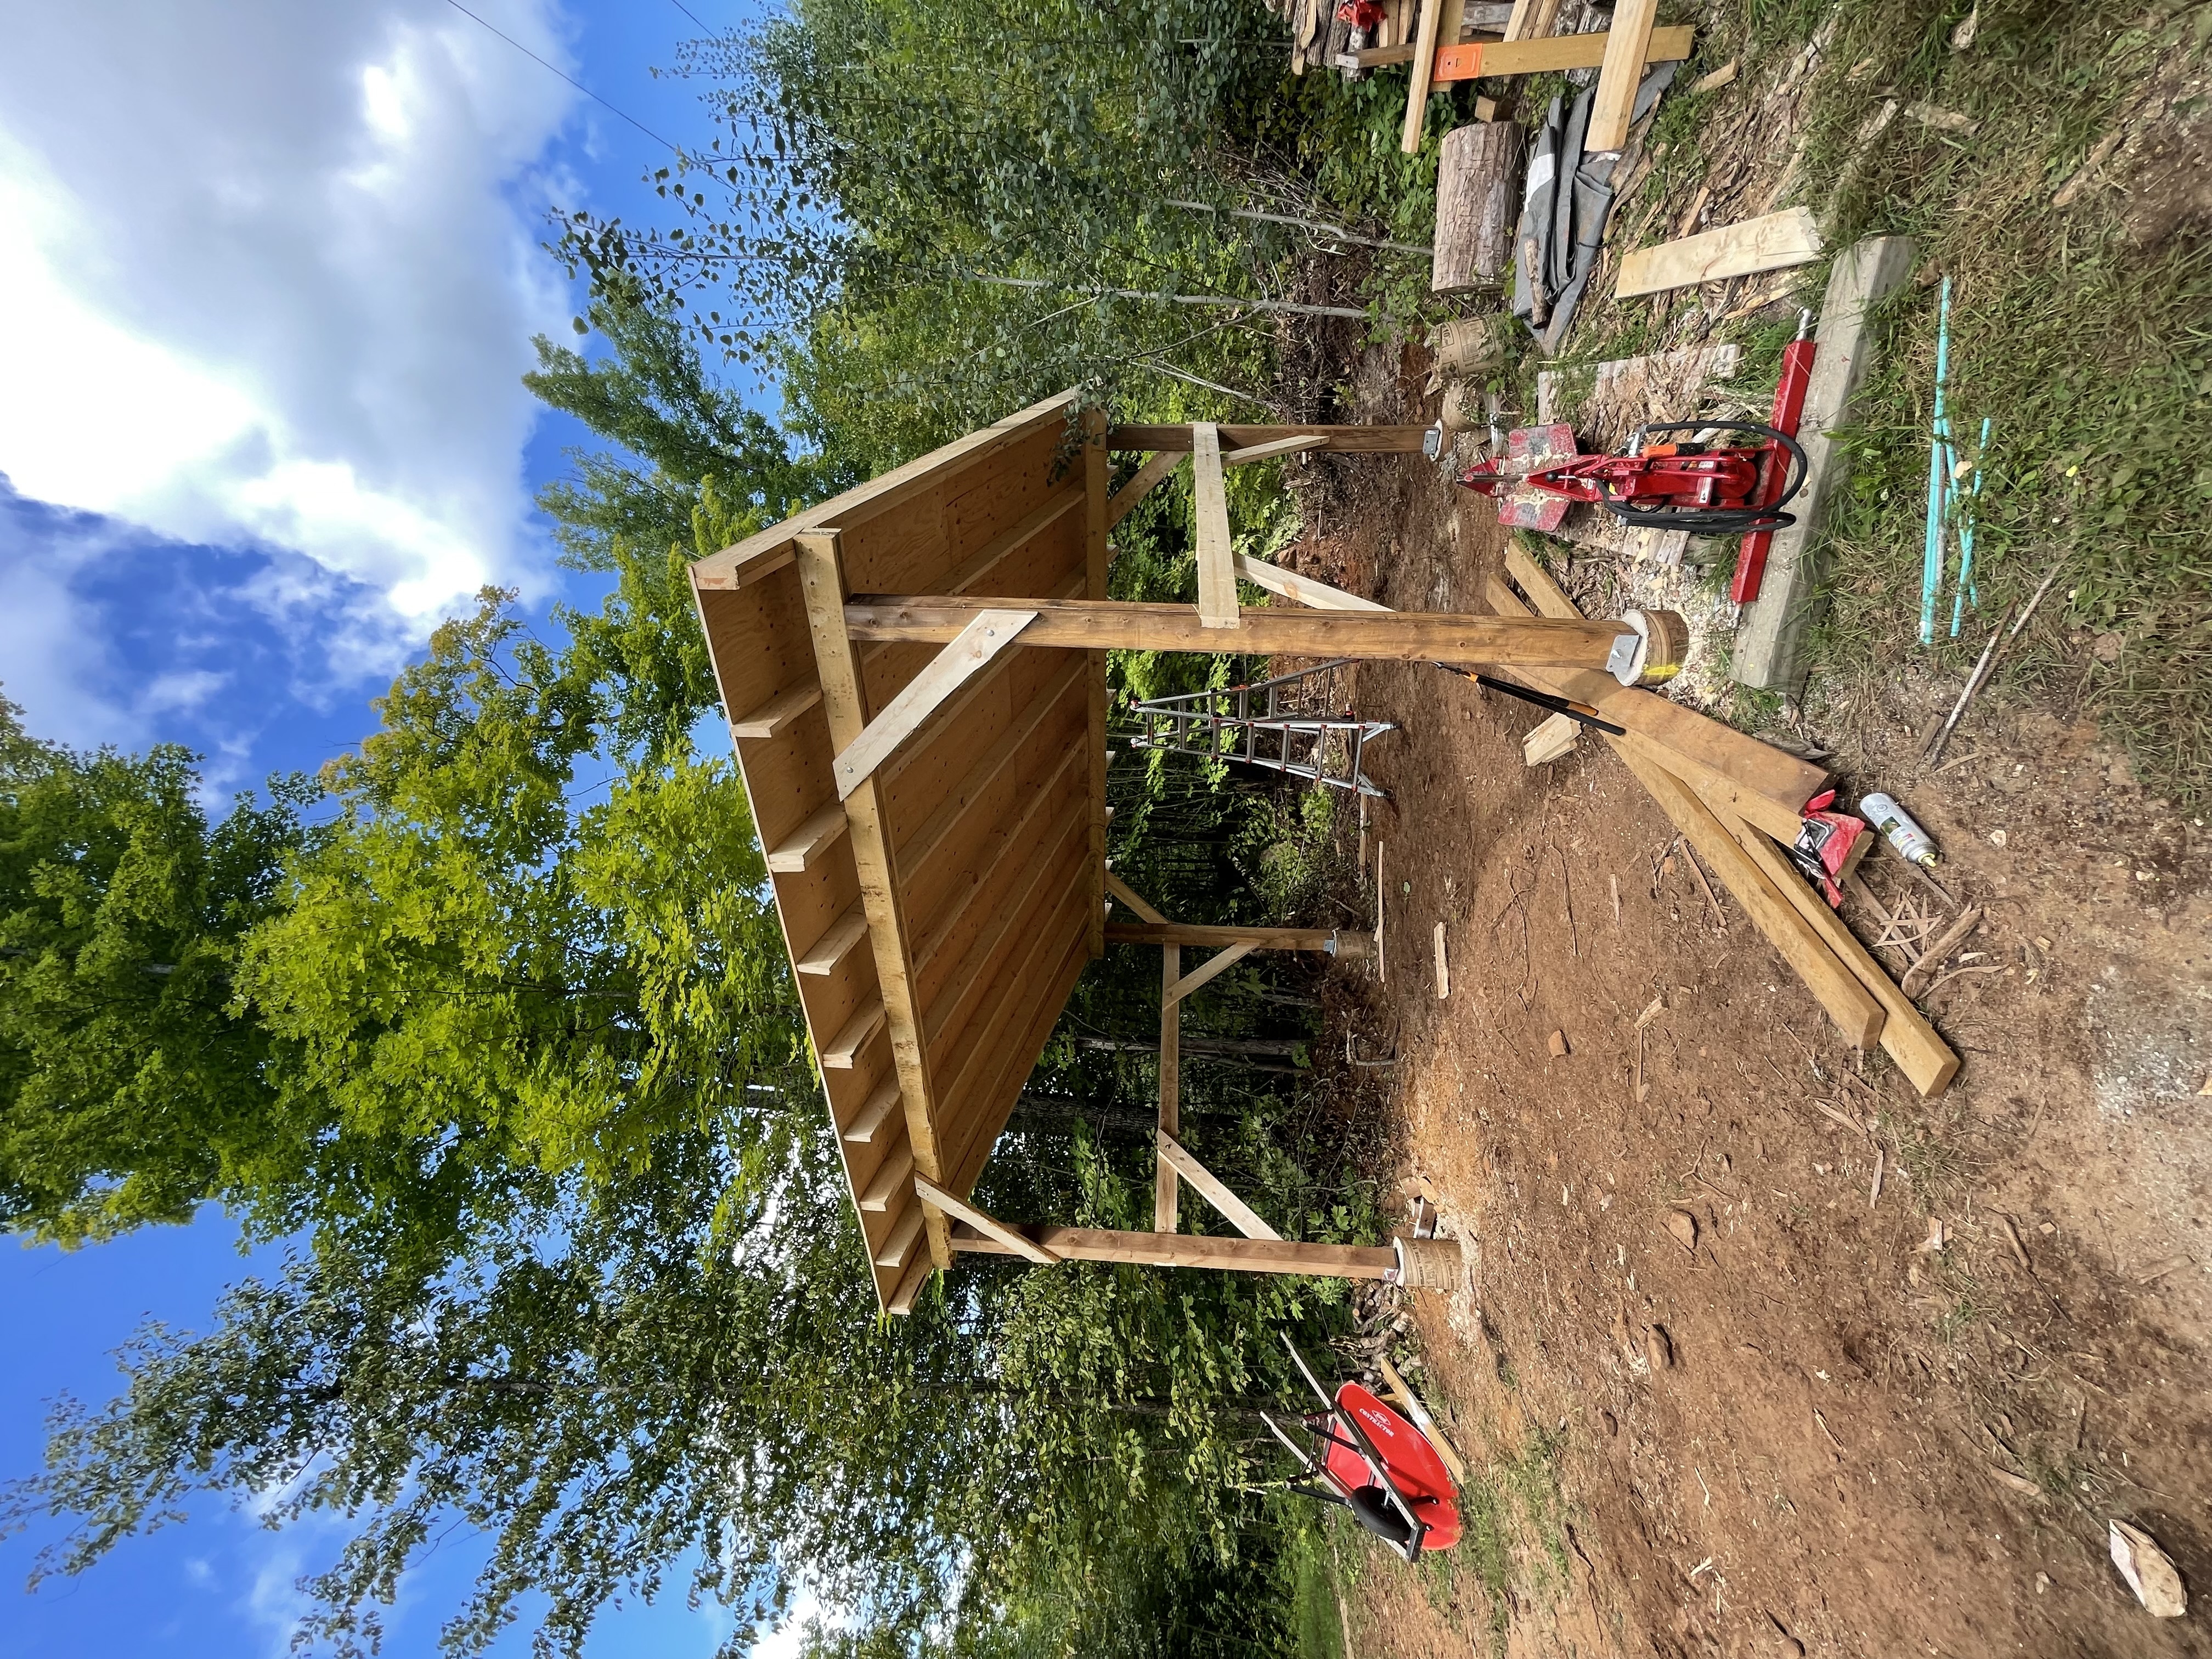
The forest gets its first structure! Naturally, the tractor gets a home before I do. As a chaotic builder, this project doesn’t go off without some lessons learned:
- measure the thing that’s meant to go in the place and make sure the place is the right size
- if your building doesn’t have walls or a floor, consider the complexity of the roof
- you can calculate snow load and build accordingly
- my property is one inch of soil and then rock until the molten centre of the earth
Now let’s interrogate how I learned those things, and whether I’ve fixed mistakes (no).
Napkin sketch
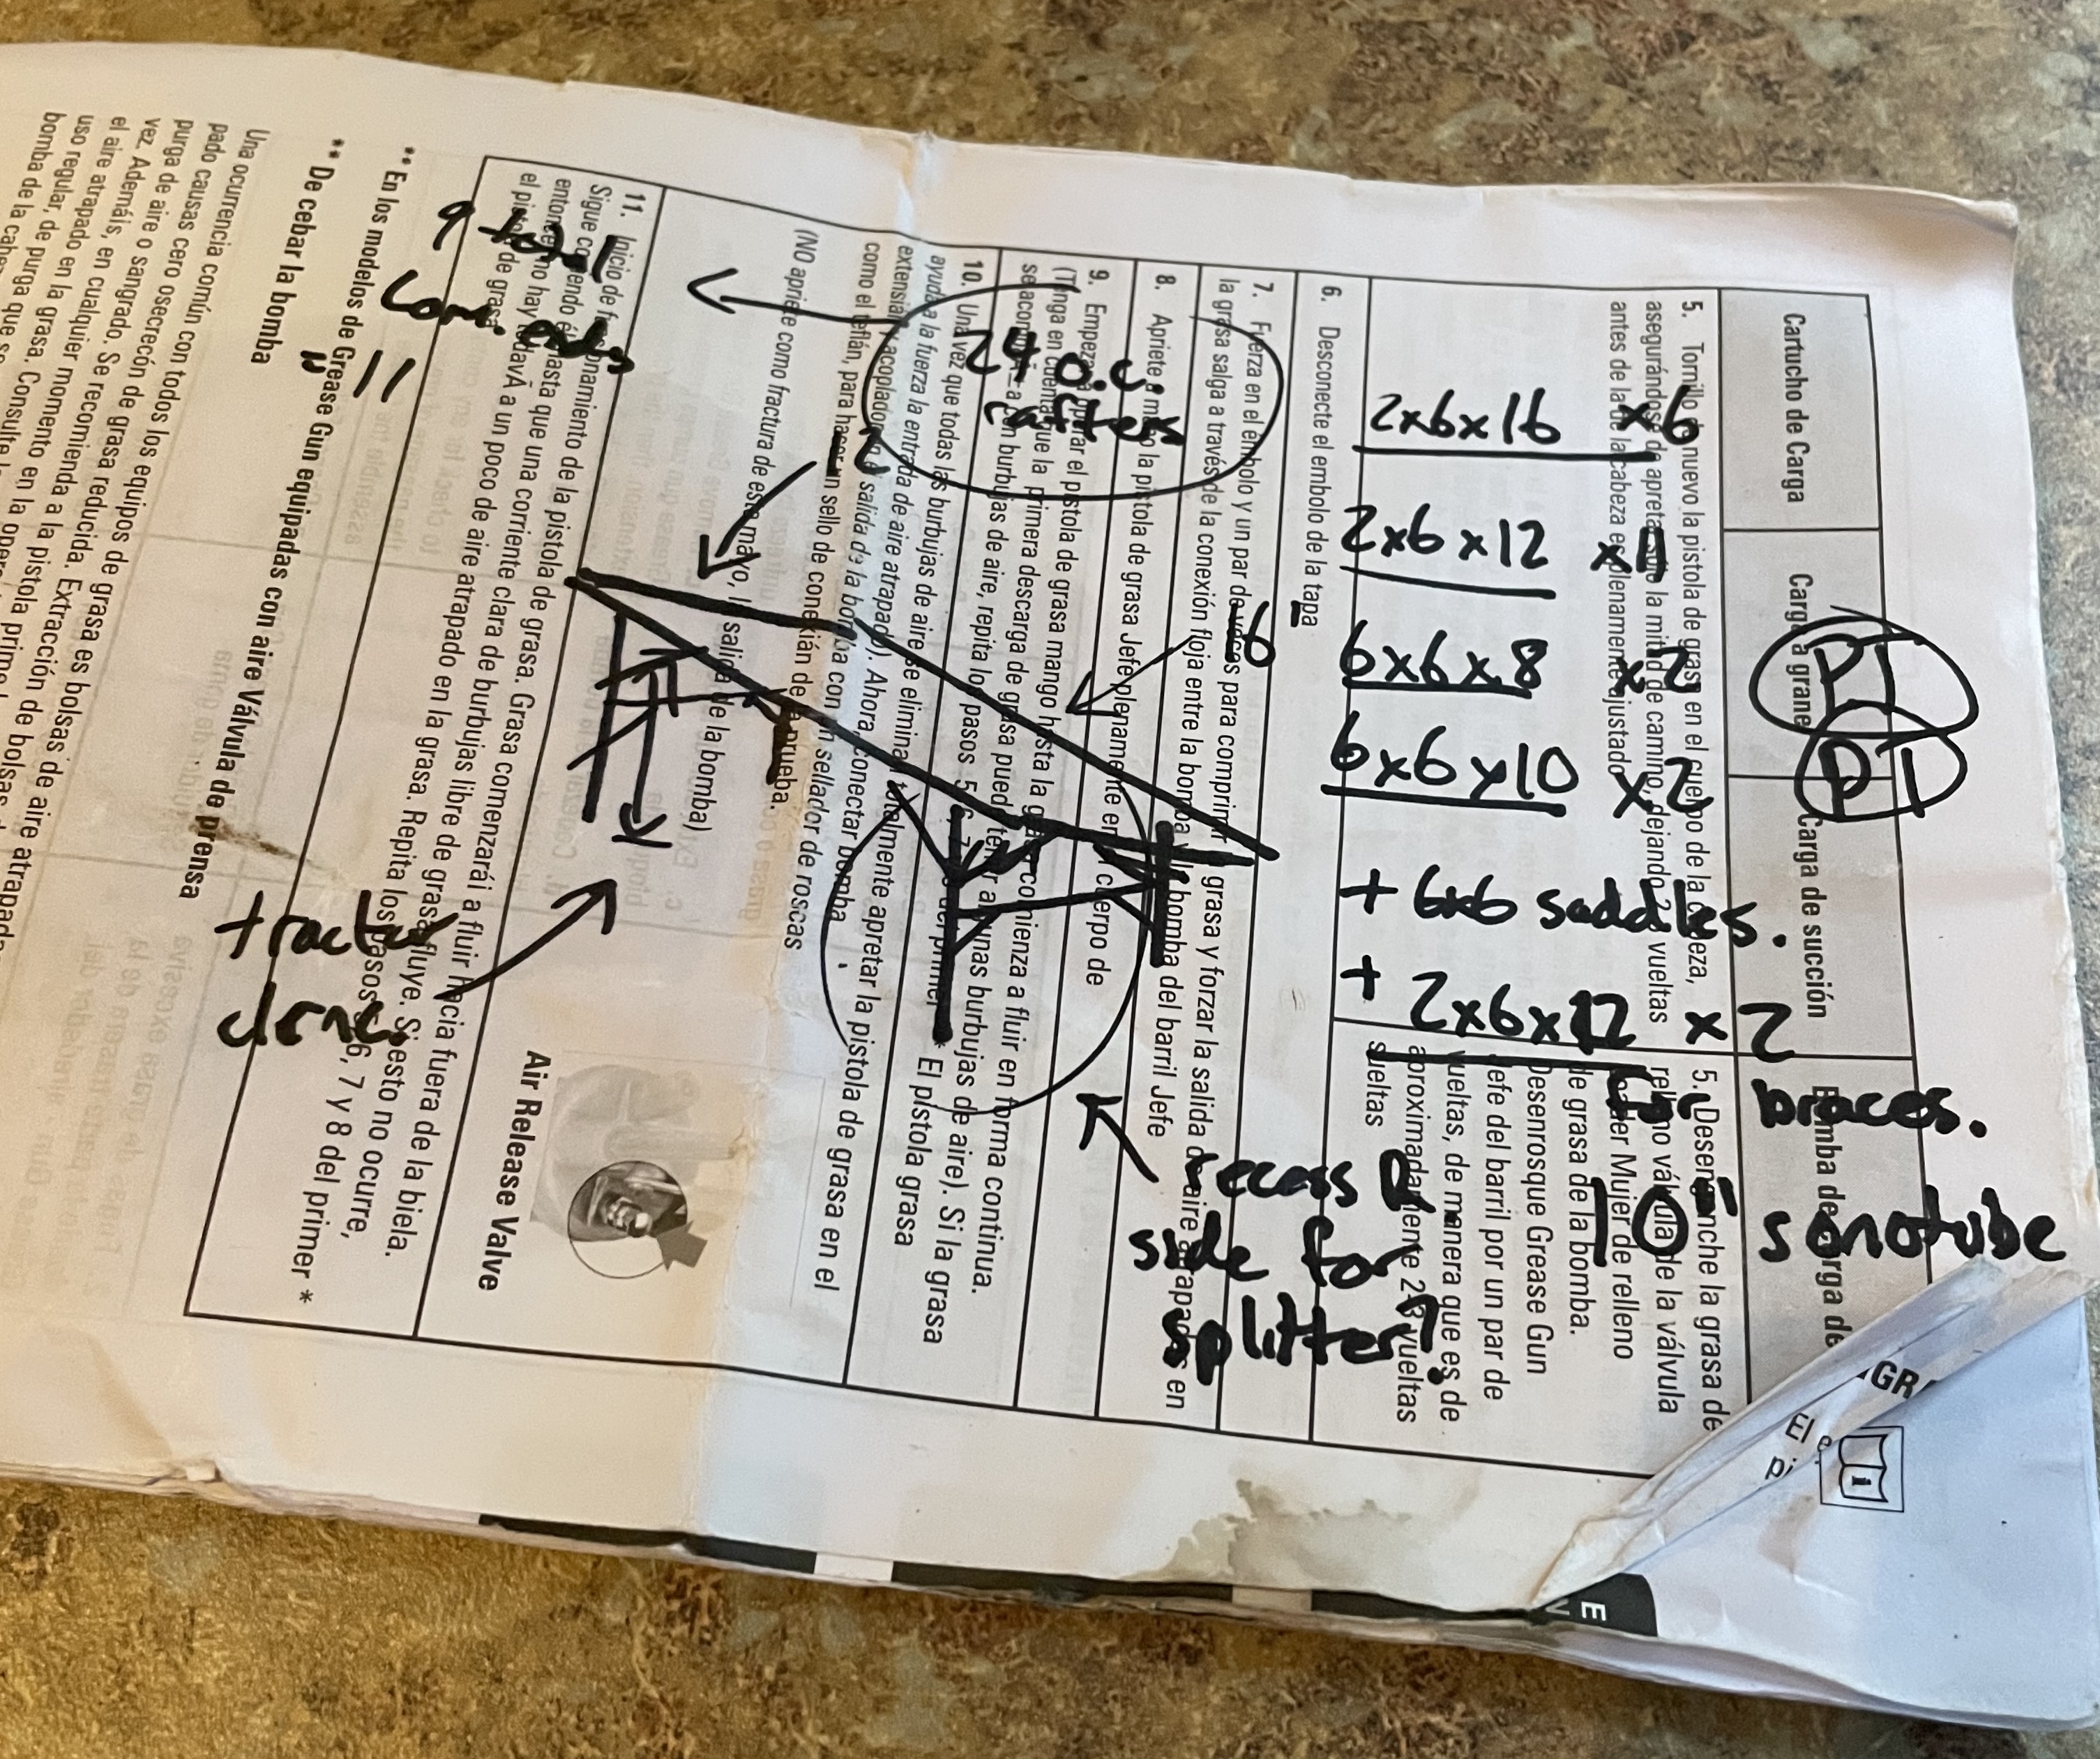
The impetus for a tractor shed was the simple fact that sun kills machines. UV radiation fades paint, but more importantly, breaks down rubber and plastic. Hydraulic hoses, in particular, are very expensive (think hundreds of dollars for a medium length hose). Secondarily, it does snow here, and while the seat does (very luxuriously) flip forward to avoid getting wet, that doesn’t stop the entire machine being covered in a couple feet of snow. While a whole-ass building with climate control would be ideal, we’re not even close.
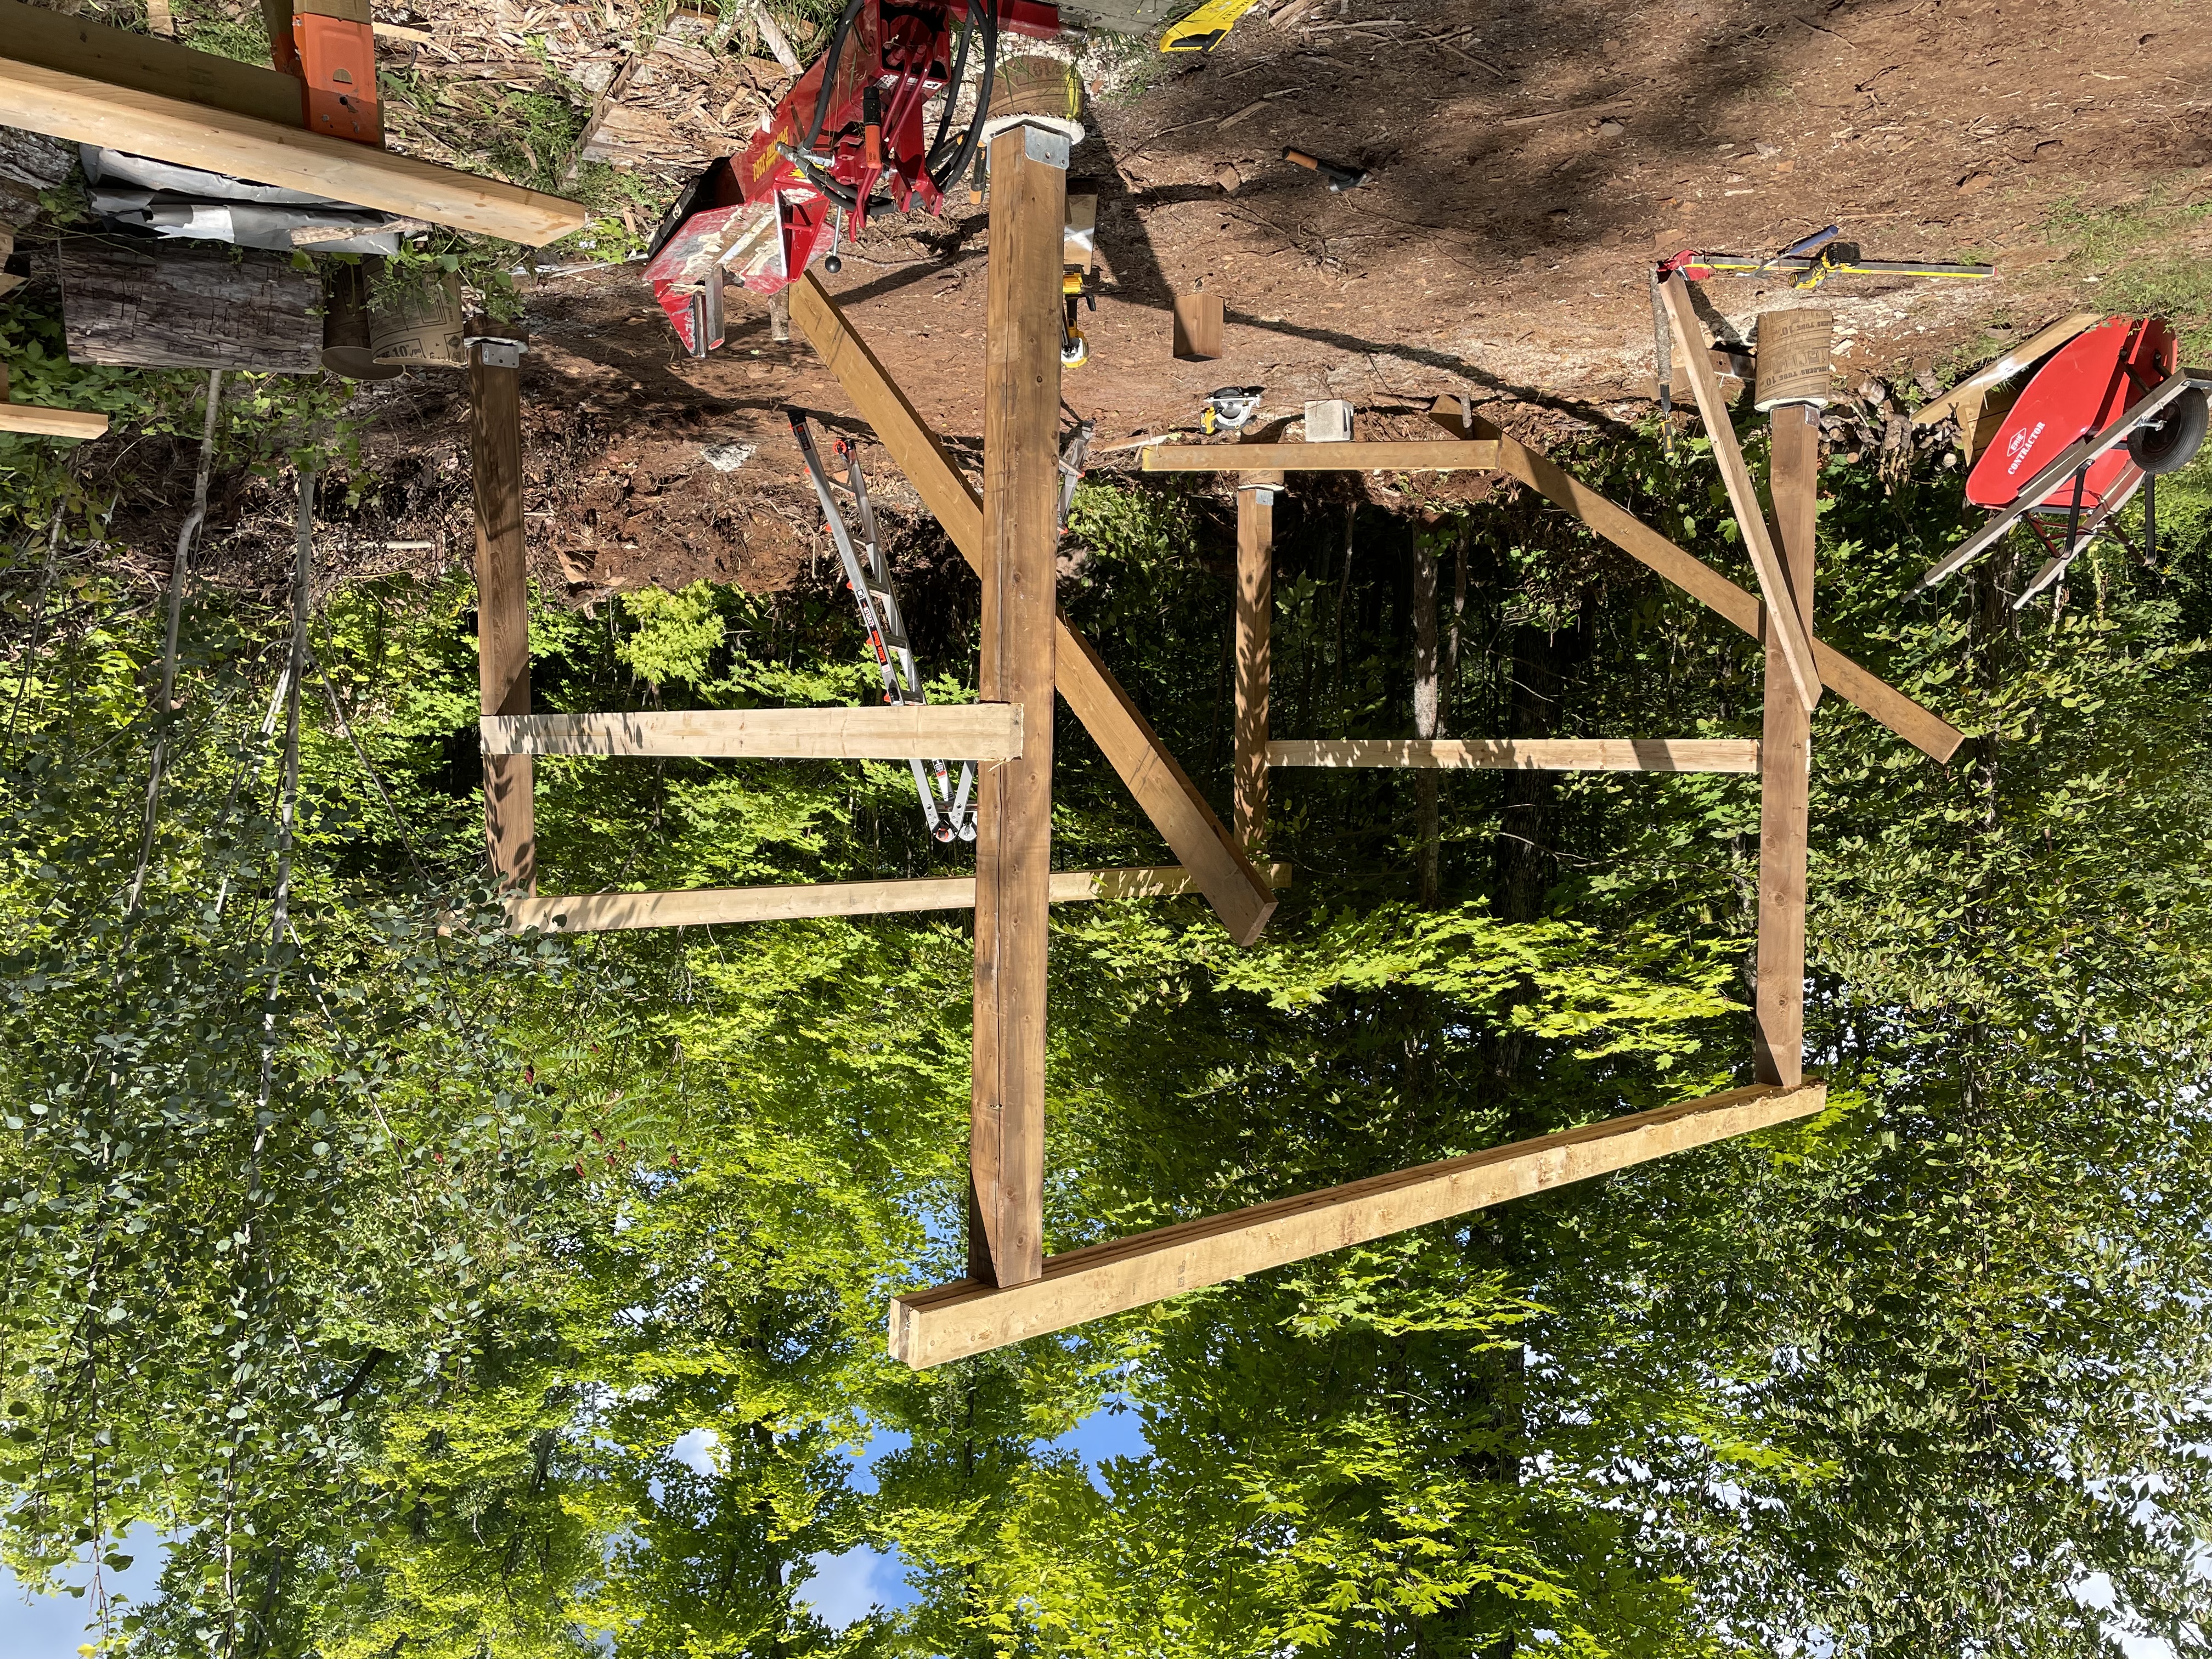
So, I grabbed the only piece of paper I had available (instructions for a grease gun, and not even a blank page), and scrawled a design like an animal. I probably searched the internet for photos of similar structures for up to twenty seconds. The design is a simple mono-slope, or “shed” roof—four posts, and some bracing to prevent racking in both directions (racking is a rectangle becoming a parallelogram unintentionally). I knew some of it would be pressure treated lumber as it’s in the elements, and I knew it would have a steel roof—long lasting, relatively easy to install on simple roofs despite my attempts to make it complicated, and lighter than shingle (I think). I had no intention of adding any sort of floor, because this is a tractor shed. for a tractor.
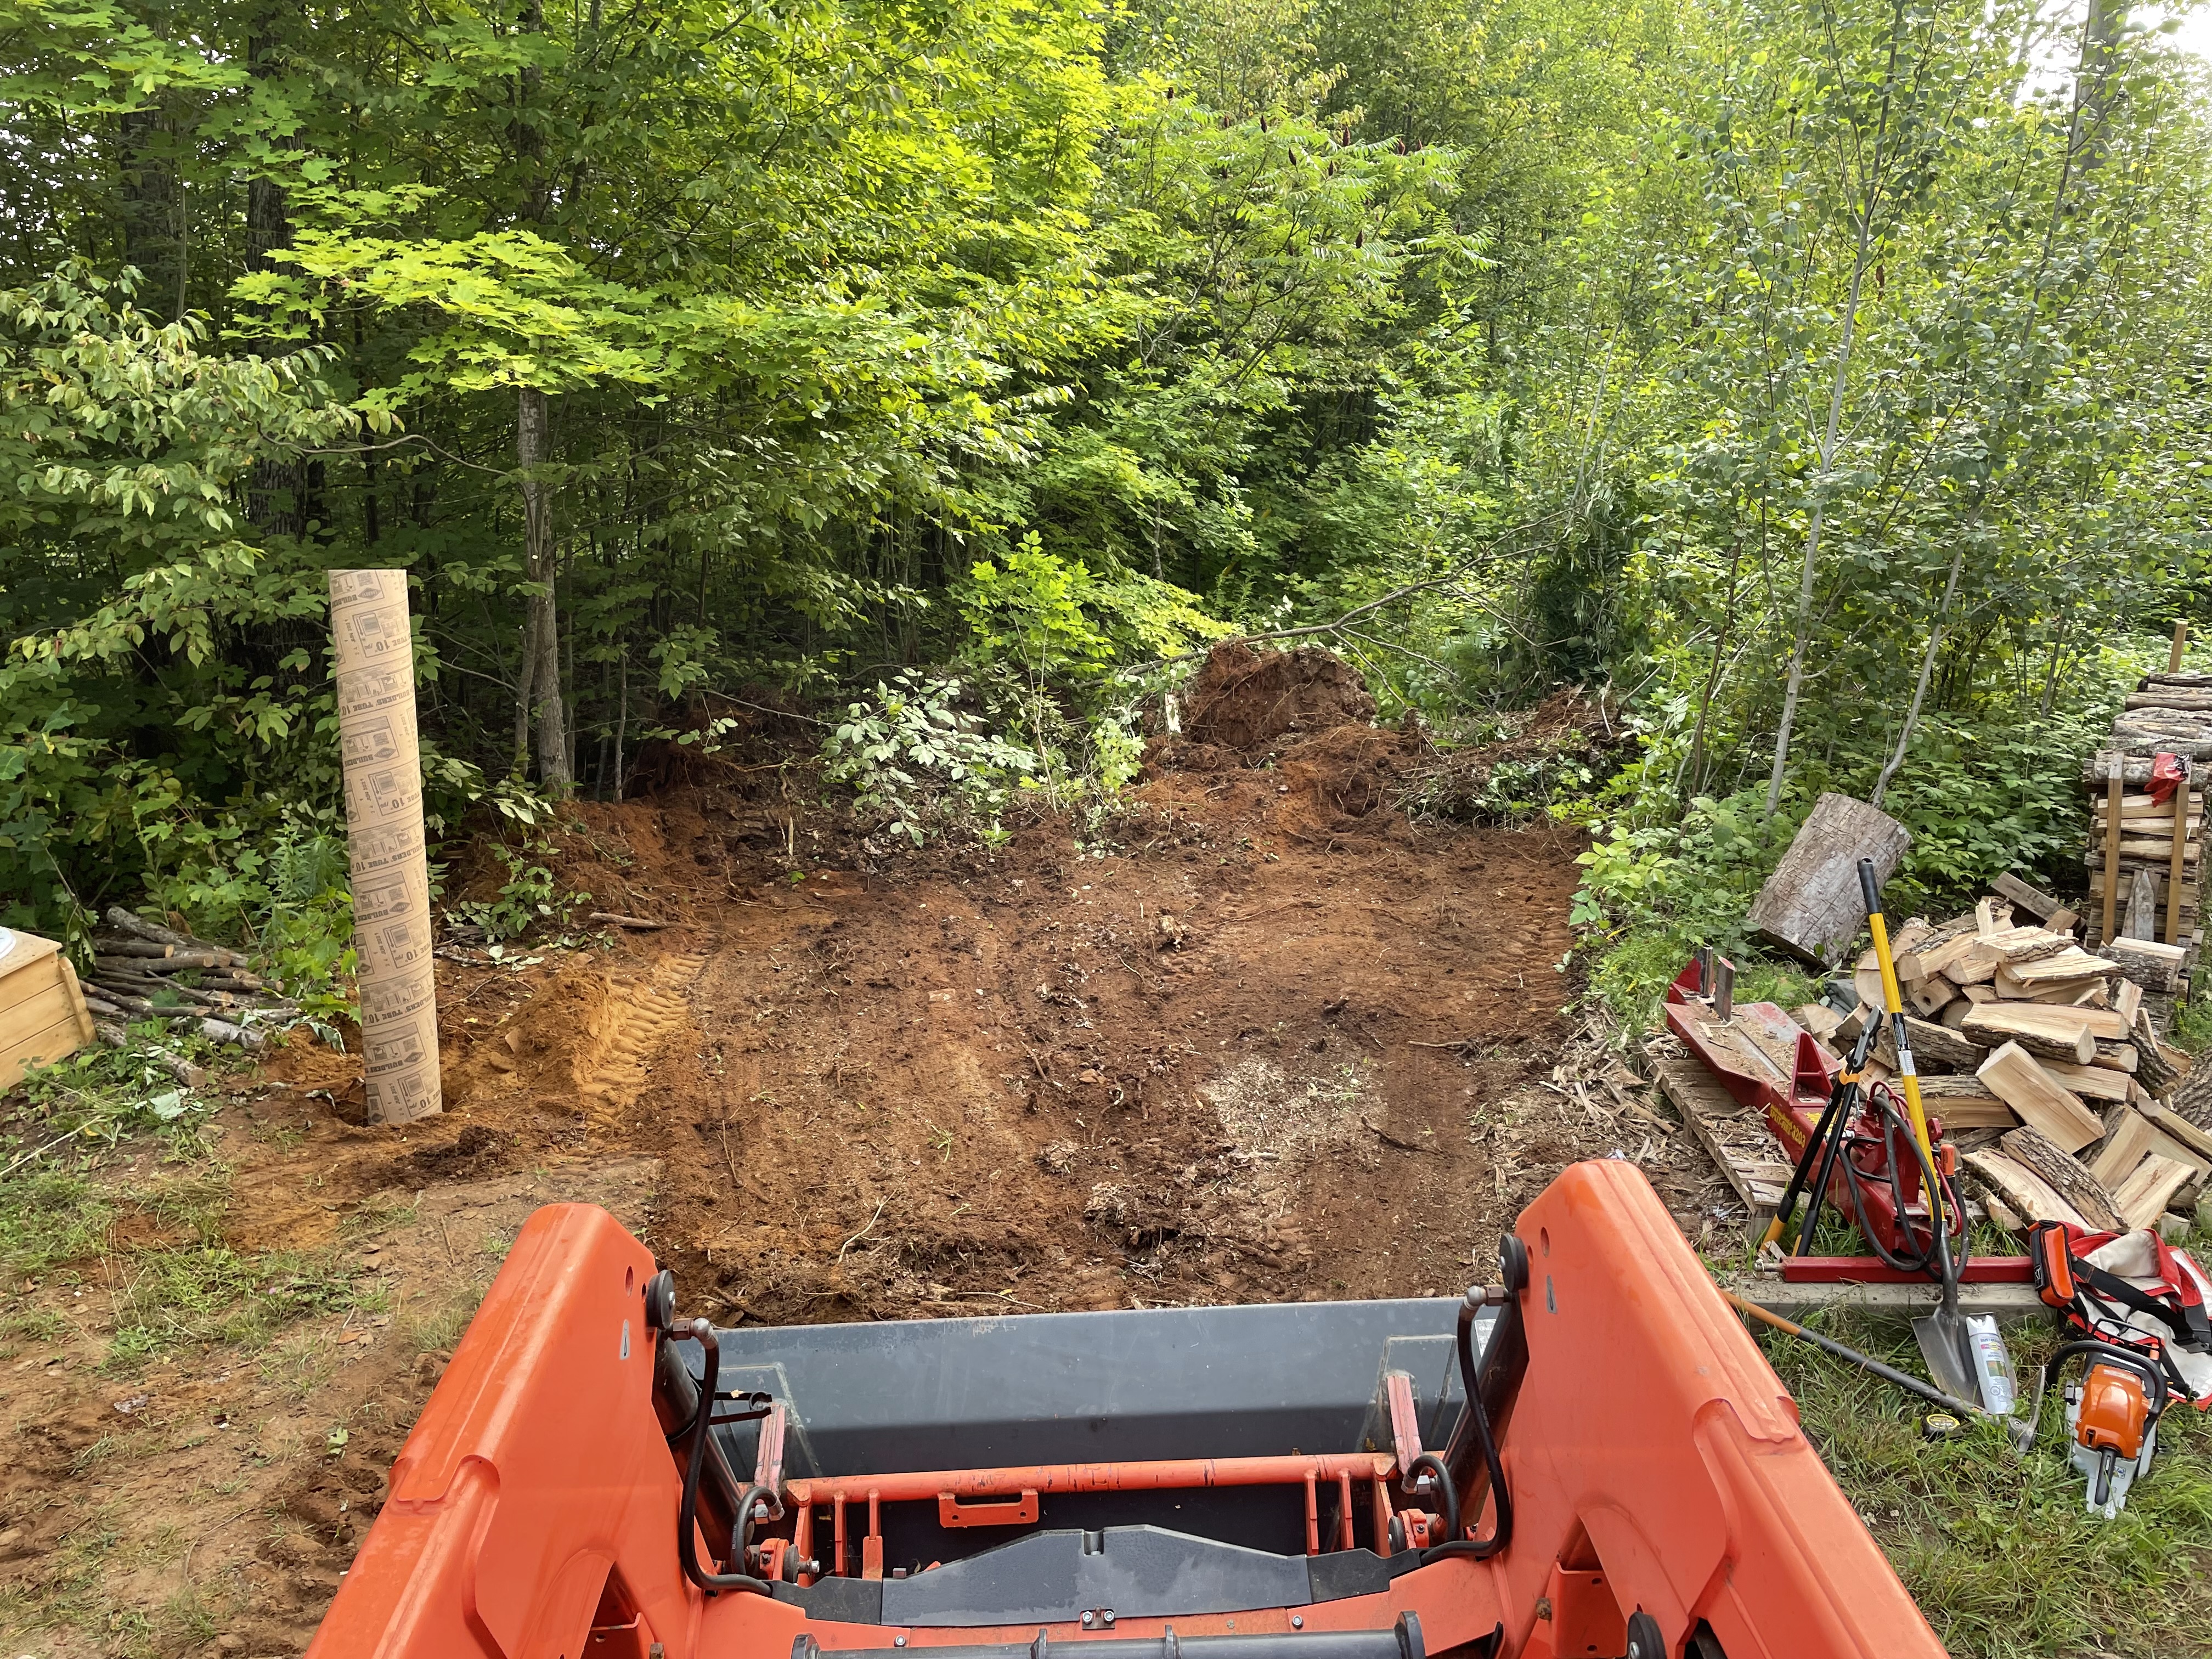
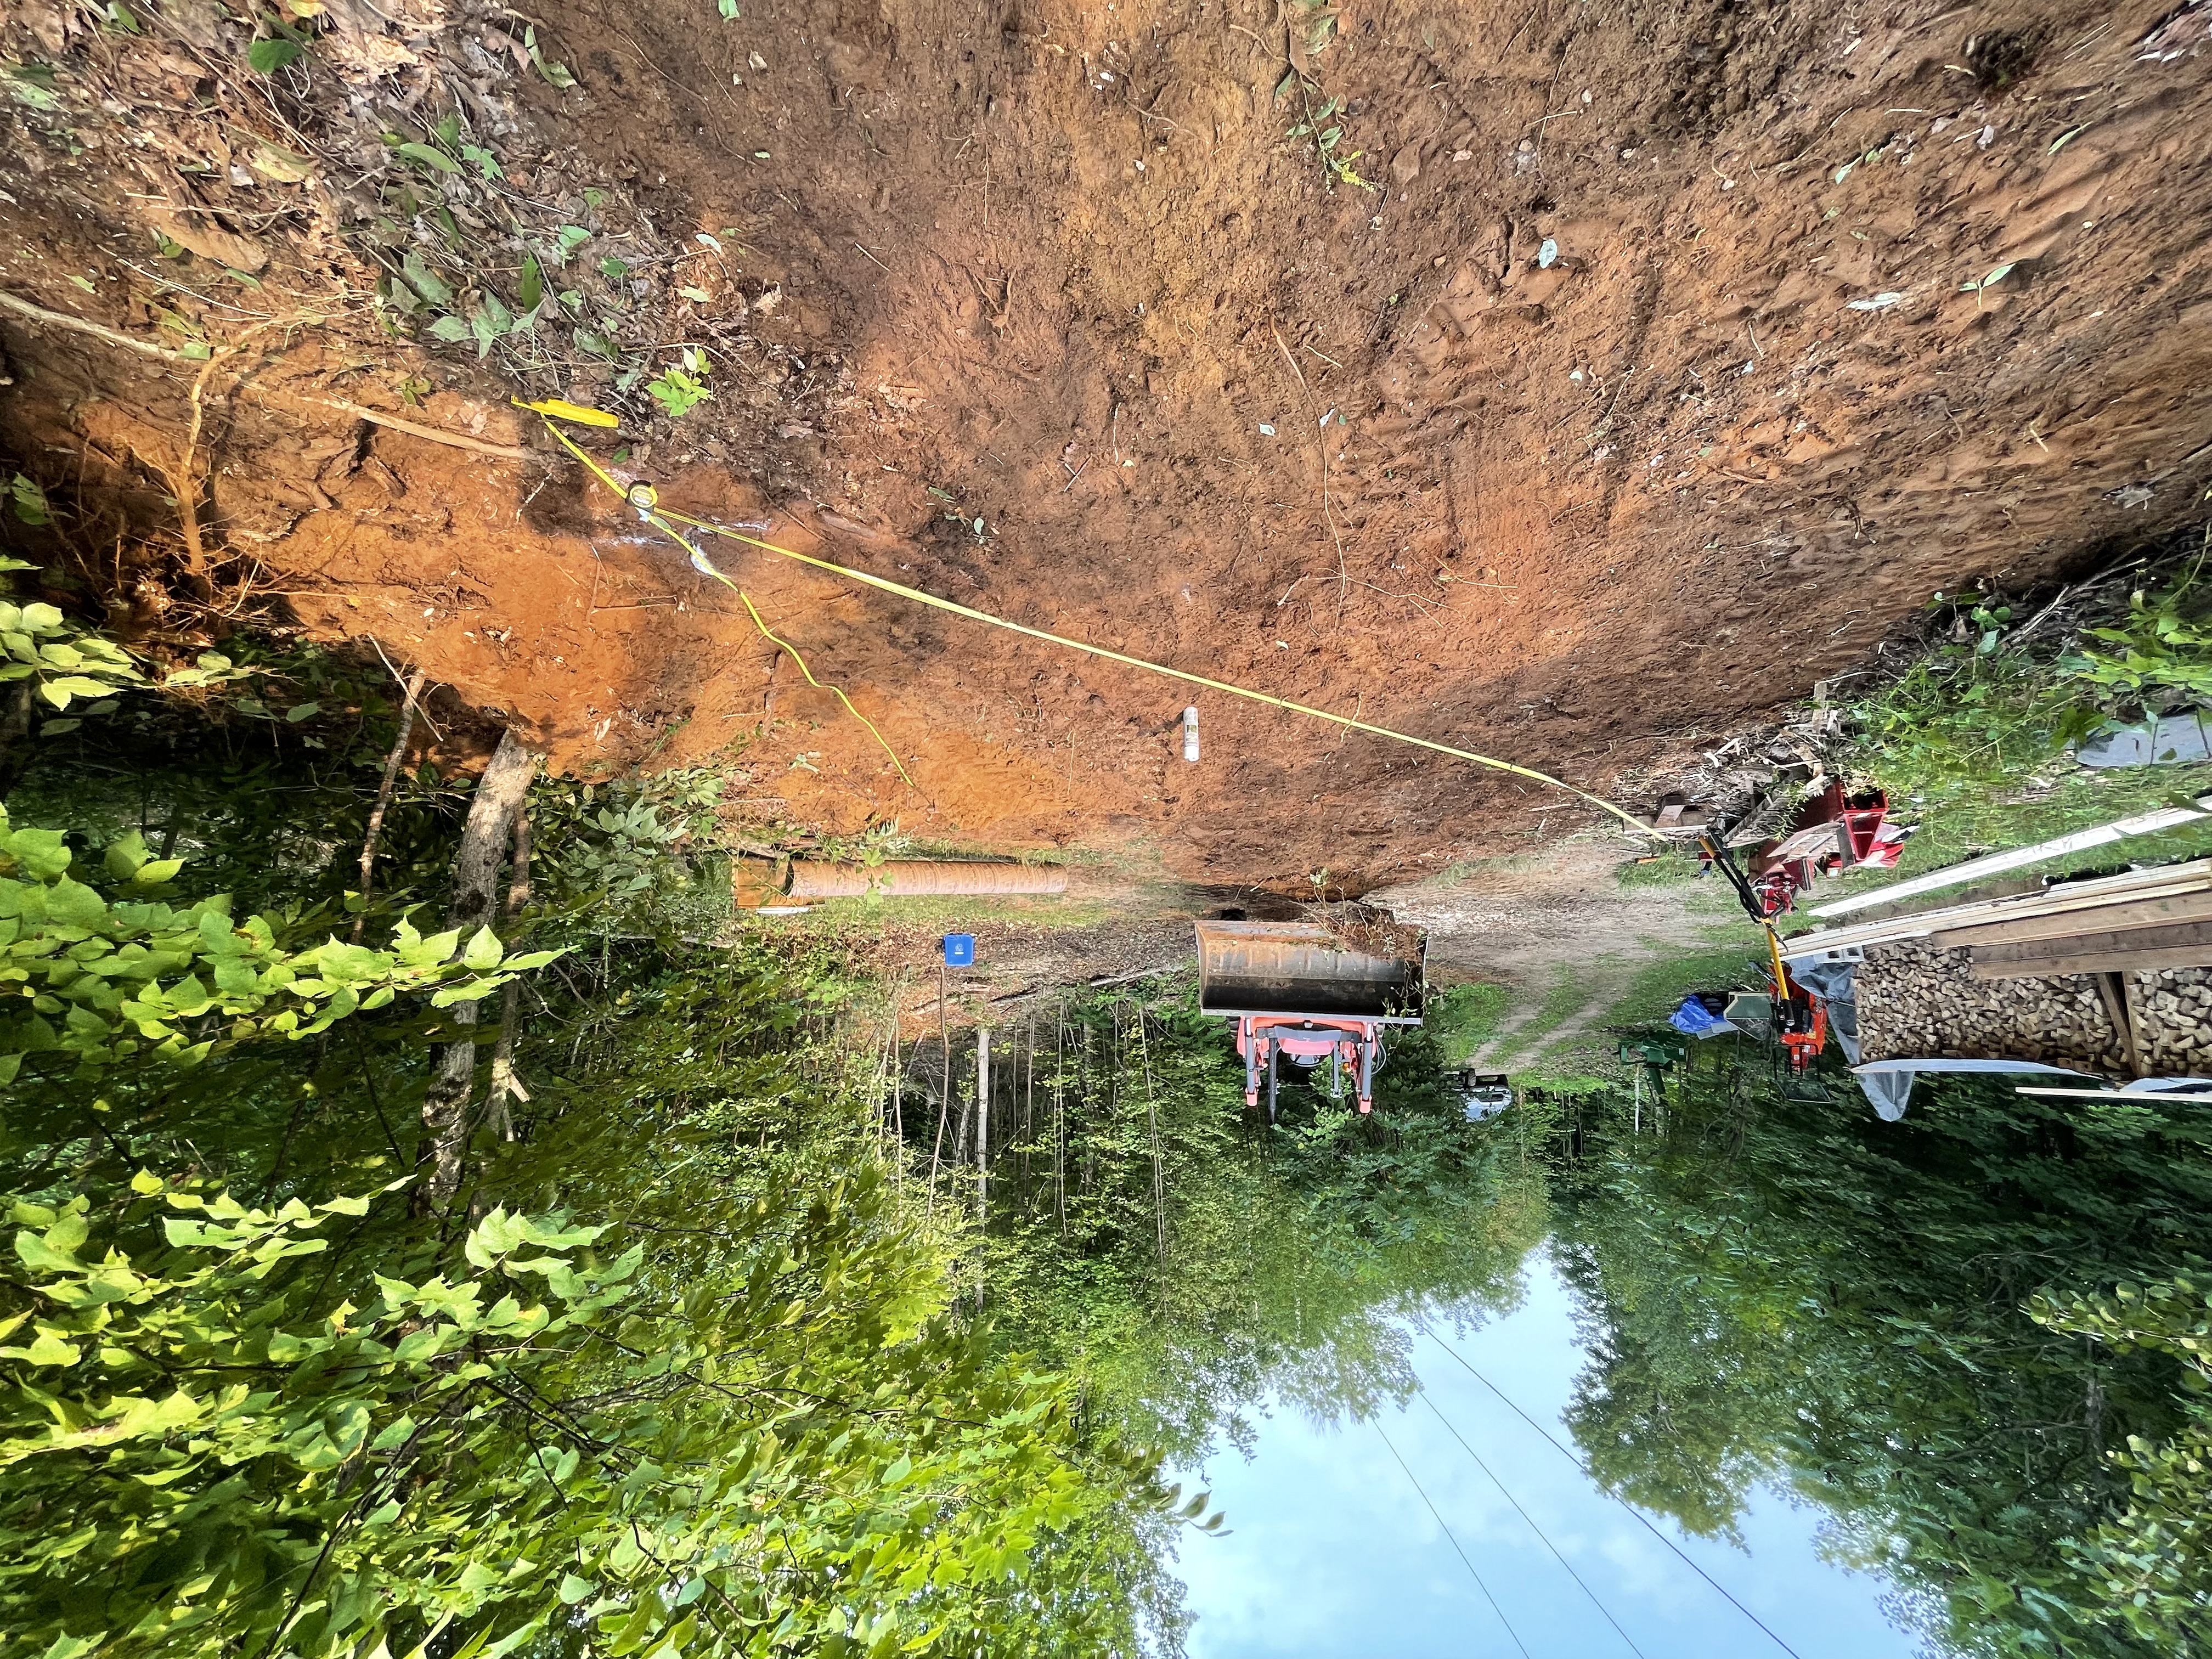
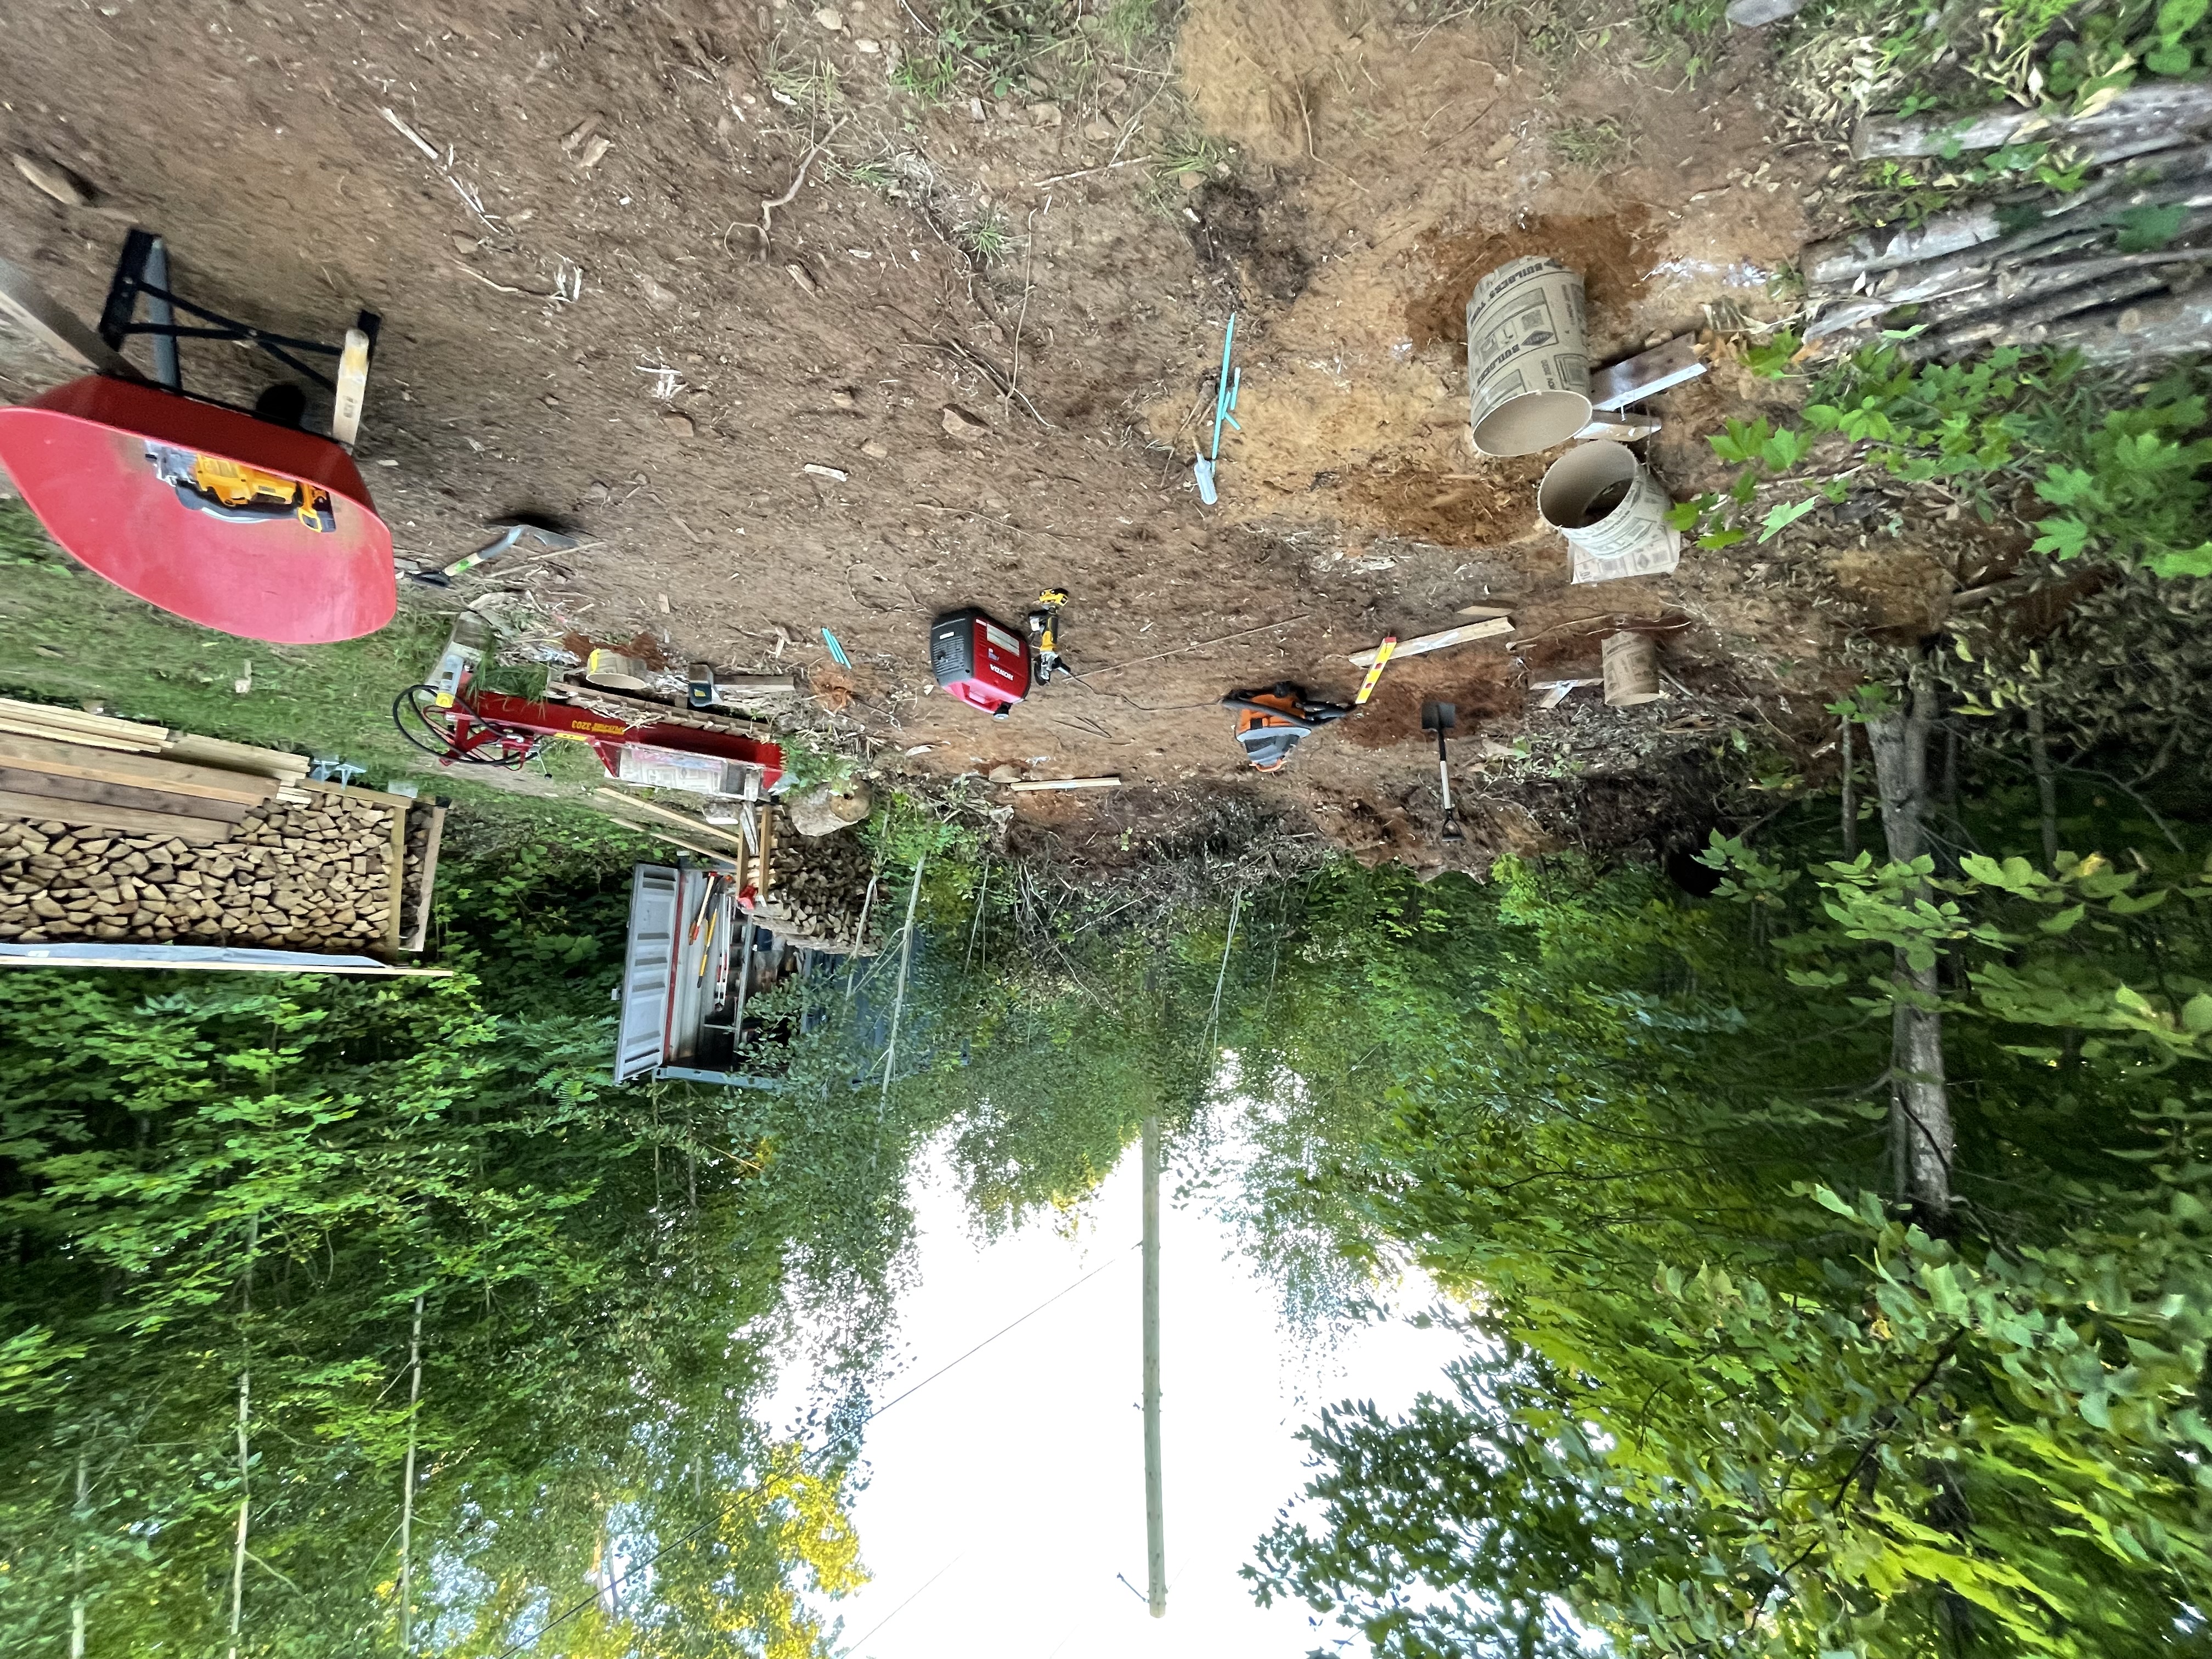
This would also be one of the first jobs for the tractor’s loader. After multiple minutes of consideration, I chose a flat (hah) piece of land just off the driveway that had only saplings on it, and scraped them off the dirt. I pushed the loosest of the soil straight back into the forest to prepare the site. I was excited to build, an ever prevalent theme, and figured I could clean up around the complete structure.
I landed on 10’ deep by 14’ wide for the structure footprint, with an additional foot of roof overhang on all sides. I’m not sure how I landed on this size, as the tractor with loader is easily 12’+, without any attachments. I laid out the footings using two tape measures and the only piece of elementary school math I remember: a²xb²=c².
Footing school
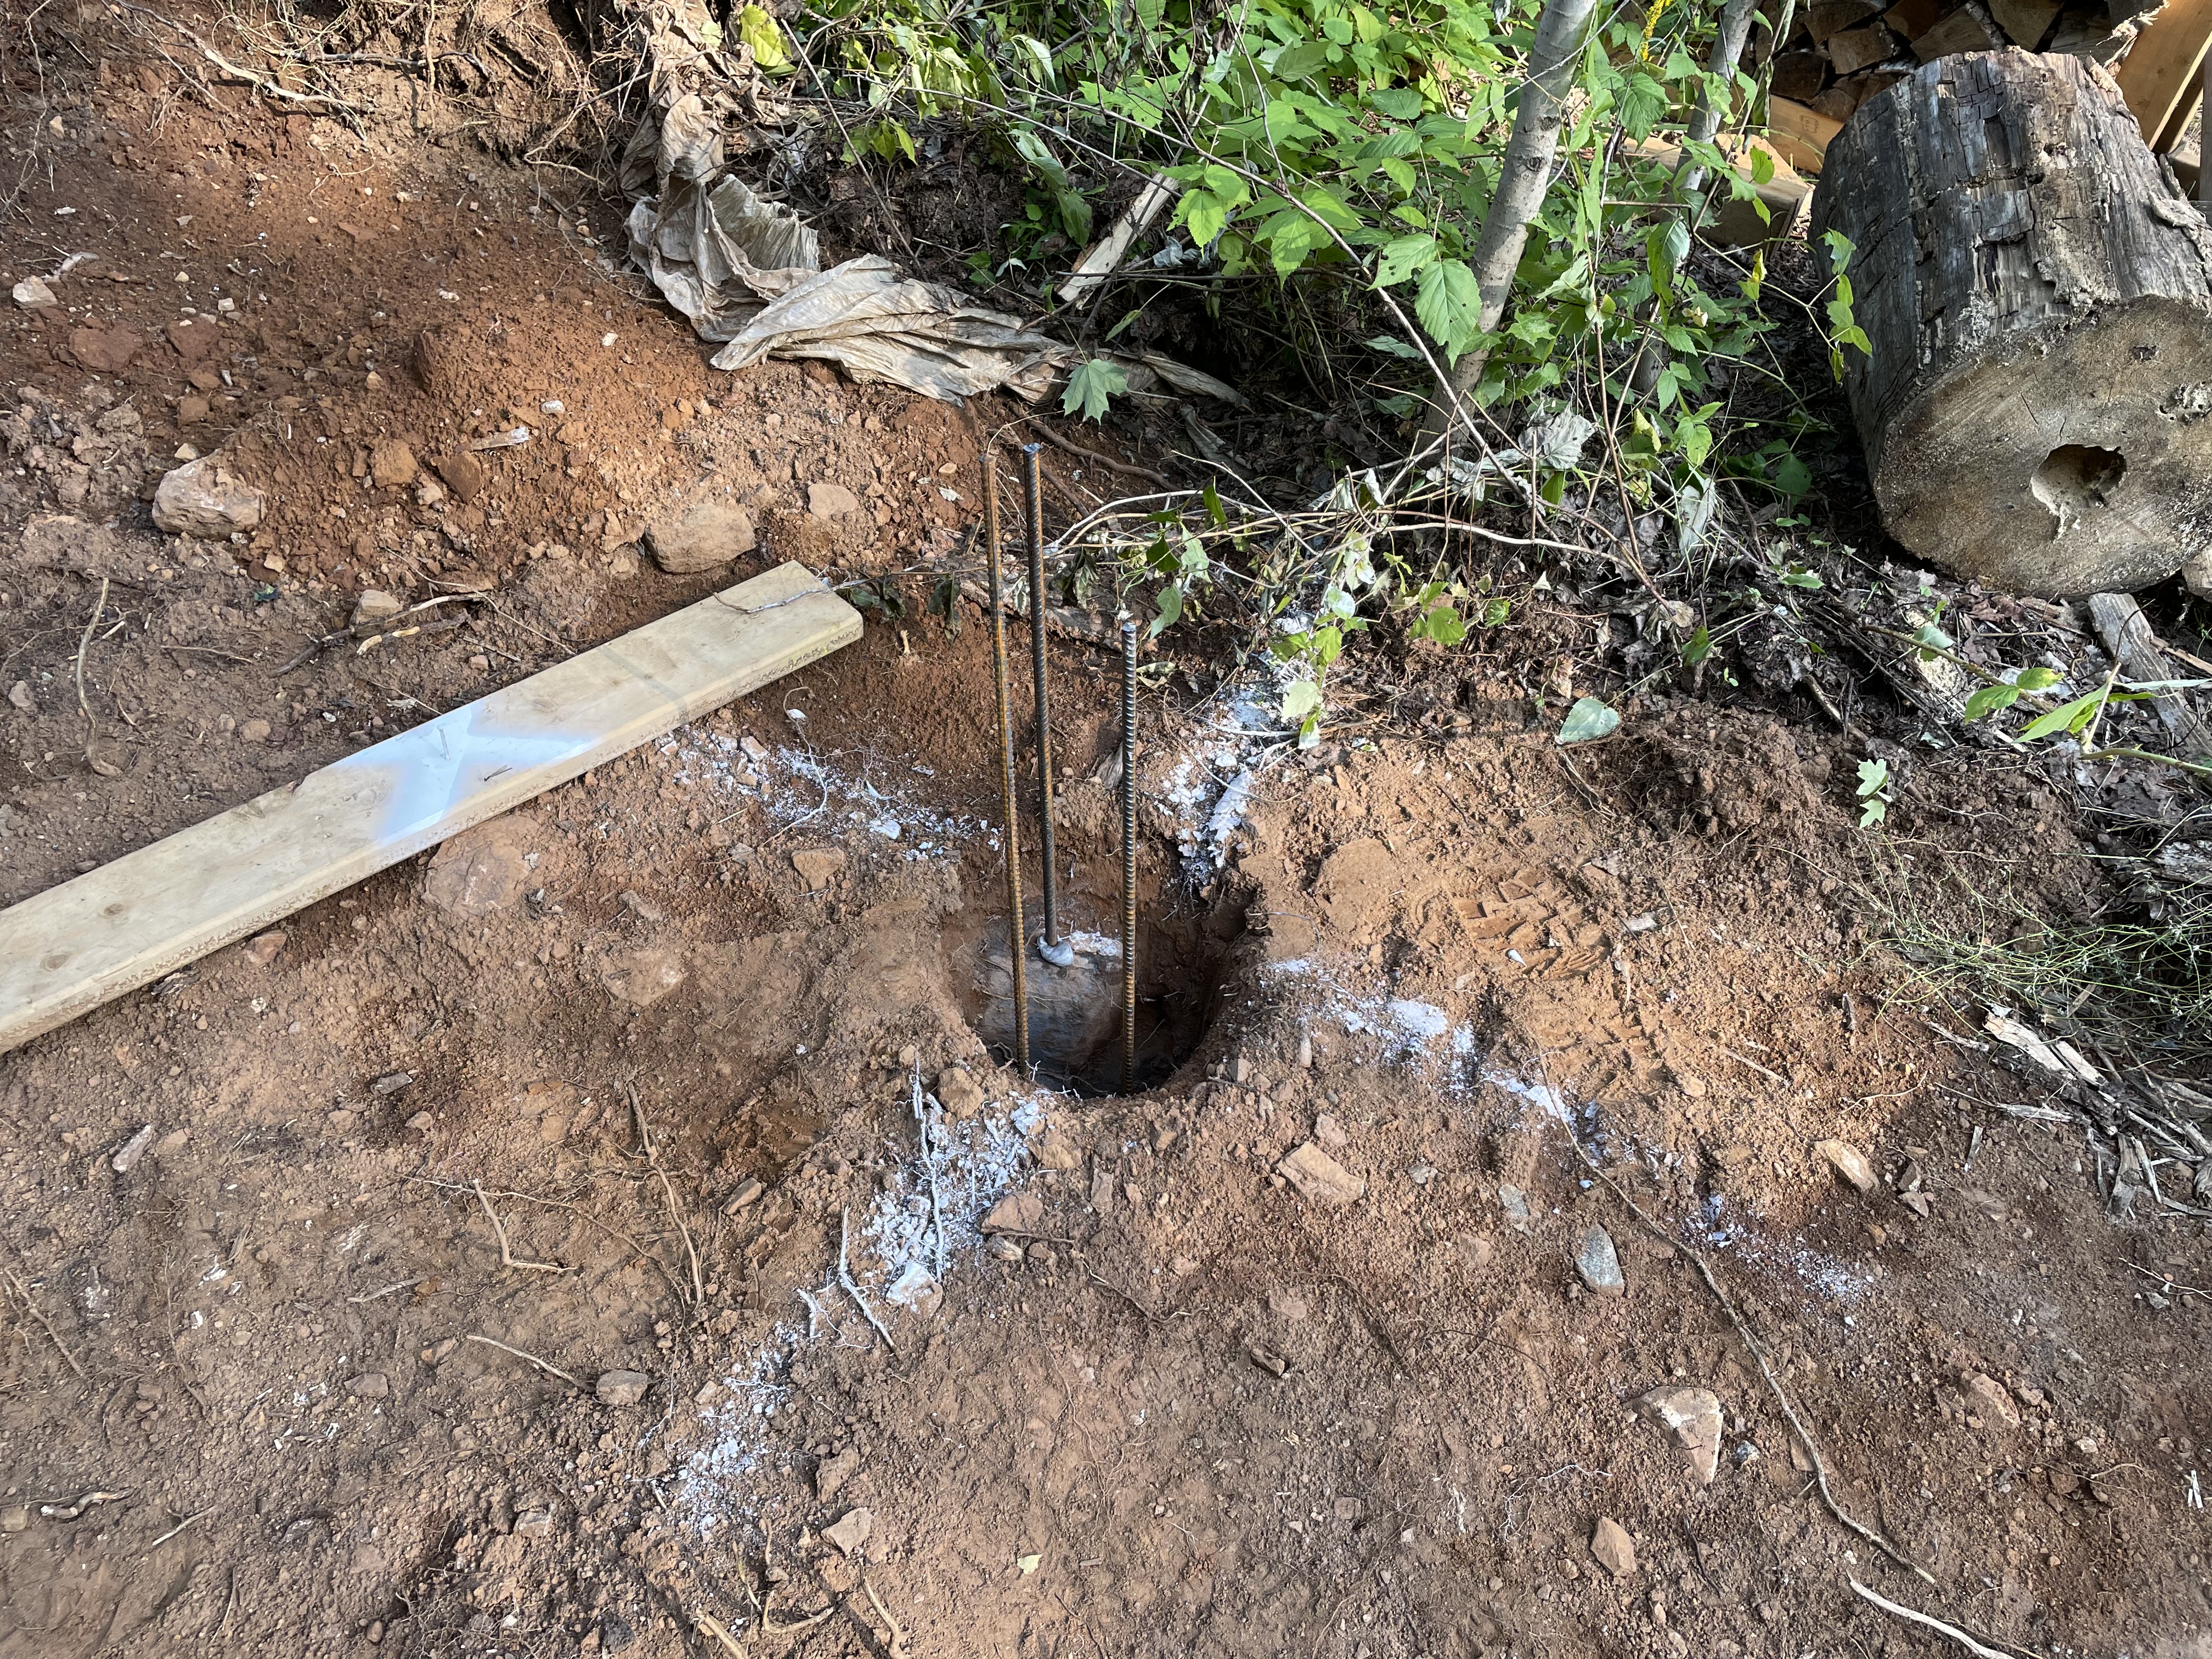
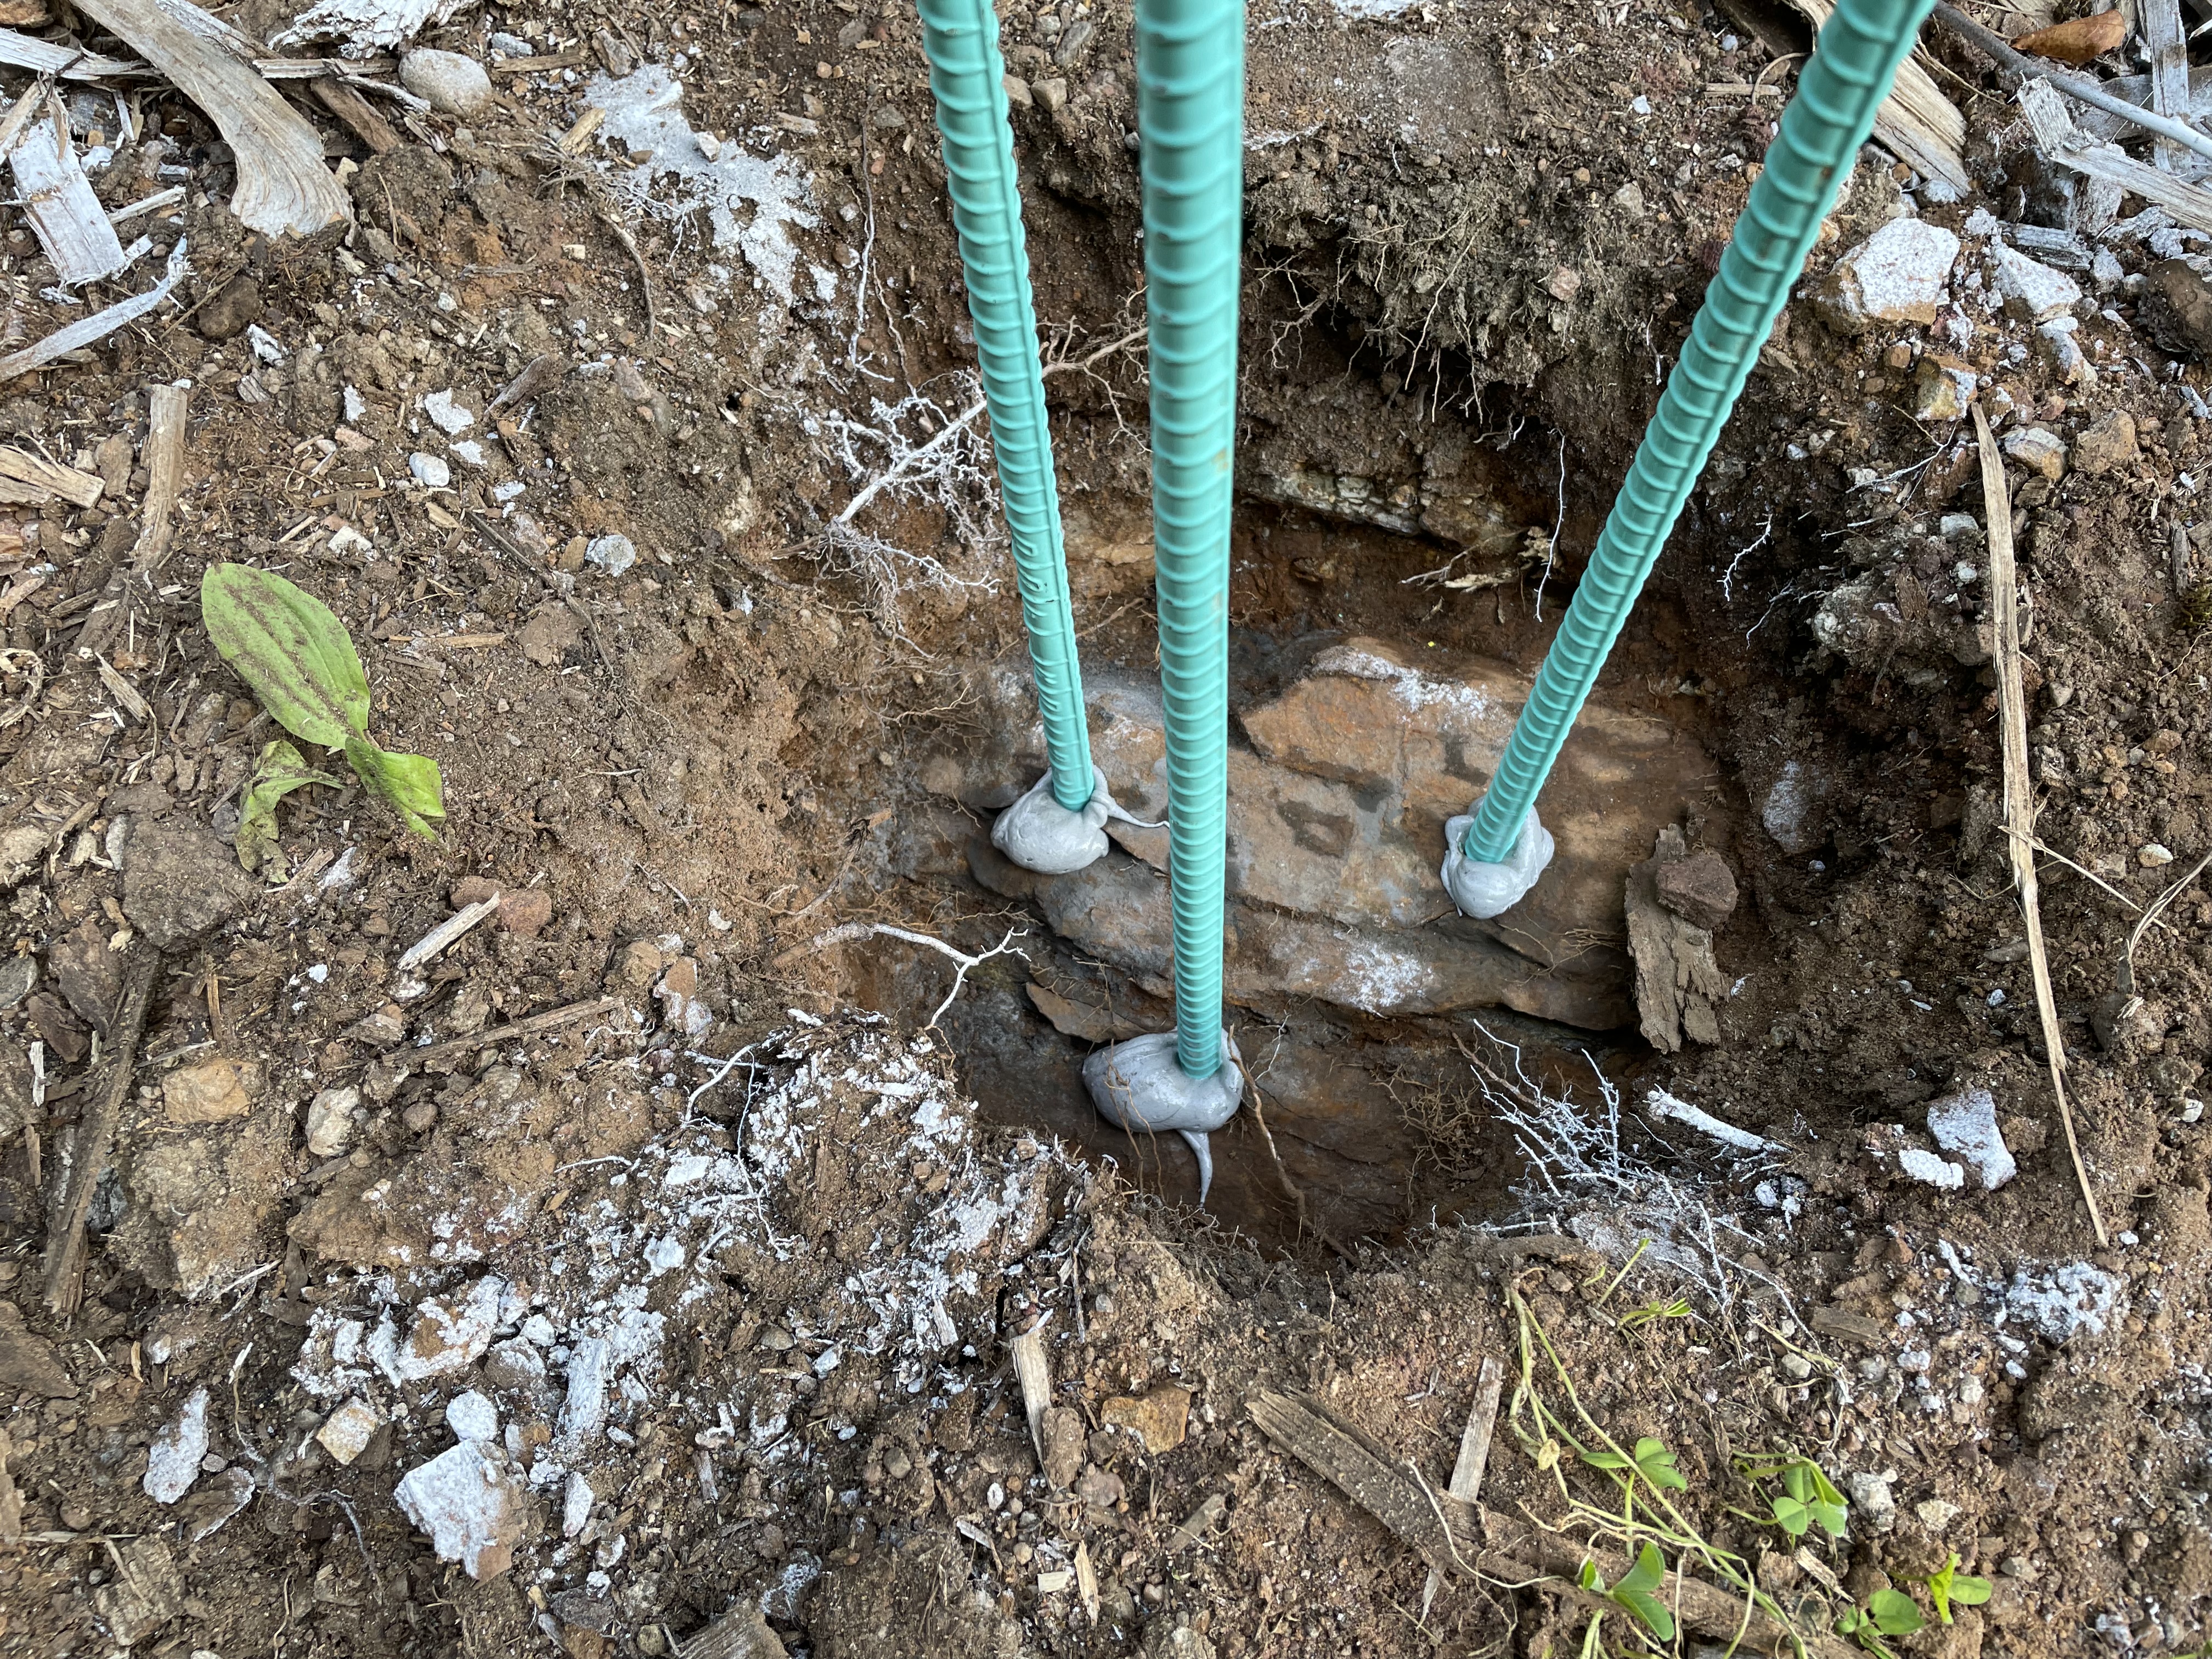
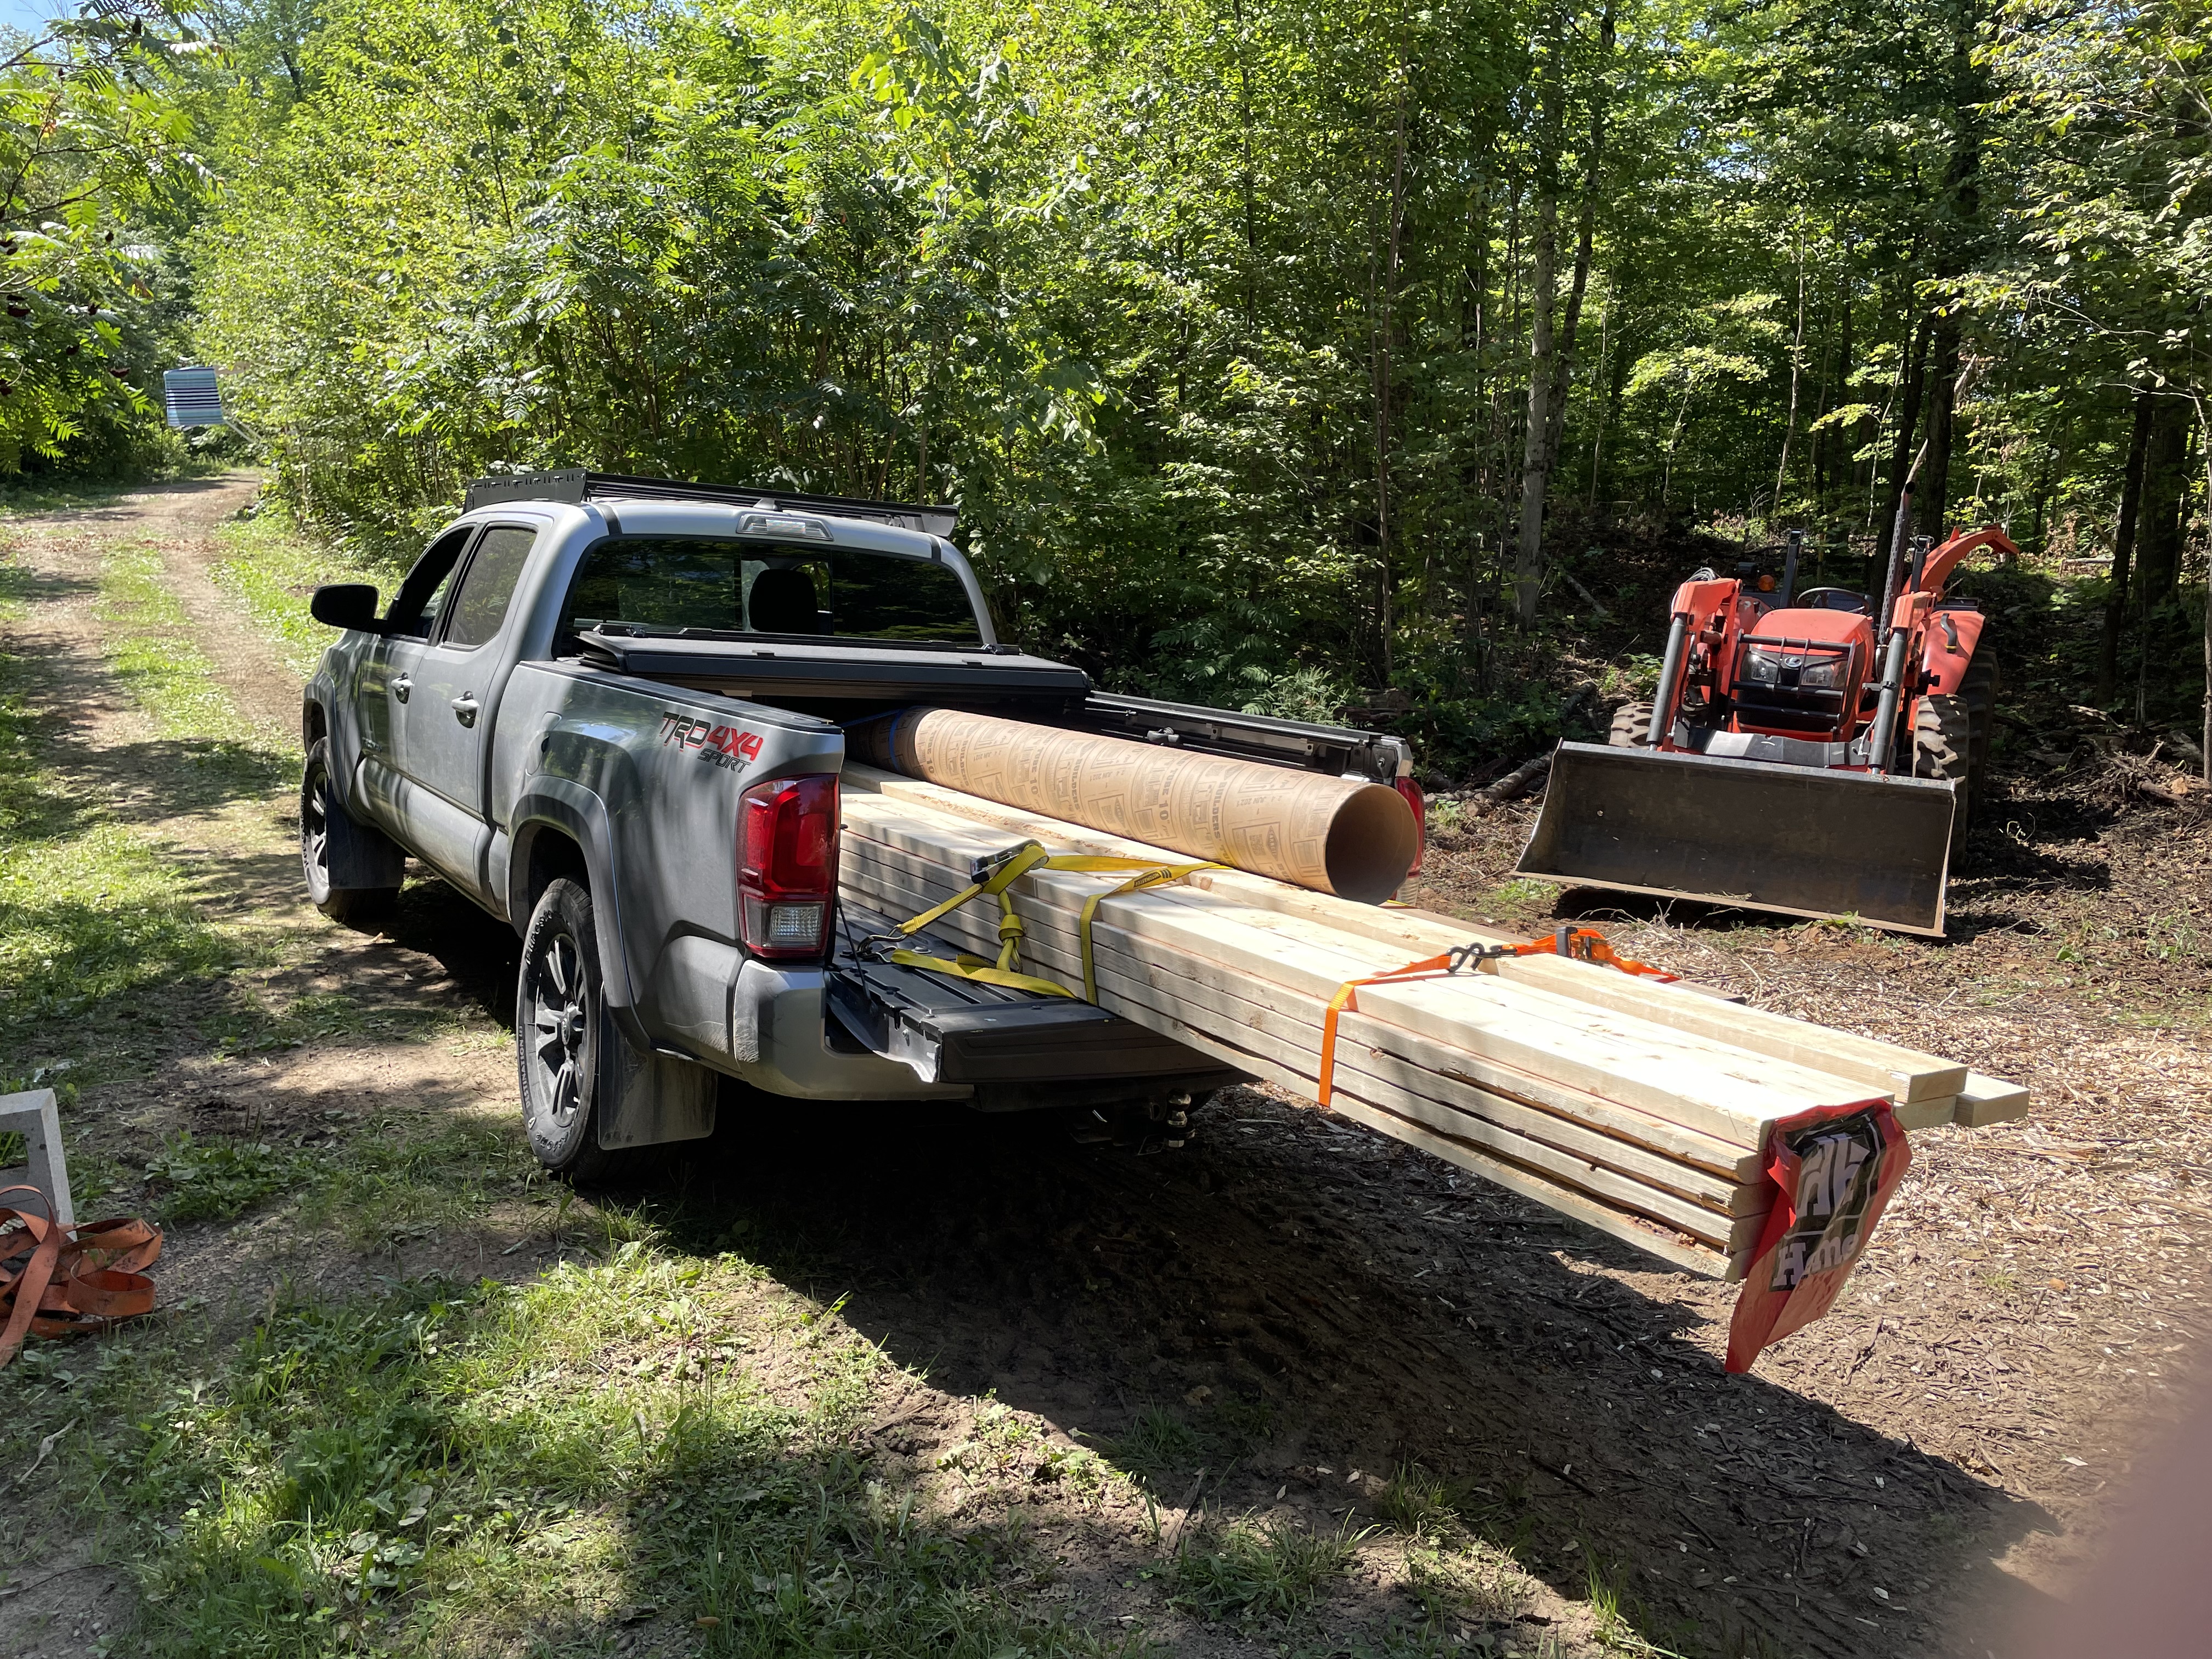
I’ve built enough that I understand the approximate principles of a concrete footing for a post. It’s not complicated, use a builder’s tube (Sonotube™, henceforth sonotube) in a hole to contain concrete, make sure the hole is deep enough to be below the frost line (4’ depth is common here), and put a saddle to hold the post in the wet concrete. One can put the post directly in the concrete, but I subscribe the idea that this approach will rot a post out and be impossible to replace.
With my footings measured out, I dug in each position to find the following depths before hitting granite bedrock: 30”, 18”, 12”, 4”.
Now, the reason one sets posts below the frost line is so that it can’t heave from beneath as the ground freezes and thaws. You know what doesn’t move when it freezes or thaws (at least not in a human lifetime)? Bedrock. So, depth isn’t really an issue here, and if I can fasten the concrete to the bedrock adequately, the depth shortage is a gift to my back.
The approach I settled on was drilling ½” holes into the bedrock, filling them with purpose-made epoxy, and sticking rebar (“reinforcing bar”—ribbed steel rod) into the epoxy-filled holes. I then cut the sonotube to the profile of the bedrock and place it over the rebar. Now the concrete, once cured, would be pinned to the rock. This approach would be repeated on other projects, as there isn’t much soil on most of this land, just enough to hide the massive sheets of rock.
While cutting the sonotubes level using a laser line, I realized how far from level the patch of land was. I had about 16” of variance from the back right to the front left. Oops.
Structure
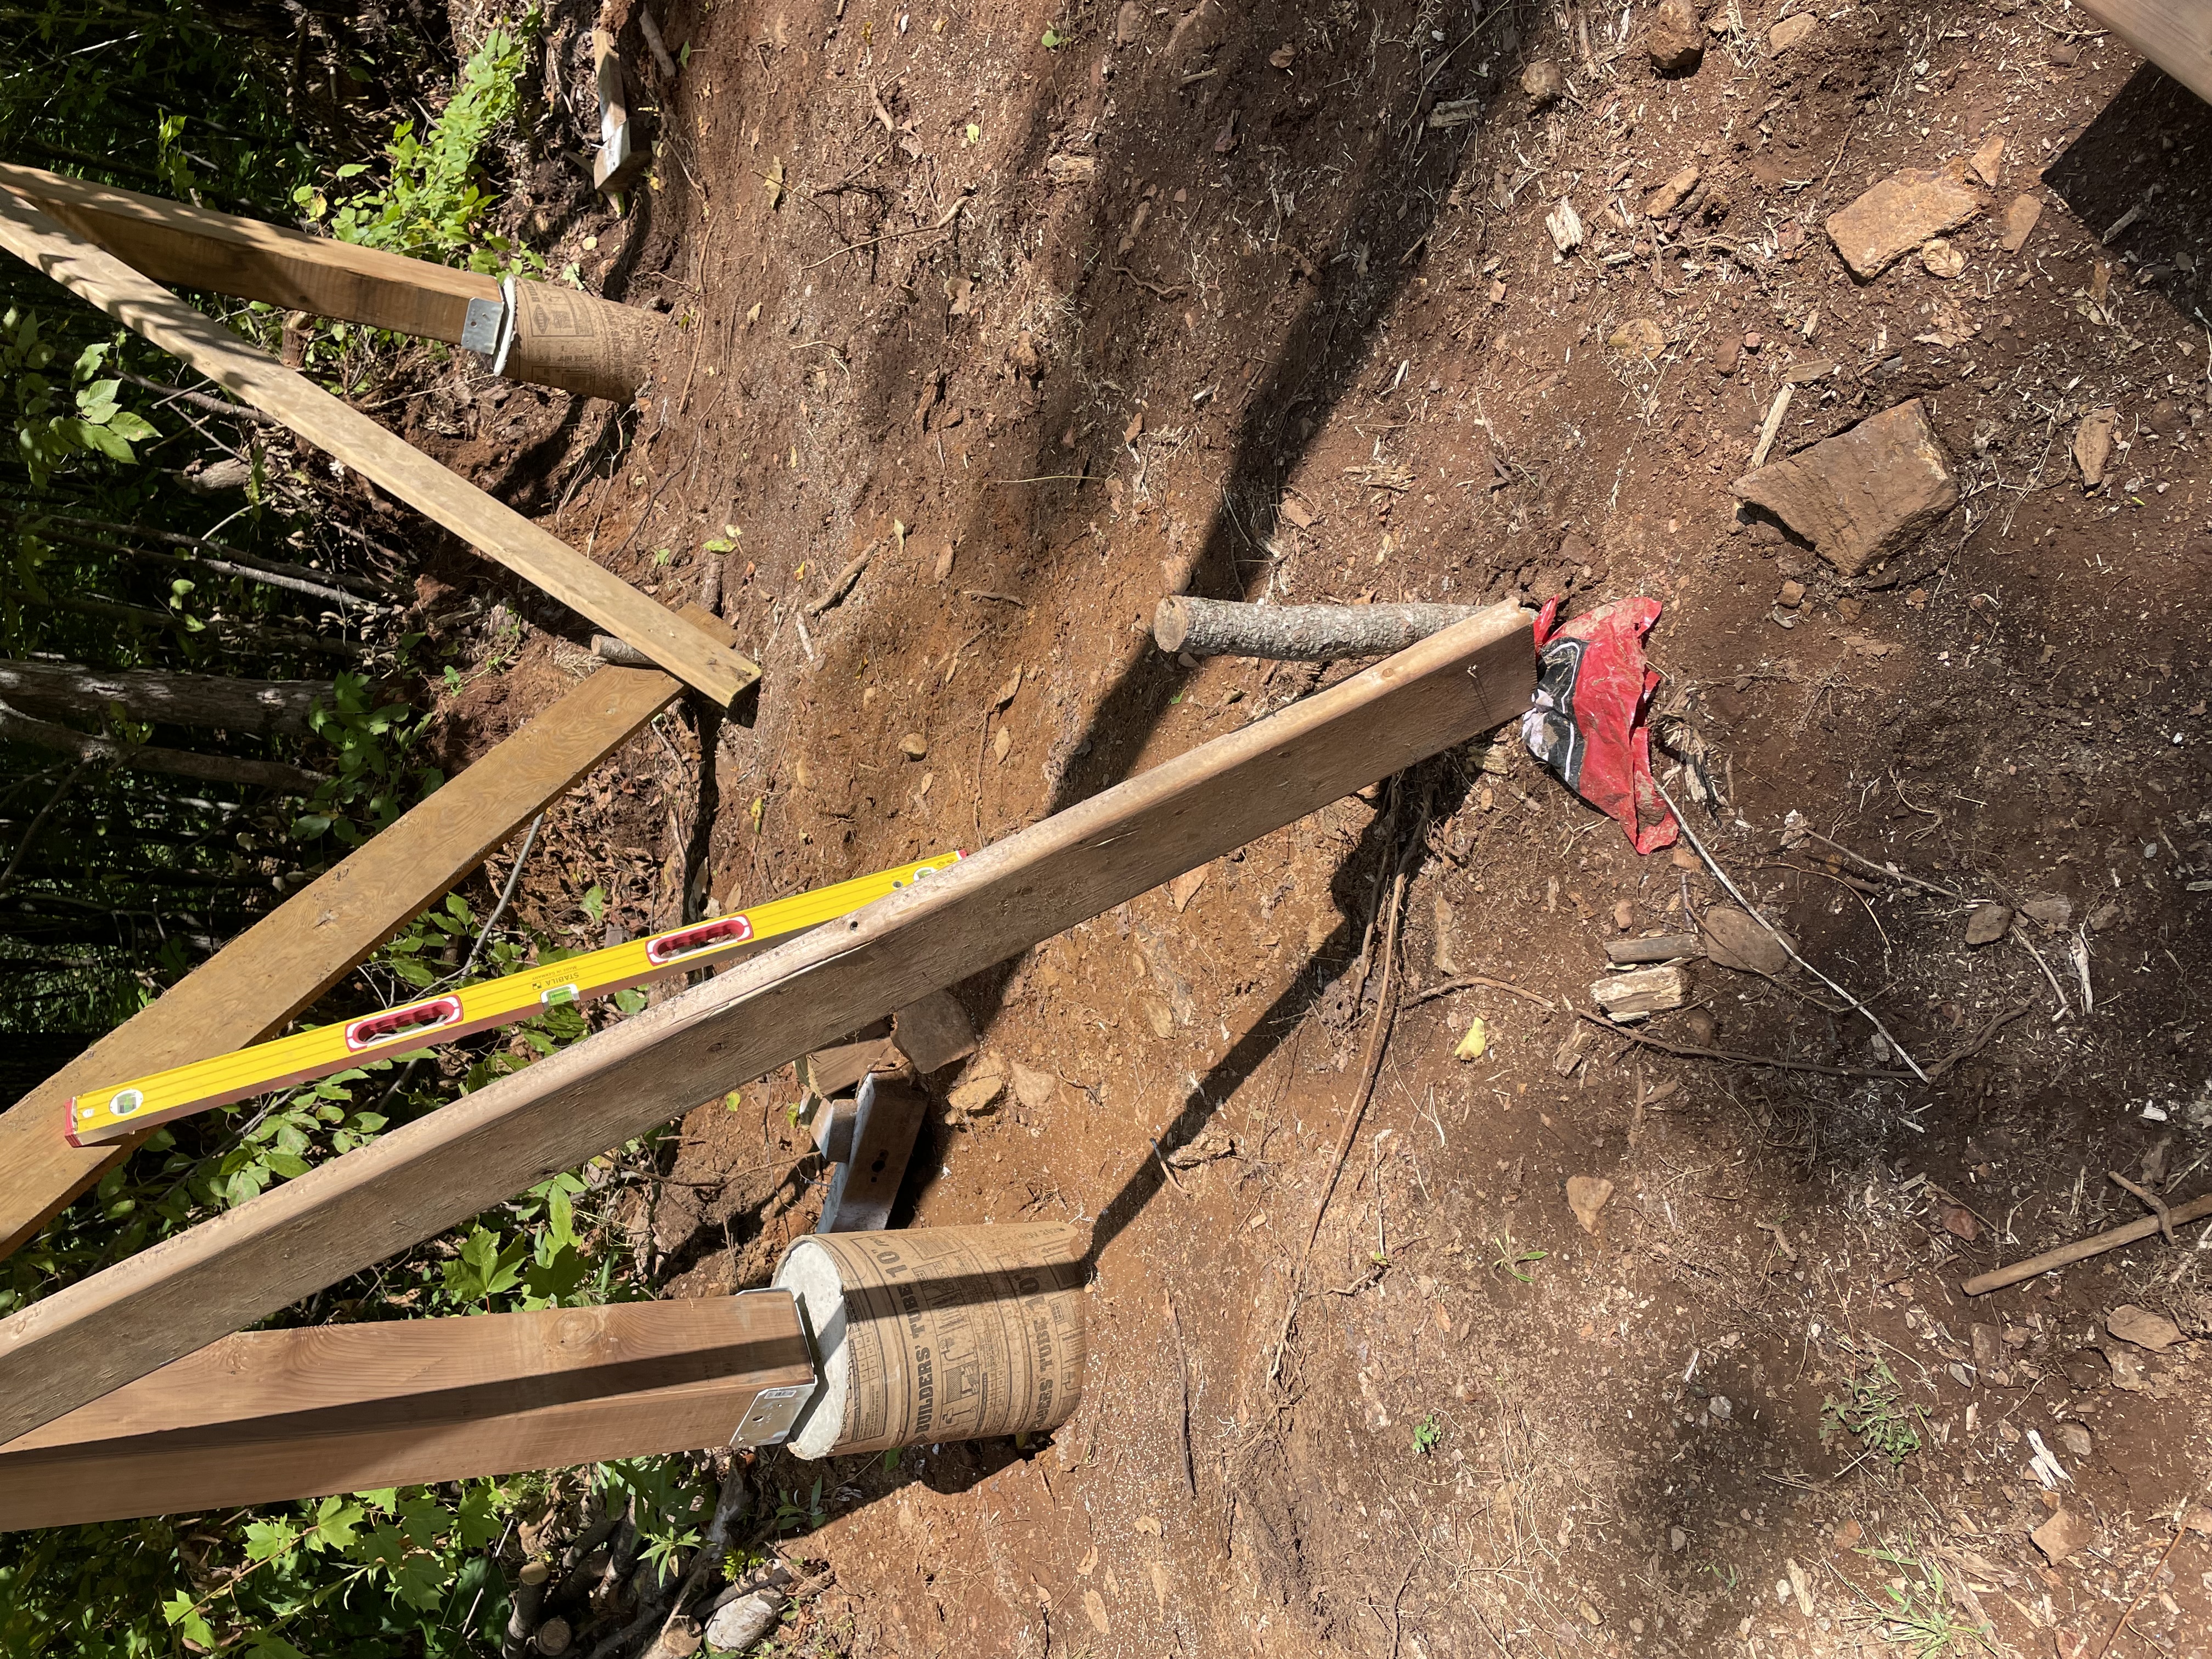
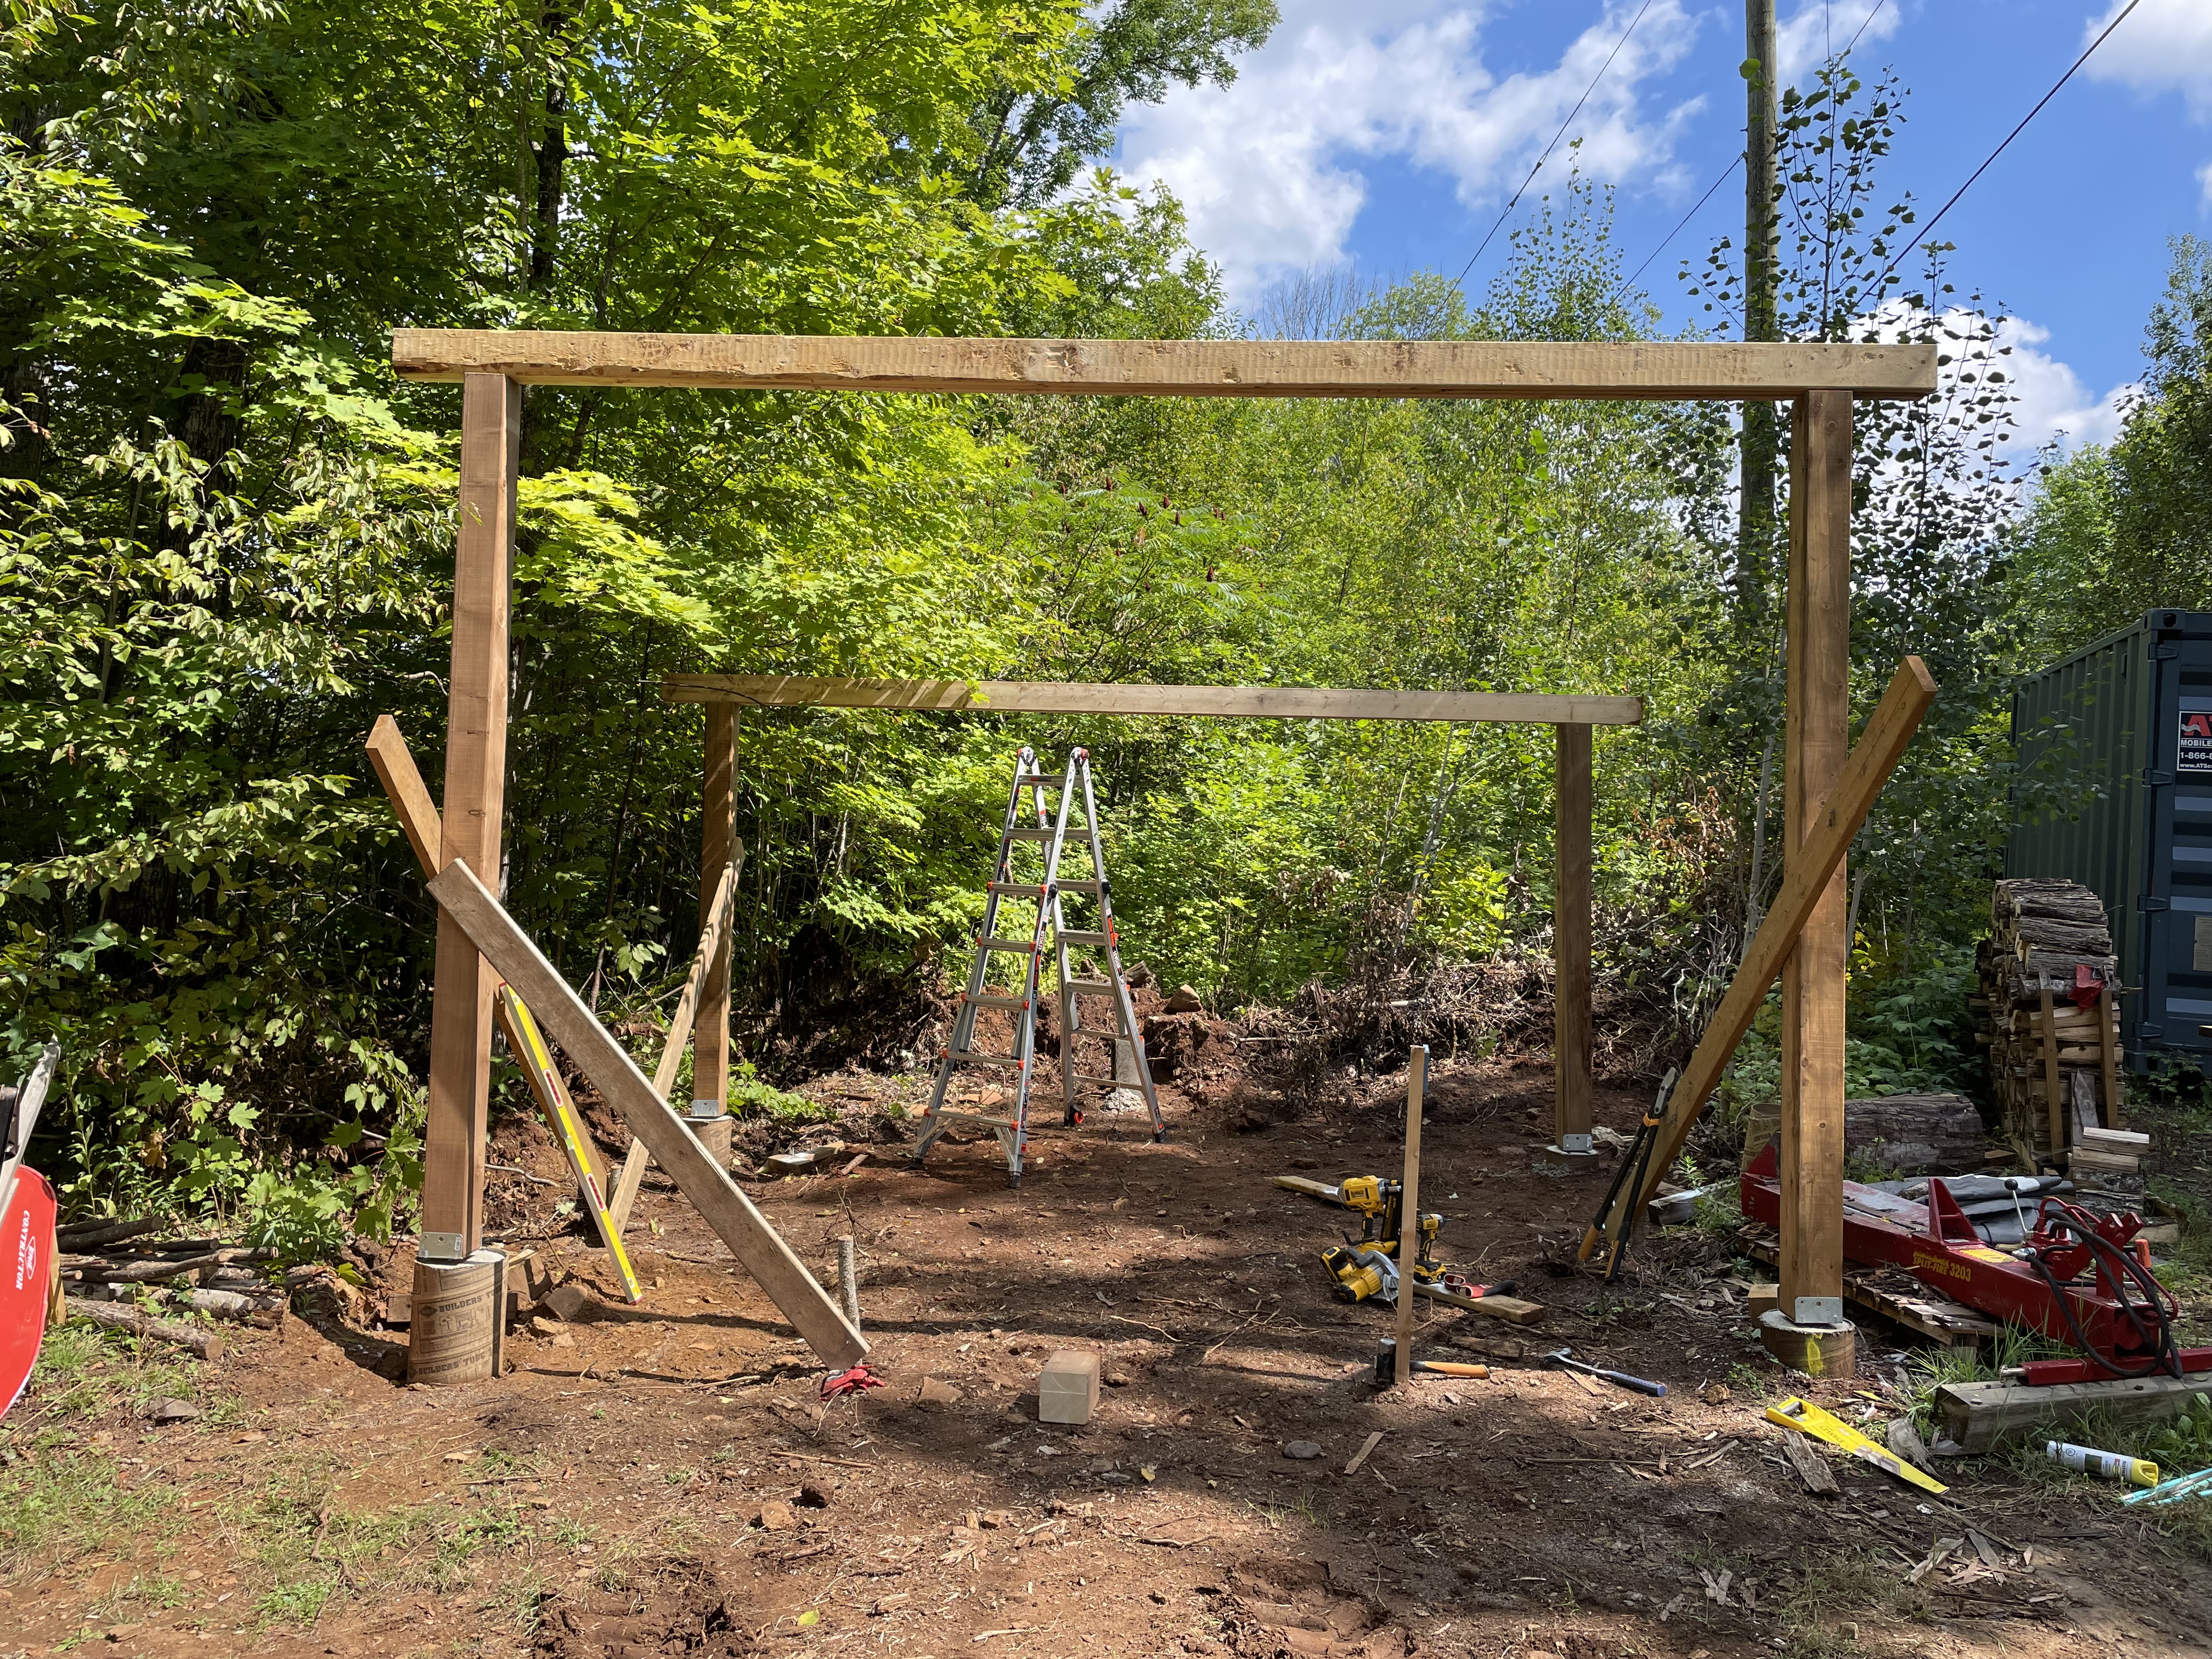
I used 6x6 pressure treated (PT) posts for the corners, sat in the saddles that I put in the footings. Herein lies a mid mistake: I lifted the saddles ½” off the surface of the setting concrete to avoid rot in the bottom of the post. While a good thought, the embedded “stake” portion of the saddle is basically a piece of rebar, which has a lot of tensile strength (resists being pulled apart) but is soft and bends relatively easily. With this approach, the four points of contact to the ground are all somewhat flexible. In the future, I would use saddles with “uplift” built in. Still, this shouldn’t be a problem with a sufficiently strong structure.
Next, I laminated three 16’ 2x6’s together (glued and nailed every foot or two at opposing angles) for the front and rear beams that would hold the rafters. I chose 2x6 because… well, that’s the problem. More on this in a minute.
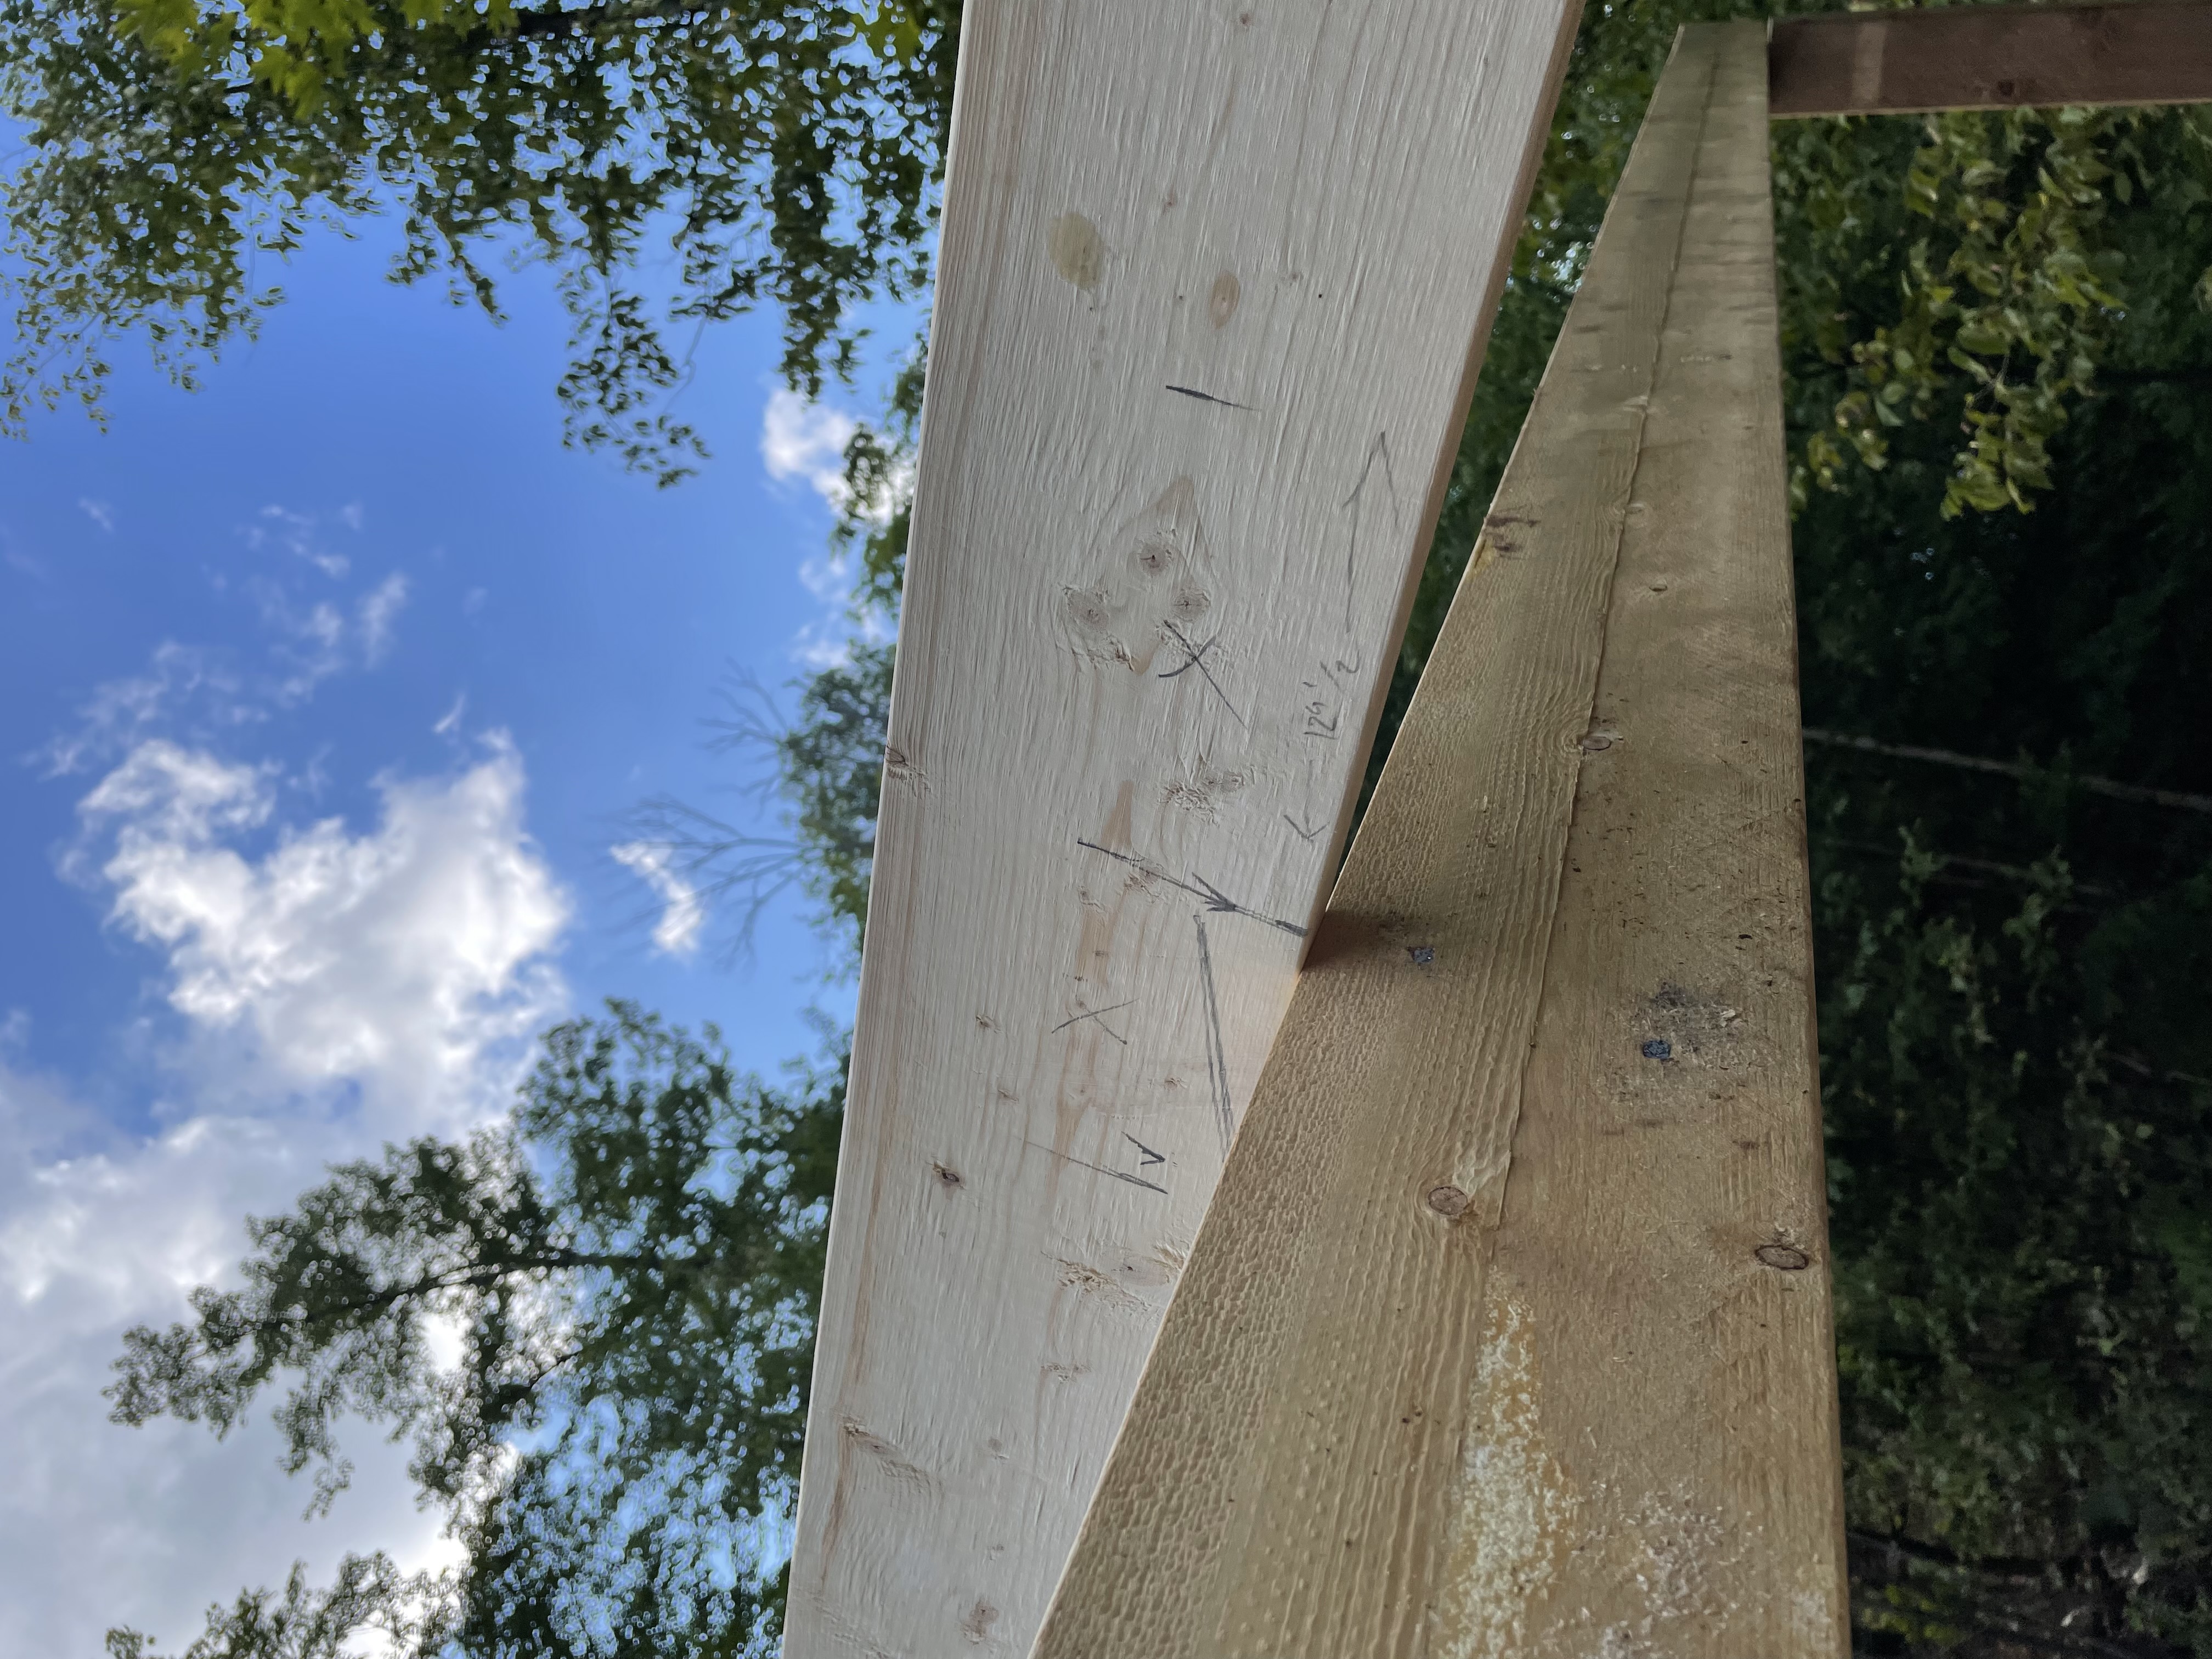
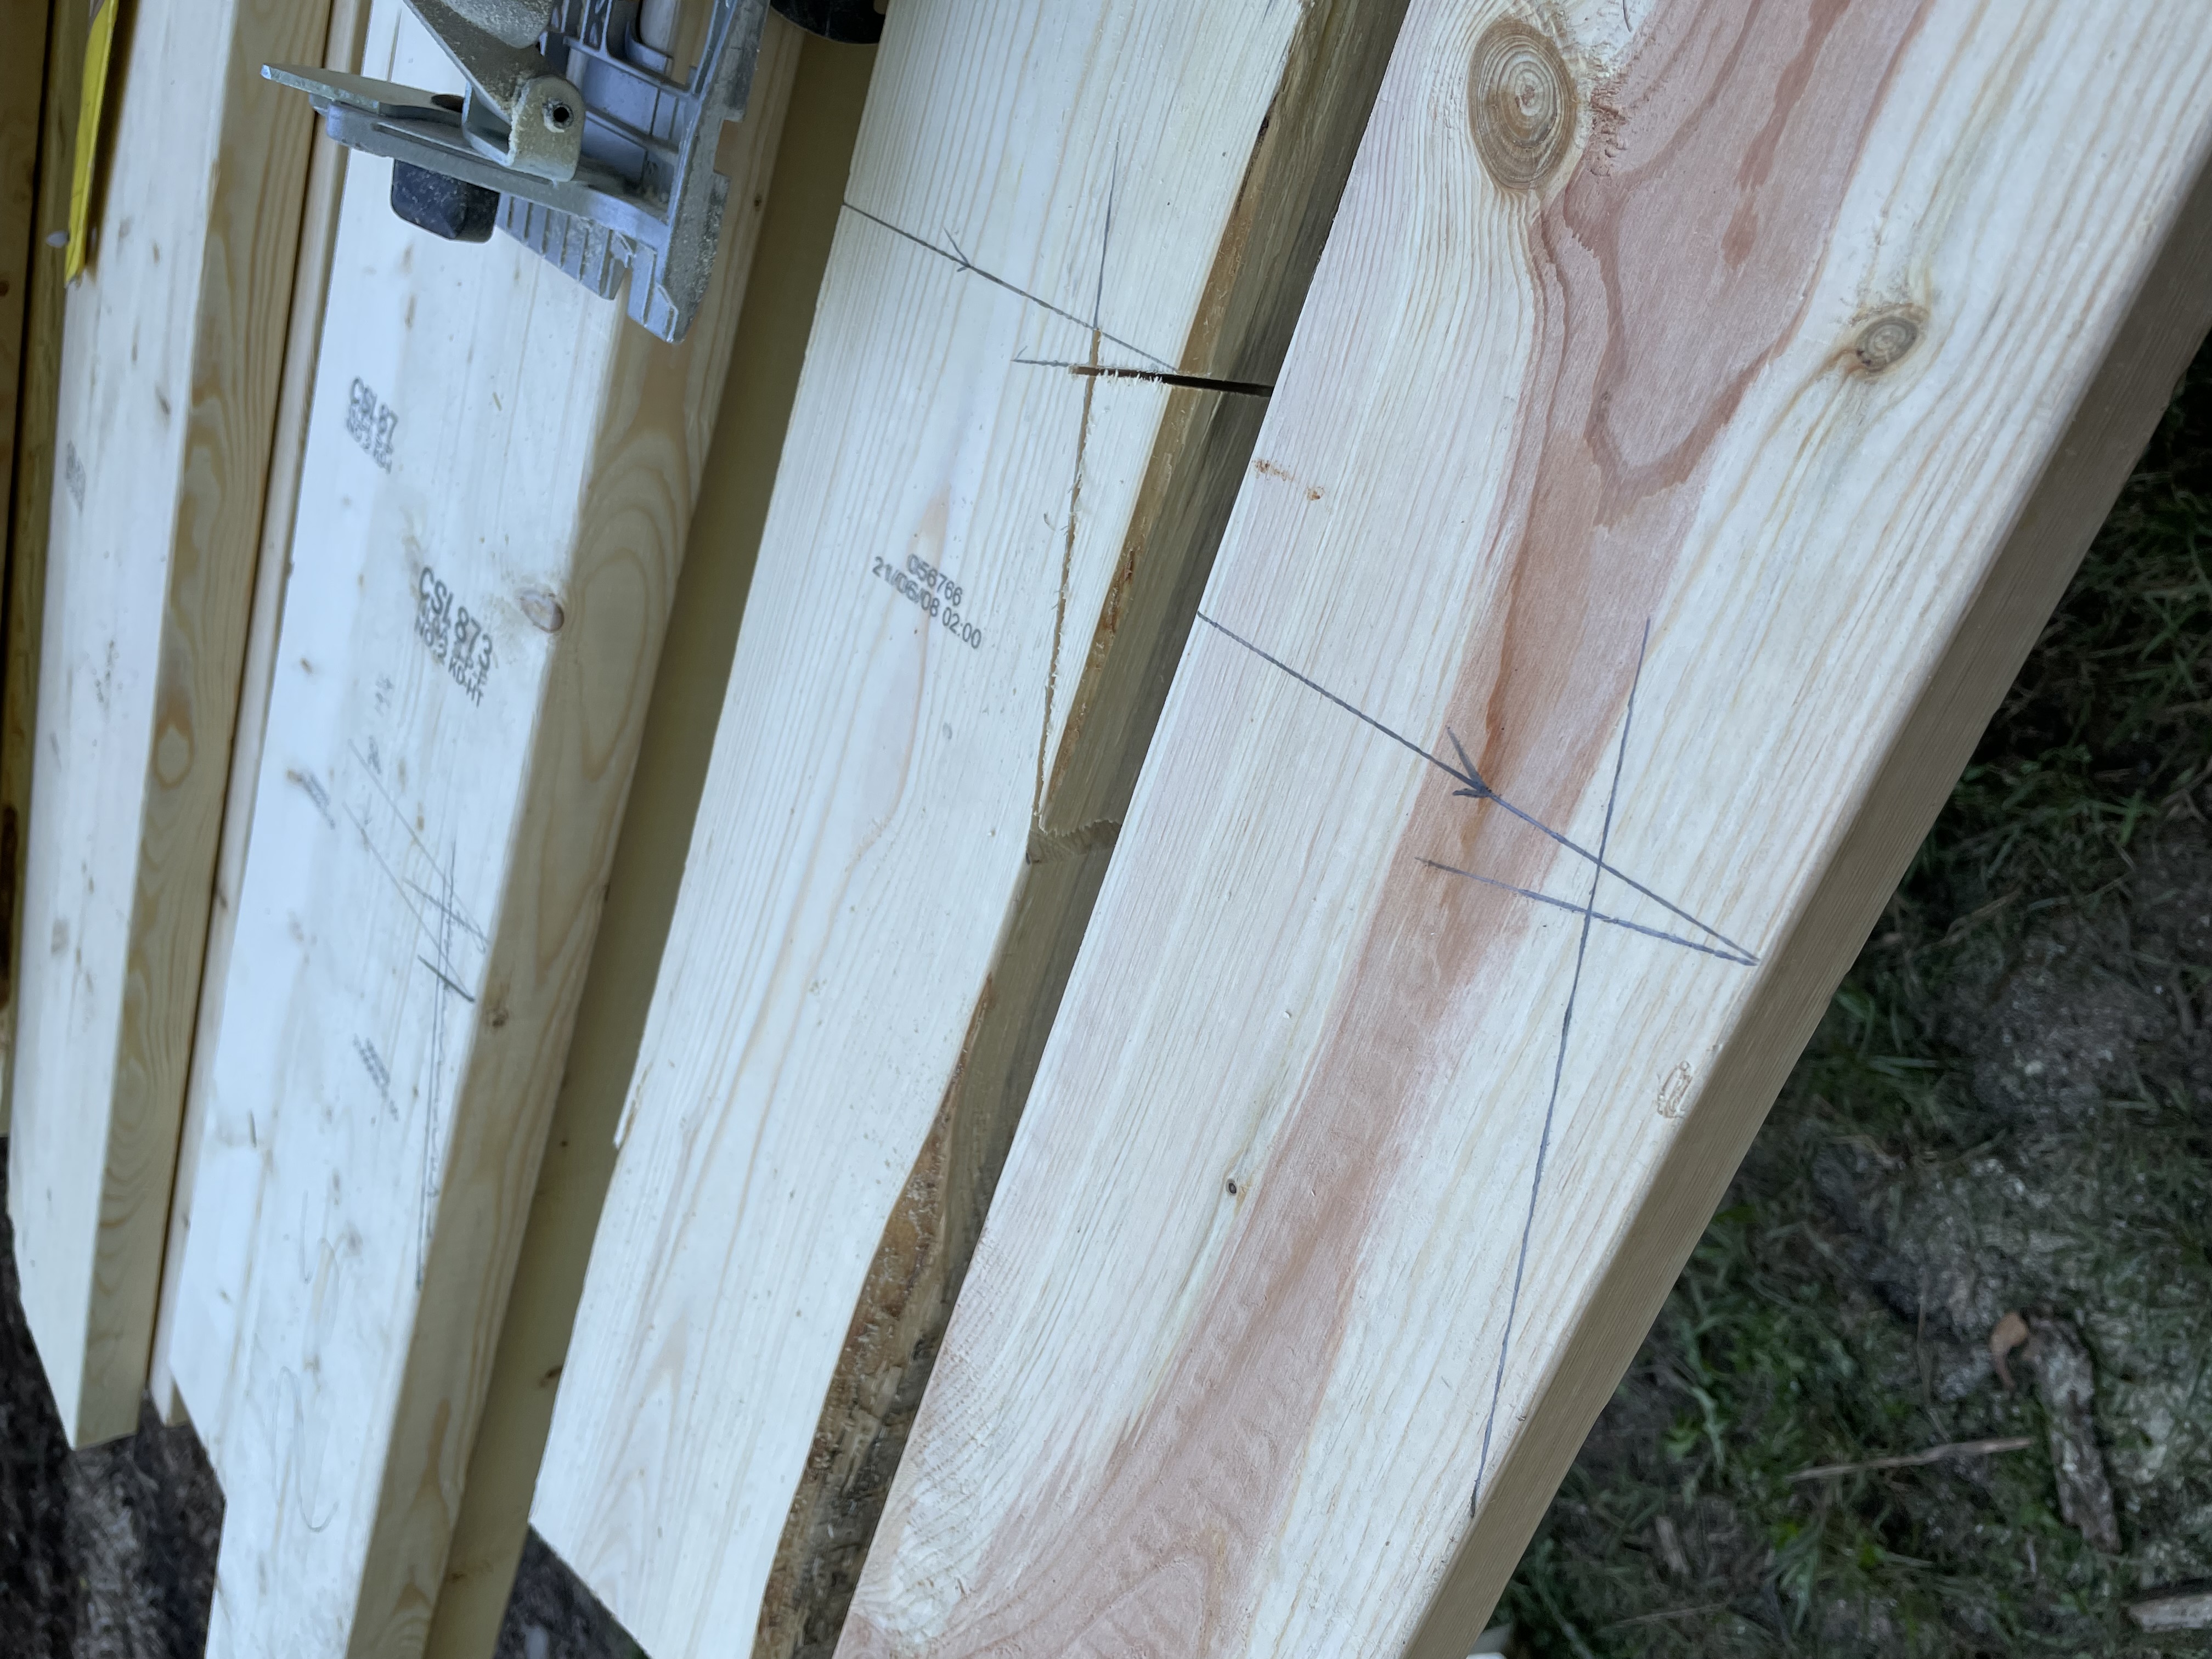
To complete the structure itself, I spent some time learning how to cut rafters from more 2x6 stock. Once I had one rafter I was happy with, I used it as a “story stick” and copied it for the rest of the rafters, making sure to use the same story stick for every rafter to avoid compounding errors.
Did you know you can use math to answer questions?
Back to those triple 2x6 beams. I guessed the material, and didn’t think hard enough. The first winter the shed was standing, I noticed a bow in the back beam, at the low end of the roof where the snow weight concentrates. The bow was enough that I put together a temporary brace for the center of the beam, a temporary fix which is still in place now, as the triple 2x6 is insufficient for its 14 foot span.
This is not a difficult problem to have foreseen. Were I doing this today, I would simply look up my local snow load, which is 2.7kPa (or 44 pounds per square foot), and use a span calculator to determine the minimum beam to adequately support the load. In this case, at least 2x10’s are called for. If it was for a dwelling, I’d want an engineer’s input.
At some point in the future, I might lift the roof off the beam and hot-swap it with a correctly sized one, as days are numbered for that temporary support before I accidentally turn it into scrap with the tractor bucket.
Roof
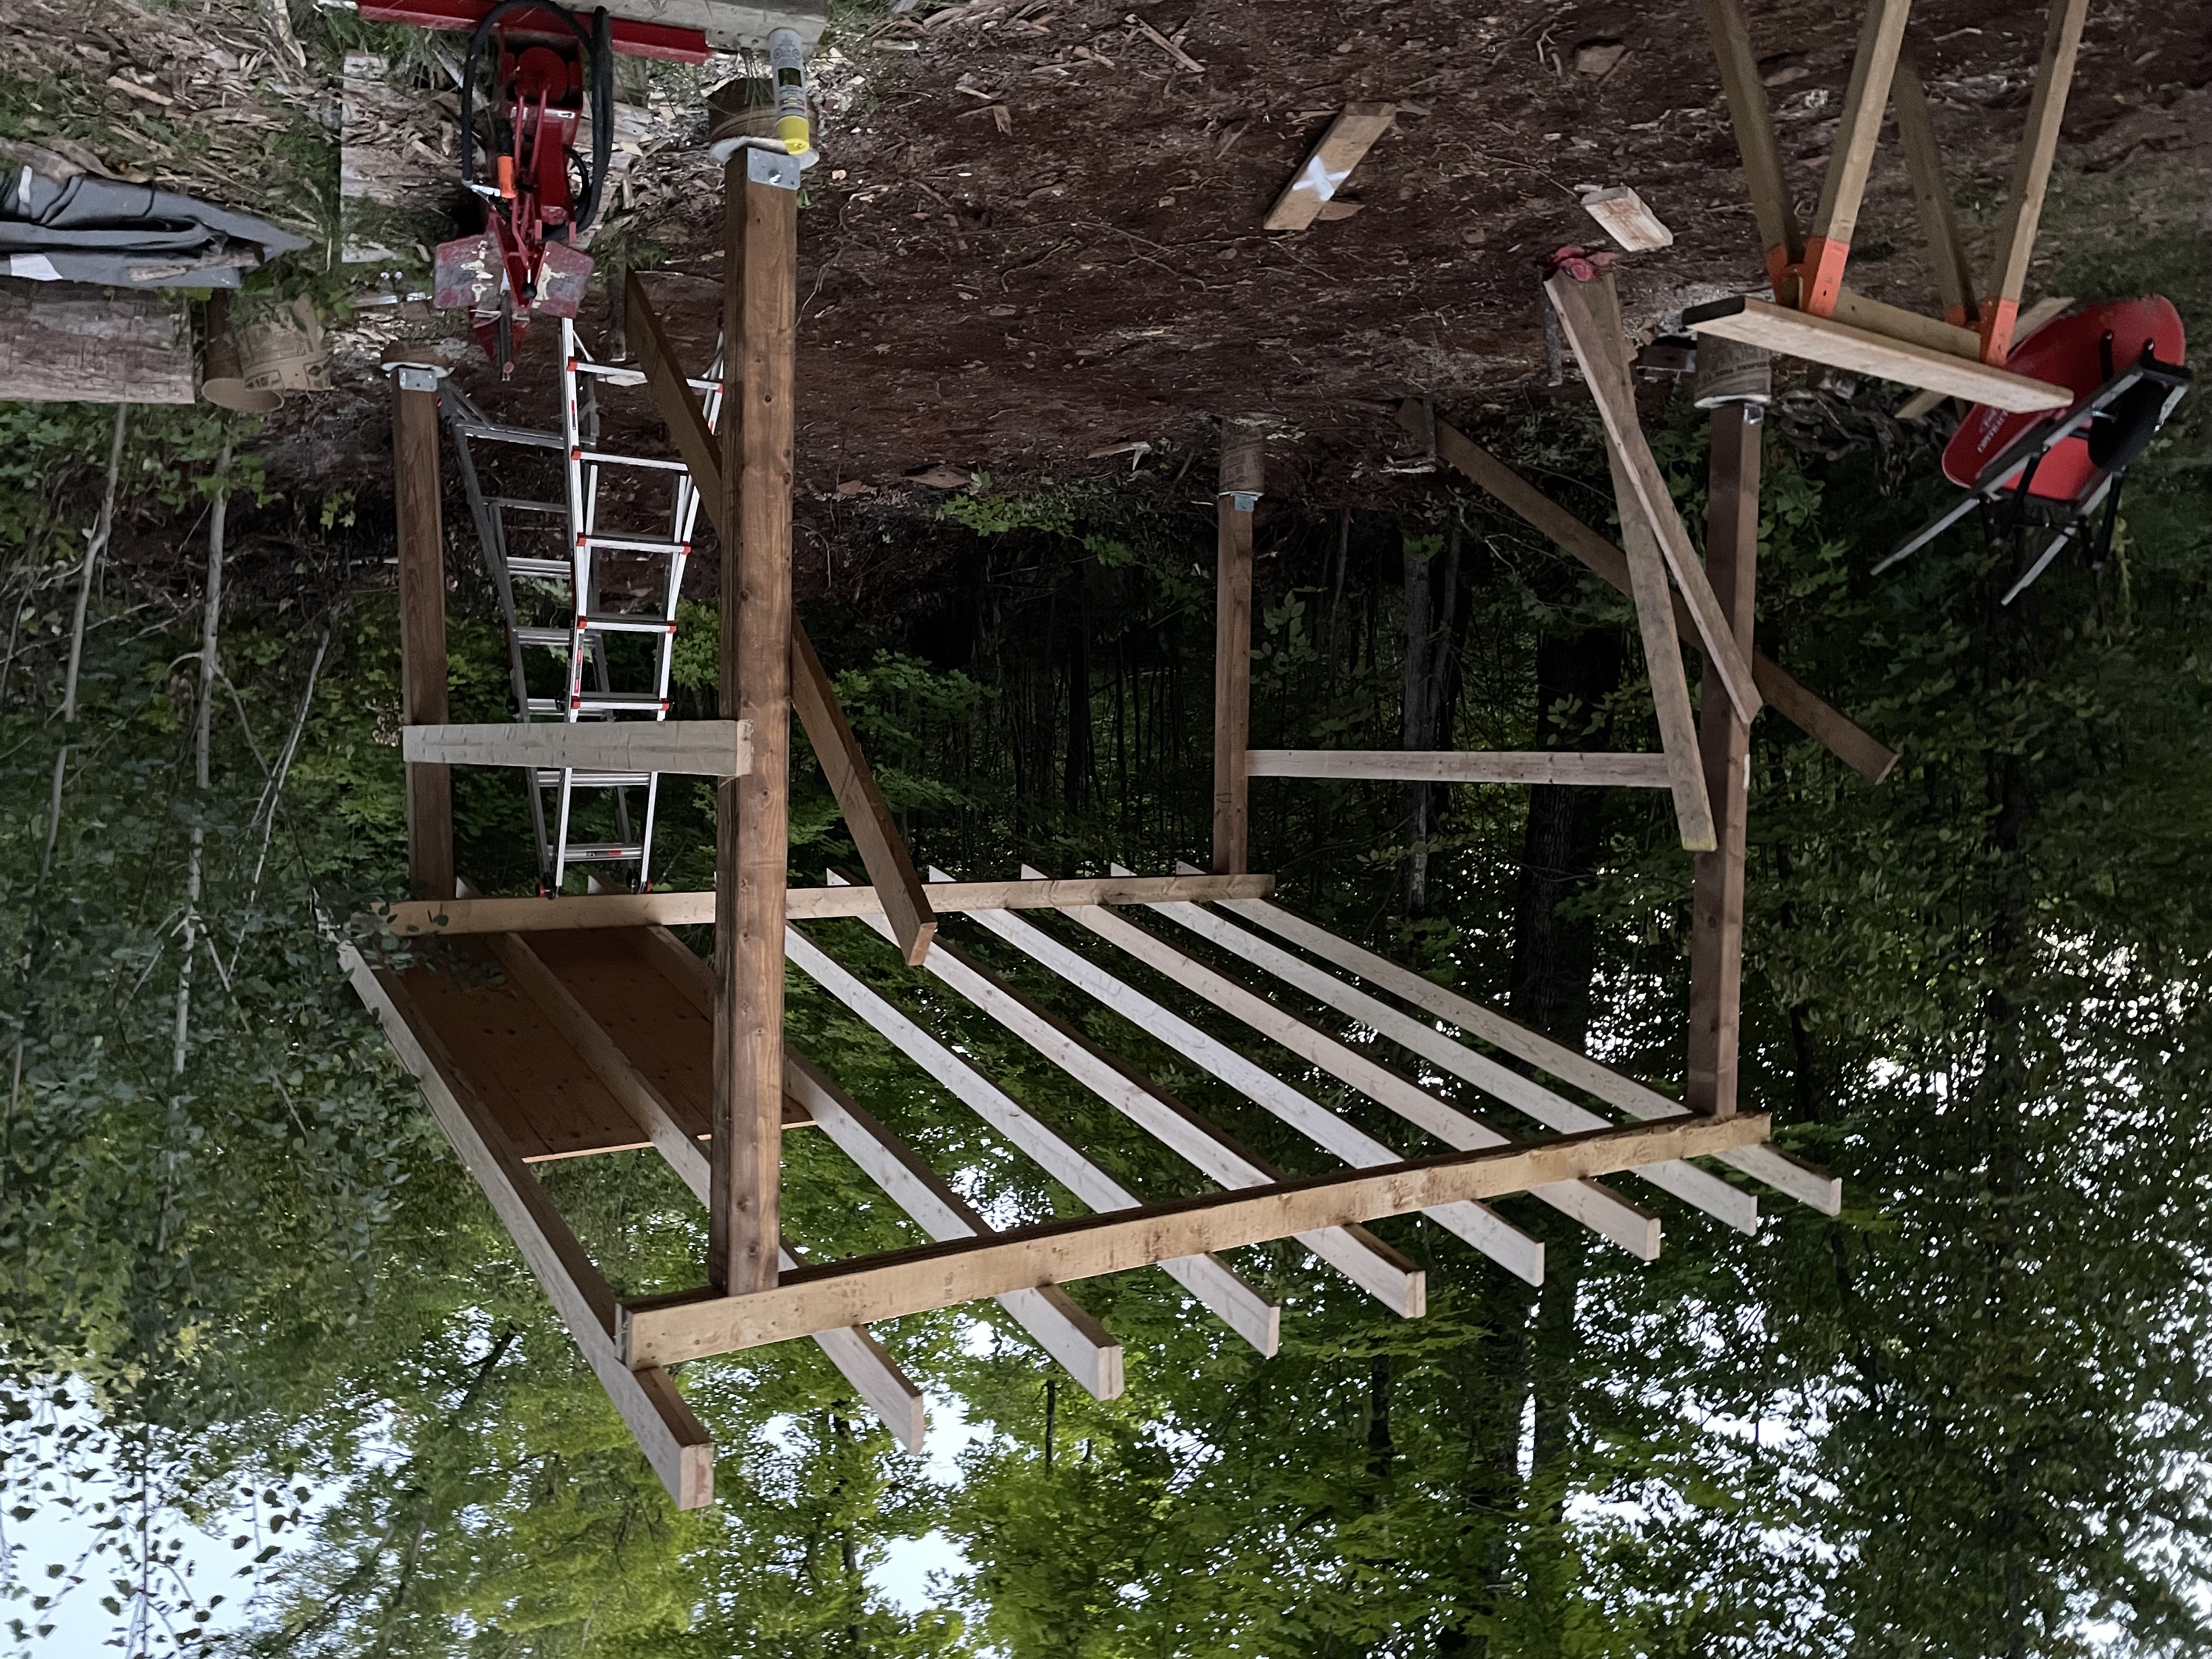
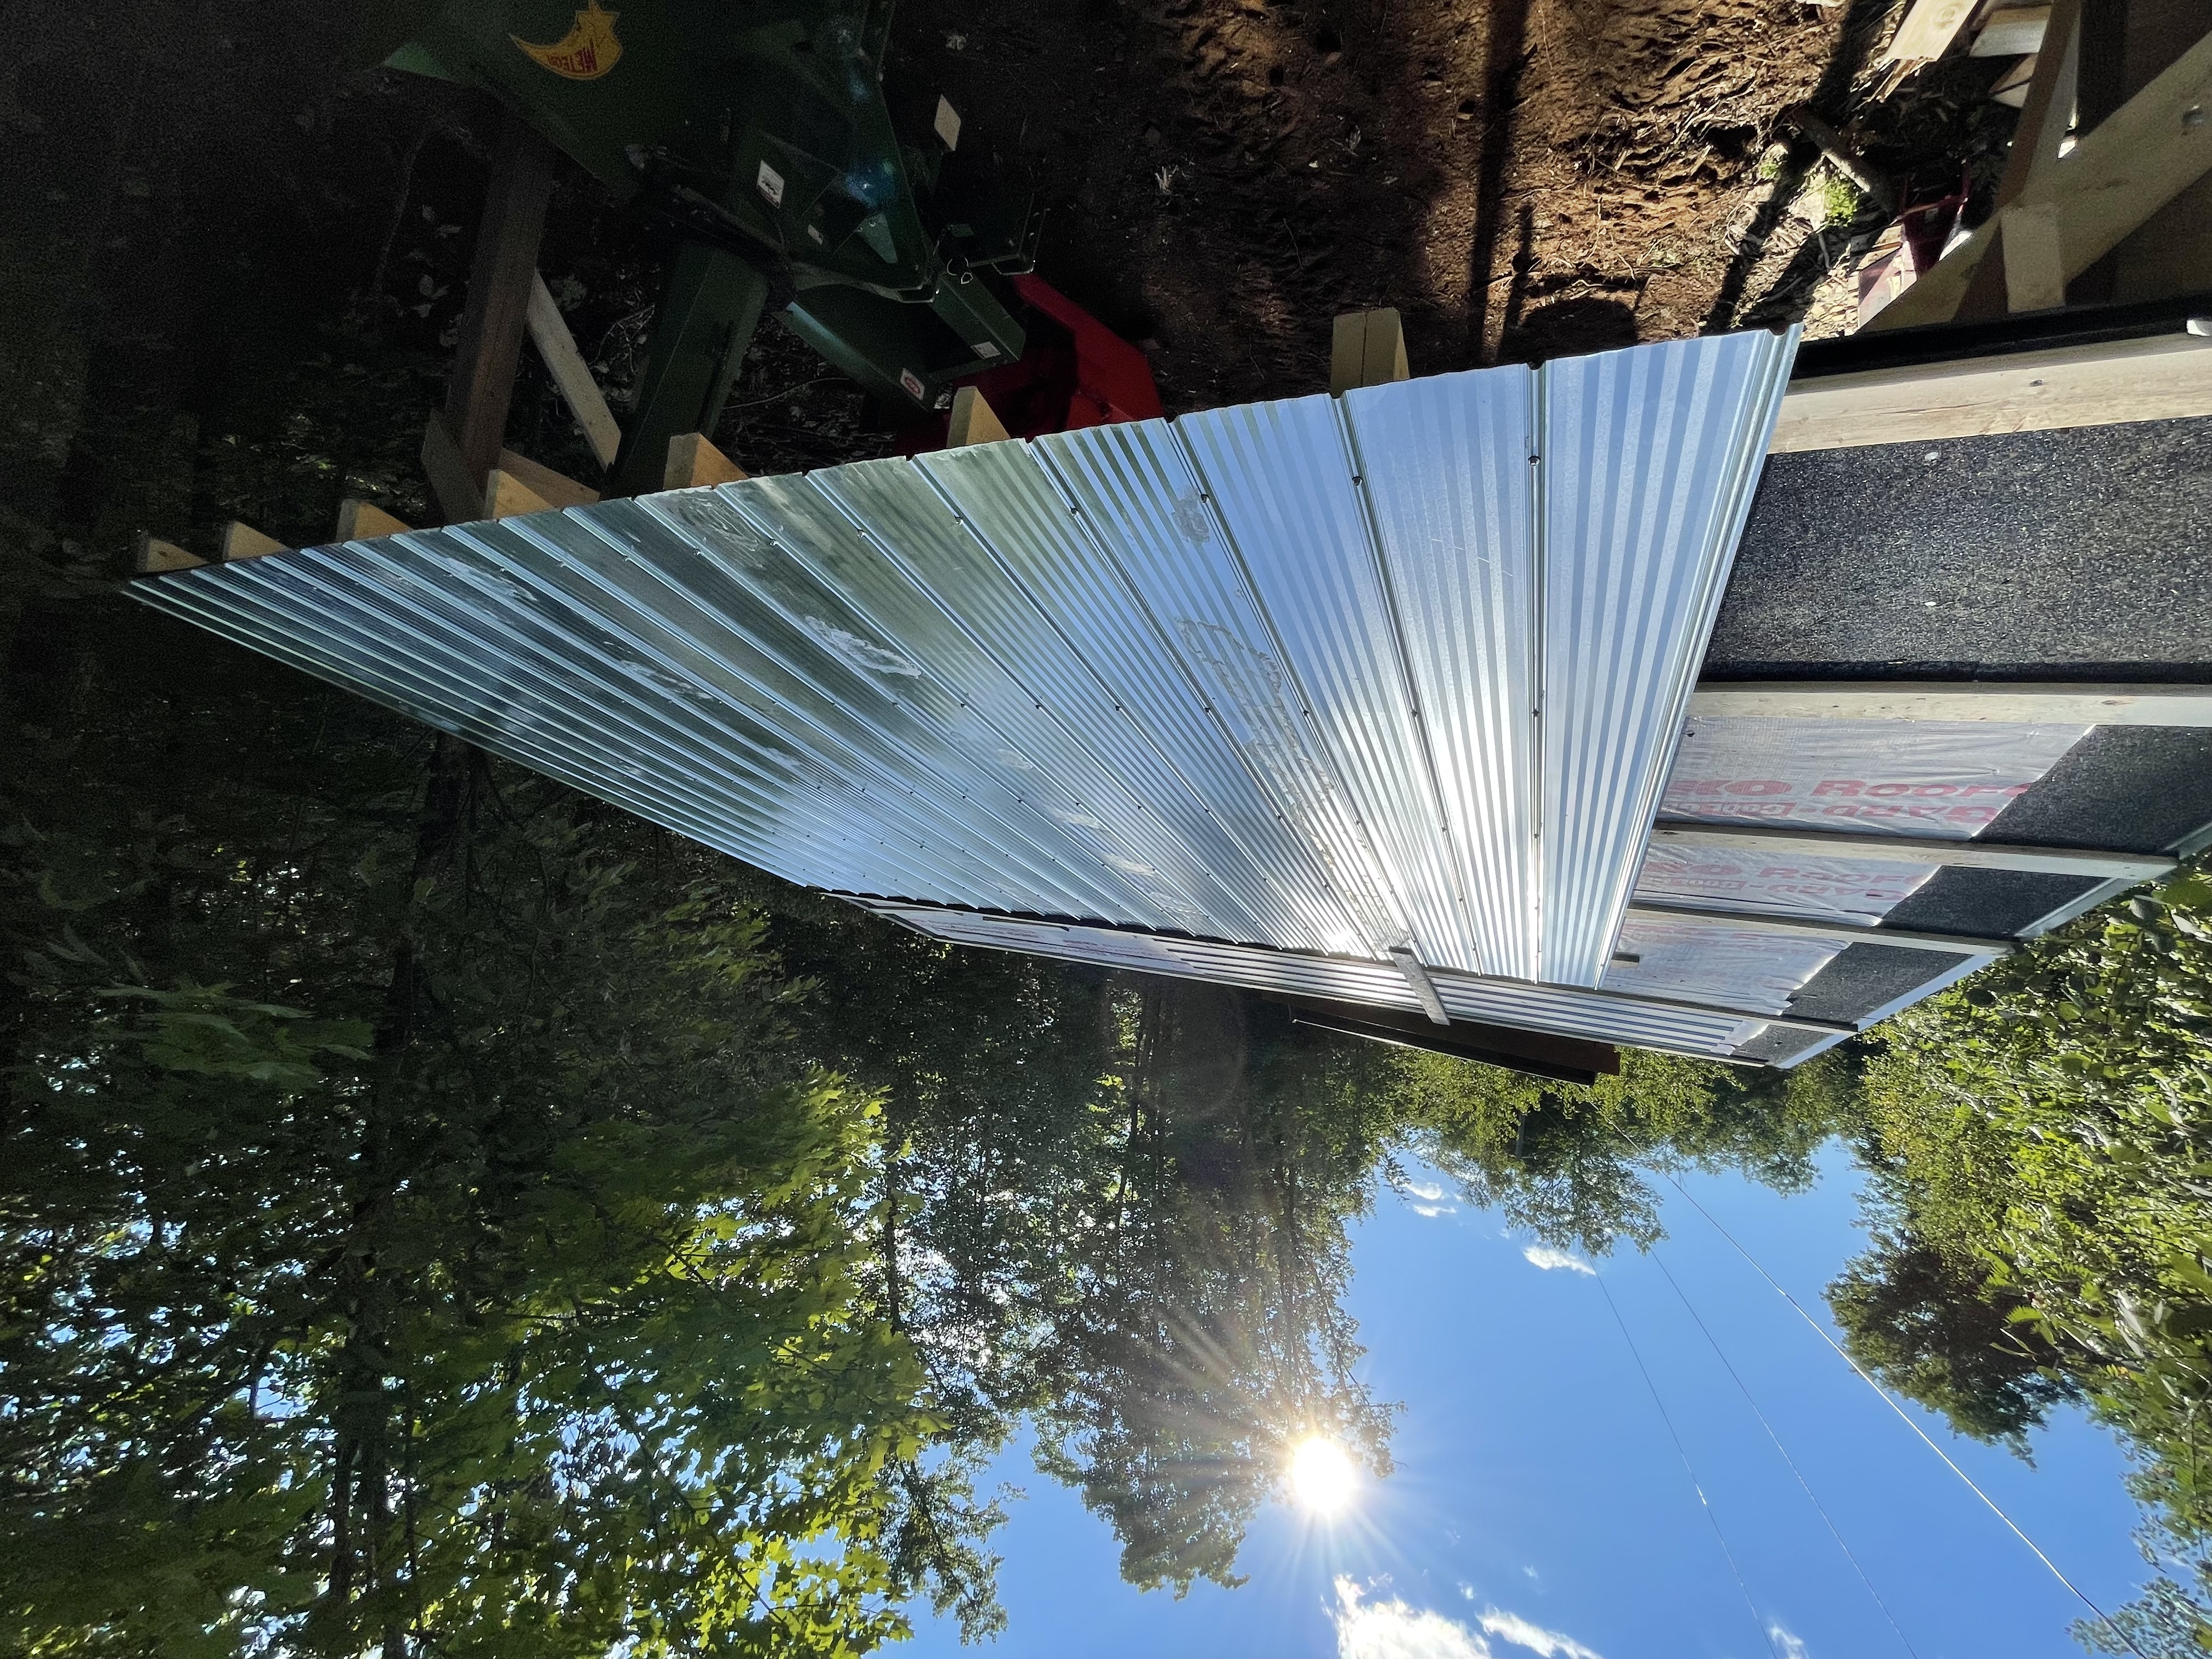
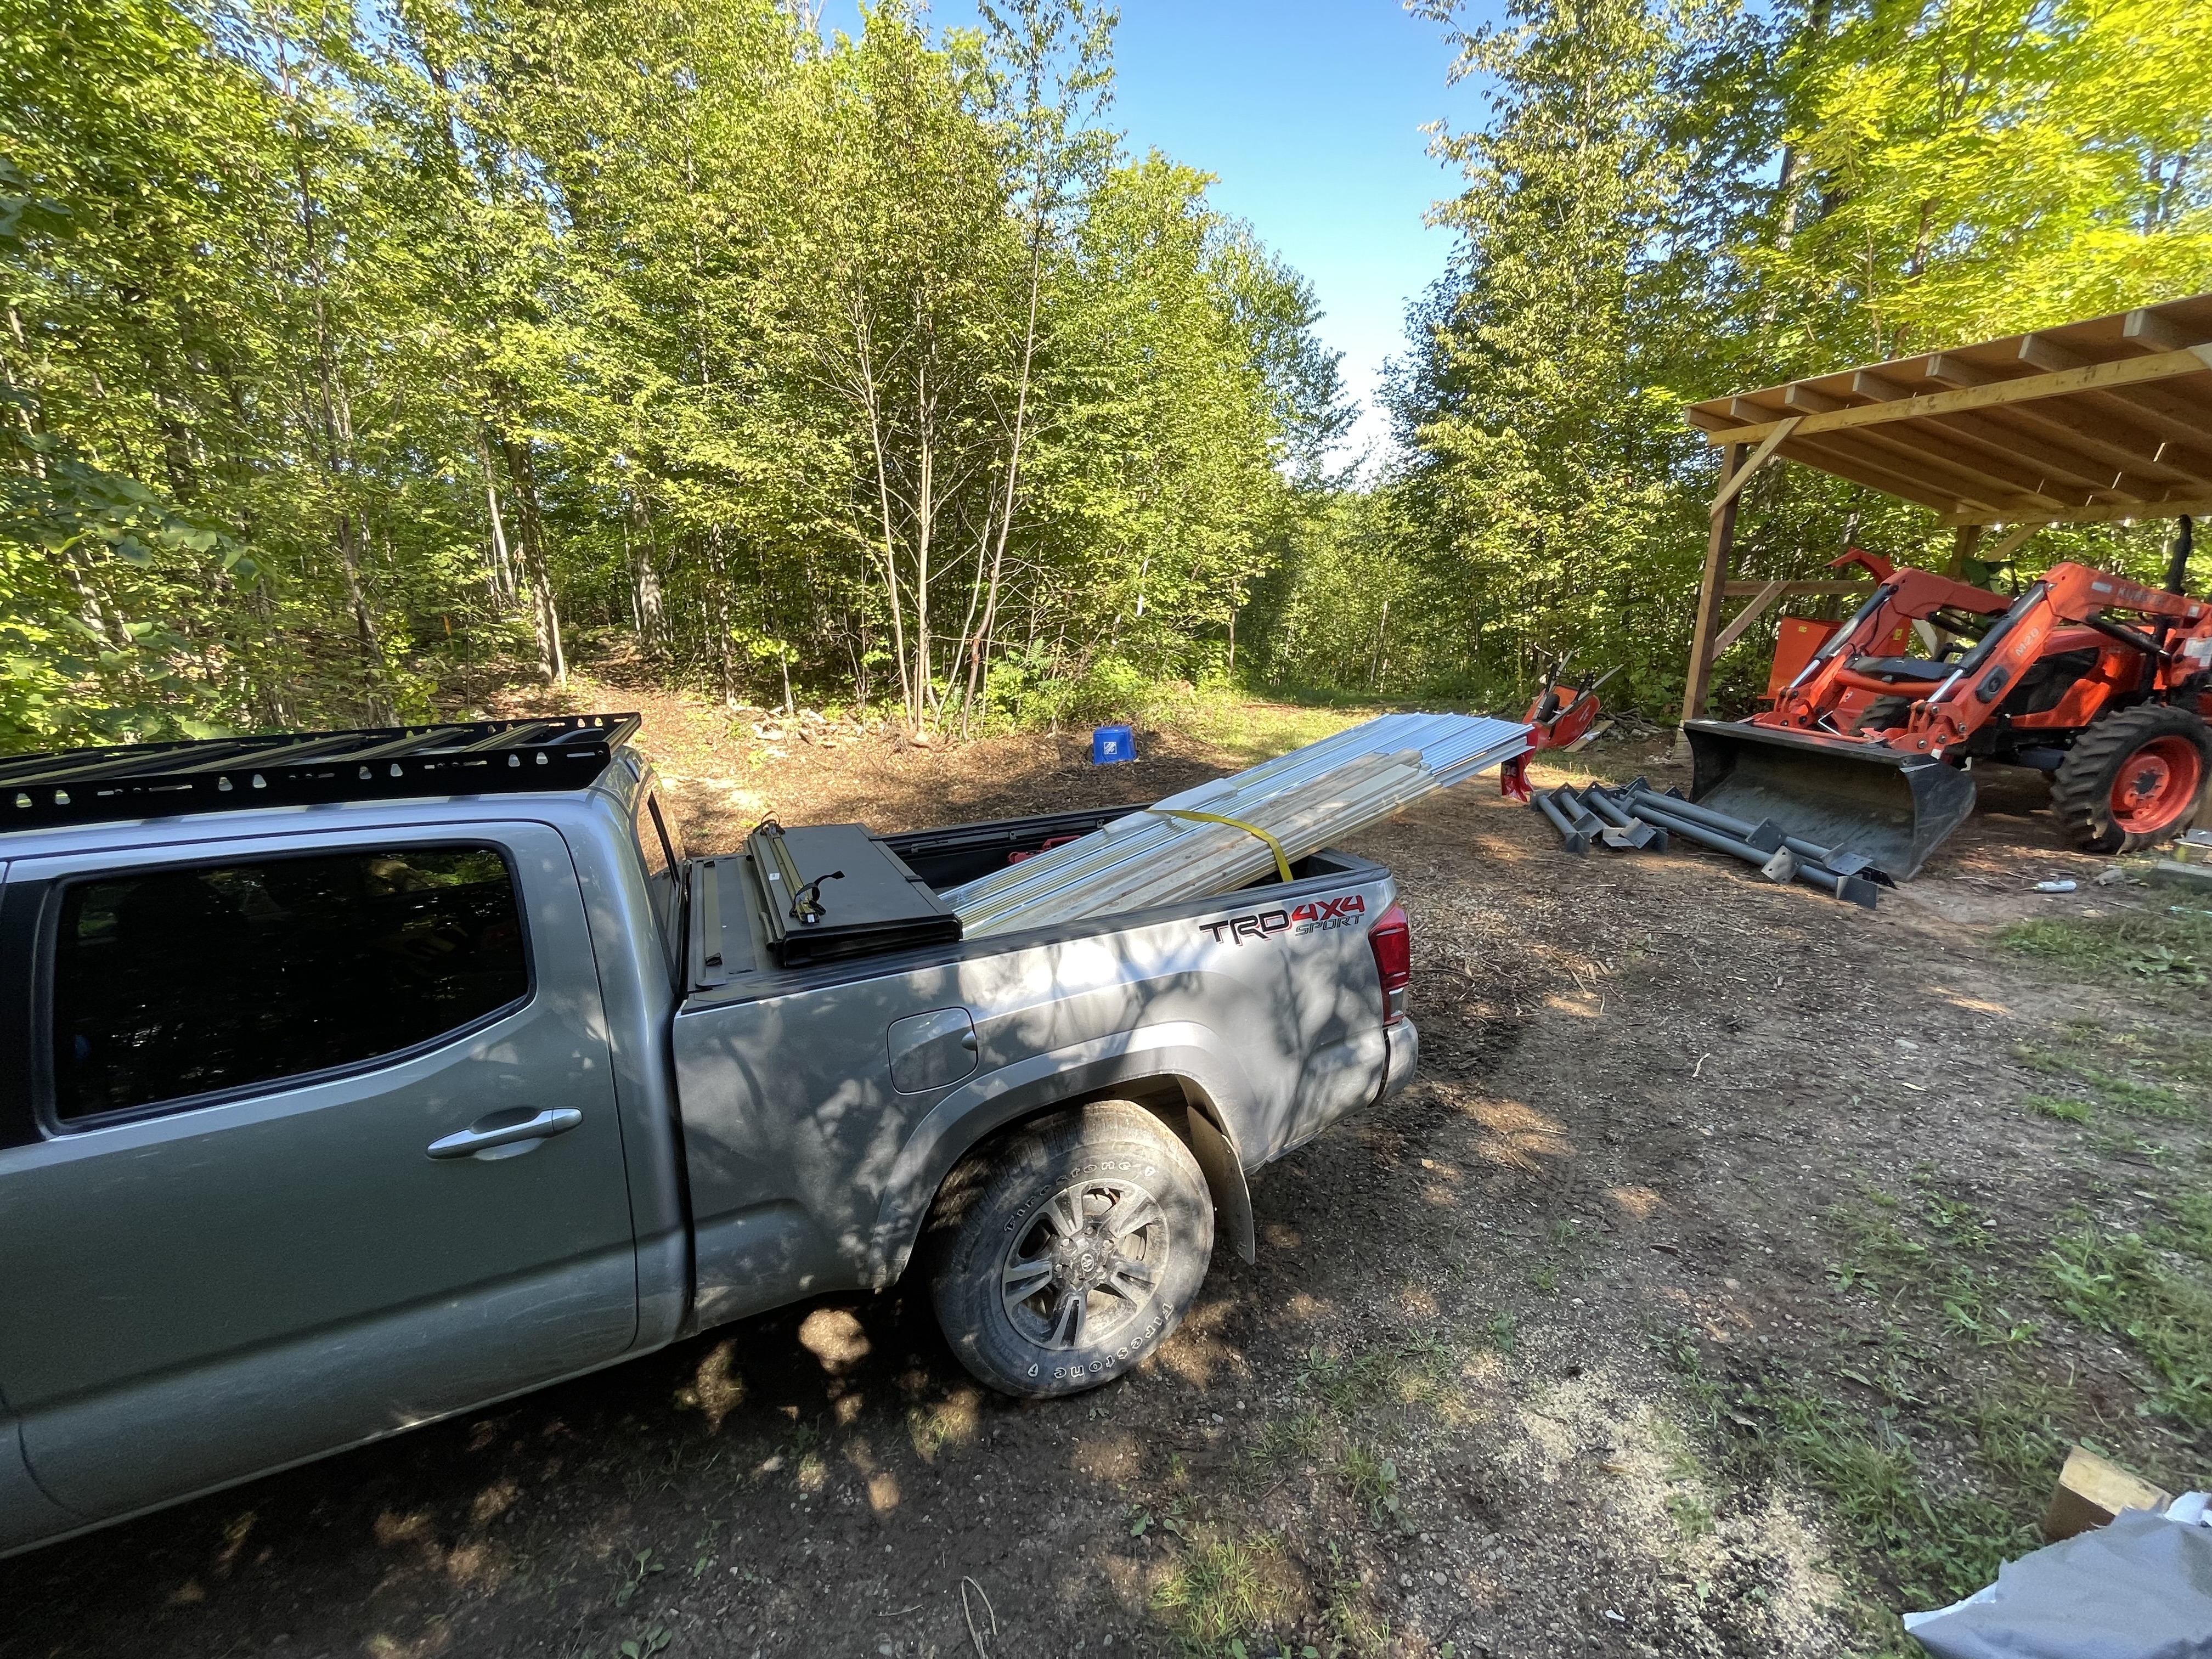
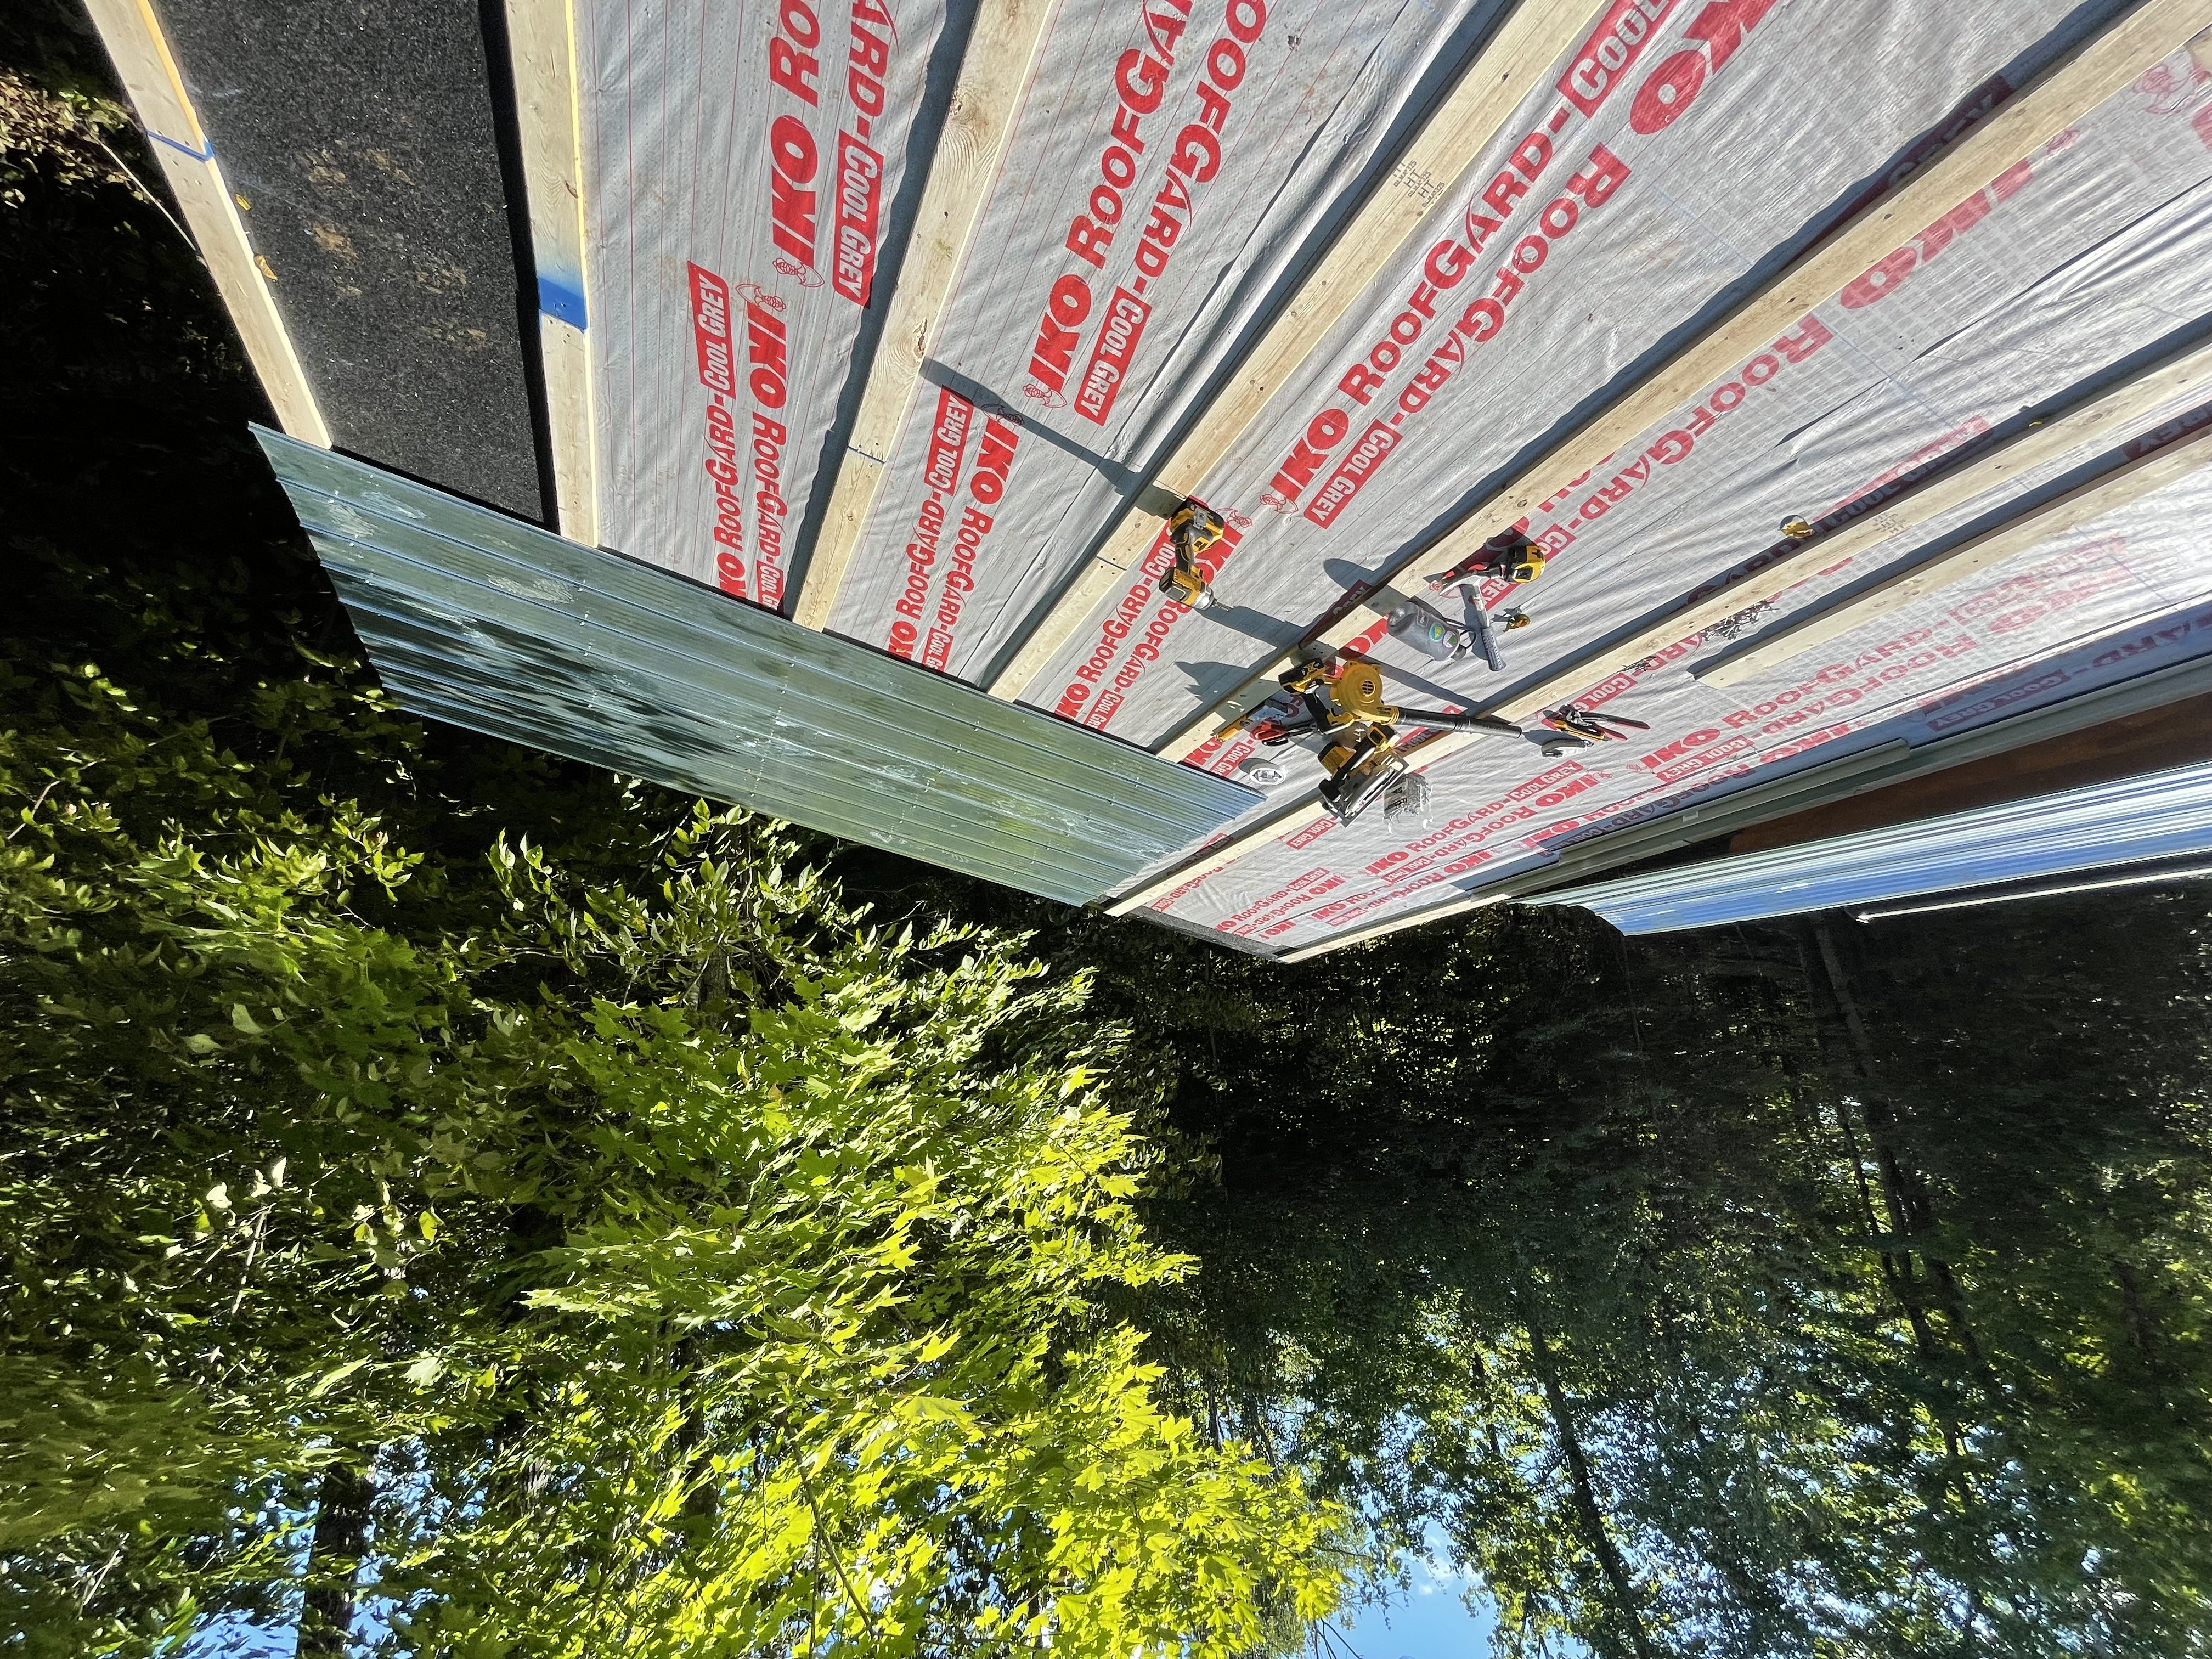
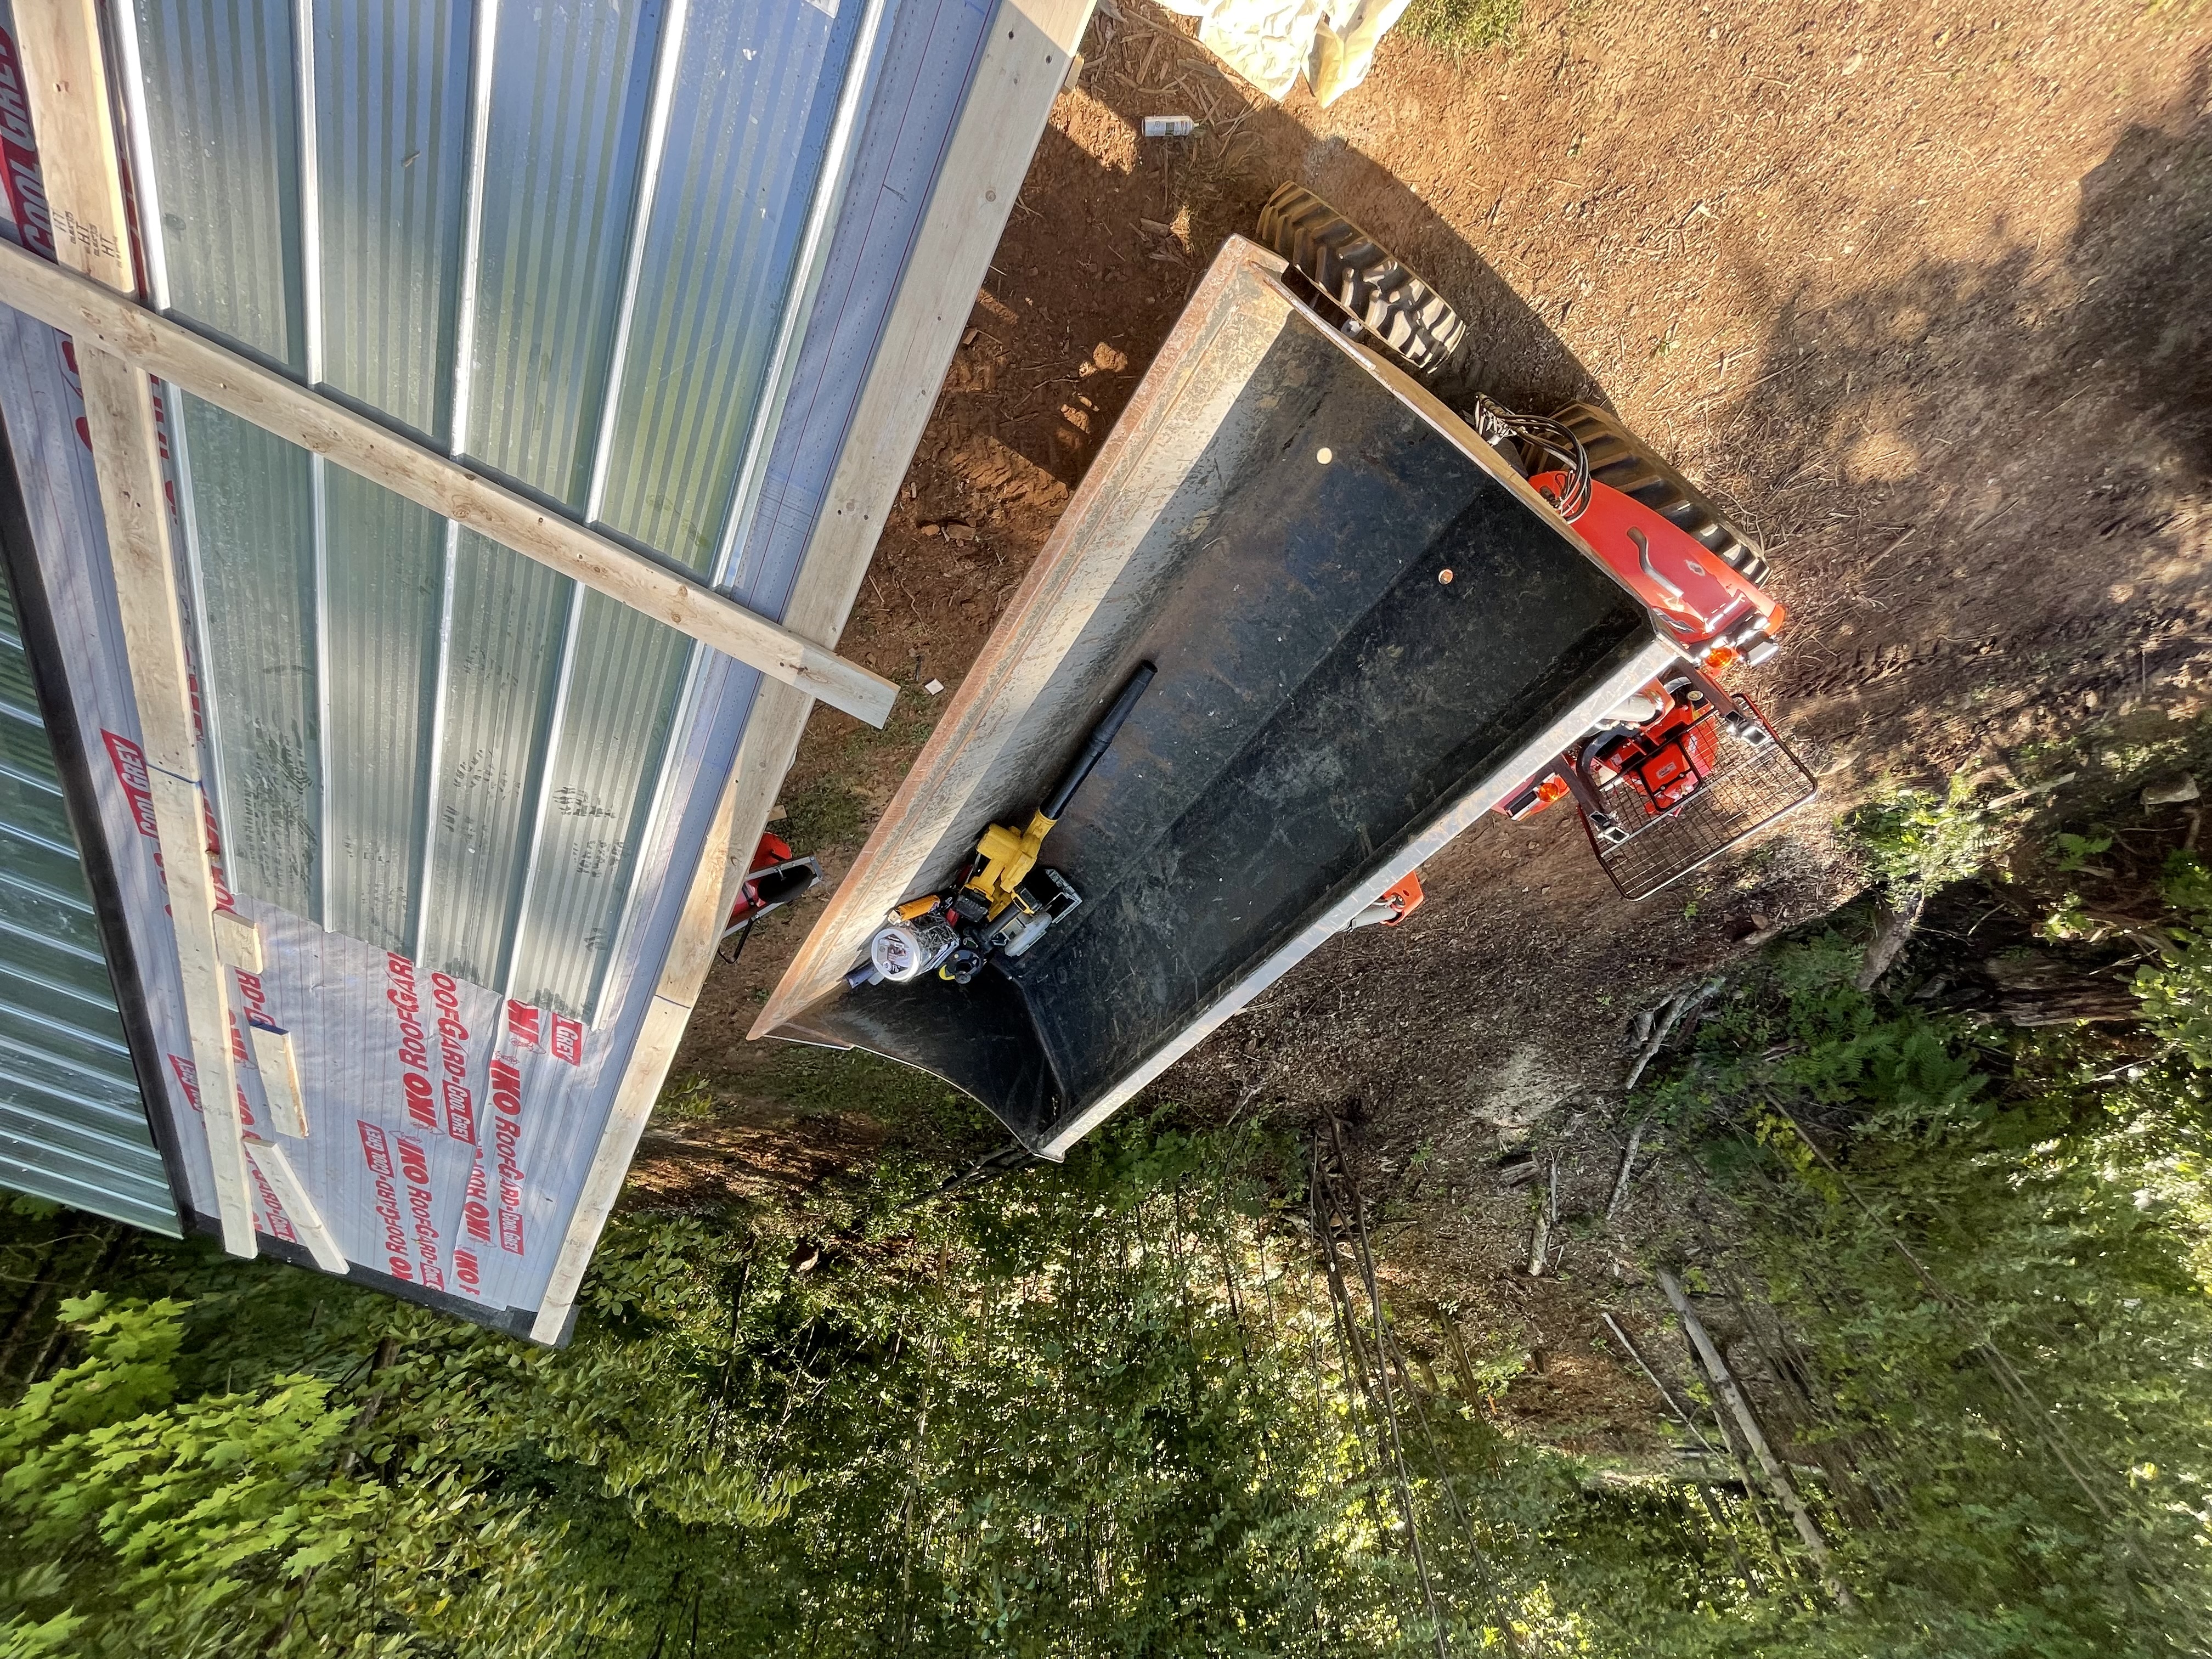
Here’s where things get a little sloppy. For the roof, I carefully calculated how little plywood I could get away with buying (plywood prices were insane at this point), and purchased underlayment, membrane, and strapping. I diligently screwed the plywood down and adhered the membrane around the low edge and sides of the roof, and then put membrane over the middle. I attached drip edge on the low side, and laid strapping every 16” or so horizontally across the roof.
Here’s the problem. Why was anything more than strapping (thin wooden lengths to give the steel sheets consistent horizontal lines to screw to) needed? While a roof should be water tight, this building doesn’t have walls or a floor. It should be inconsequential if the underside of the roof gets wet. Lesson learned—be aware of the building’s broader context. Not everything is a dwelling. The plus side: I could close this in at some point in the future and enjoy a more substantial and weather tight roof. Unfortunately, I don’t see that happening.
Bonus: Floor!
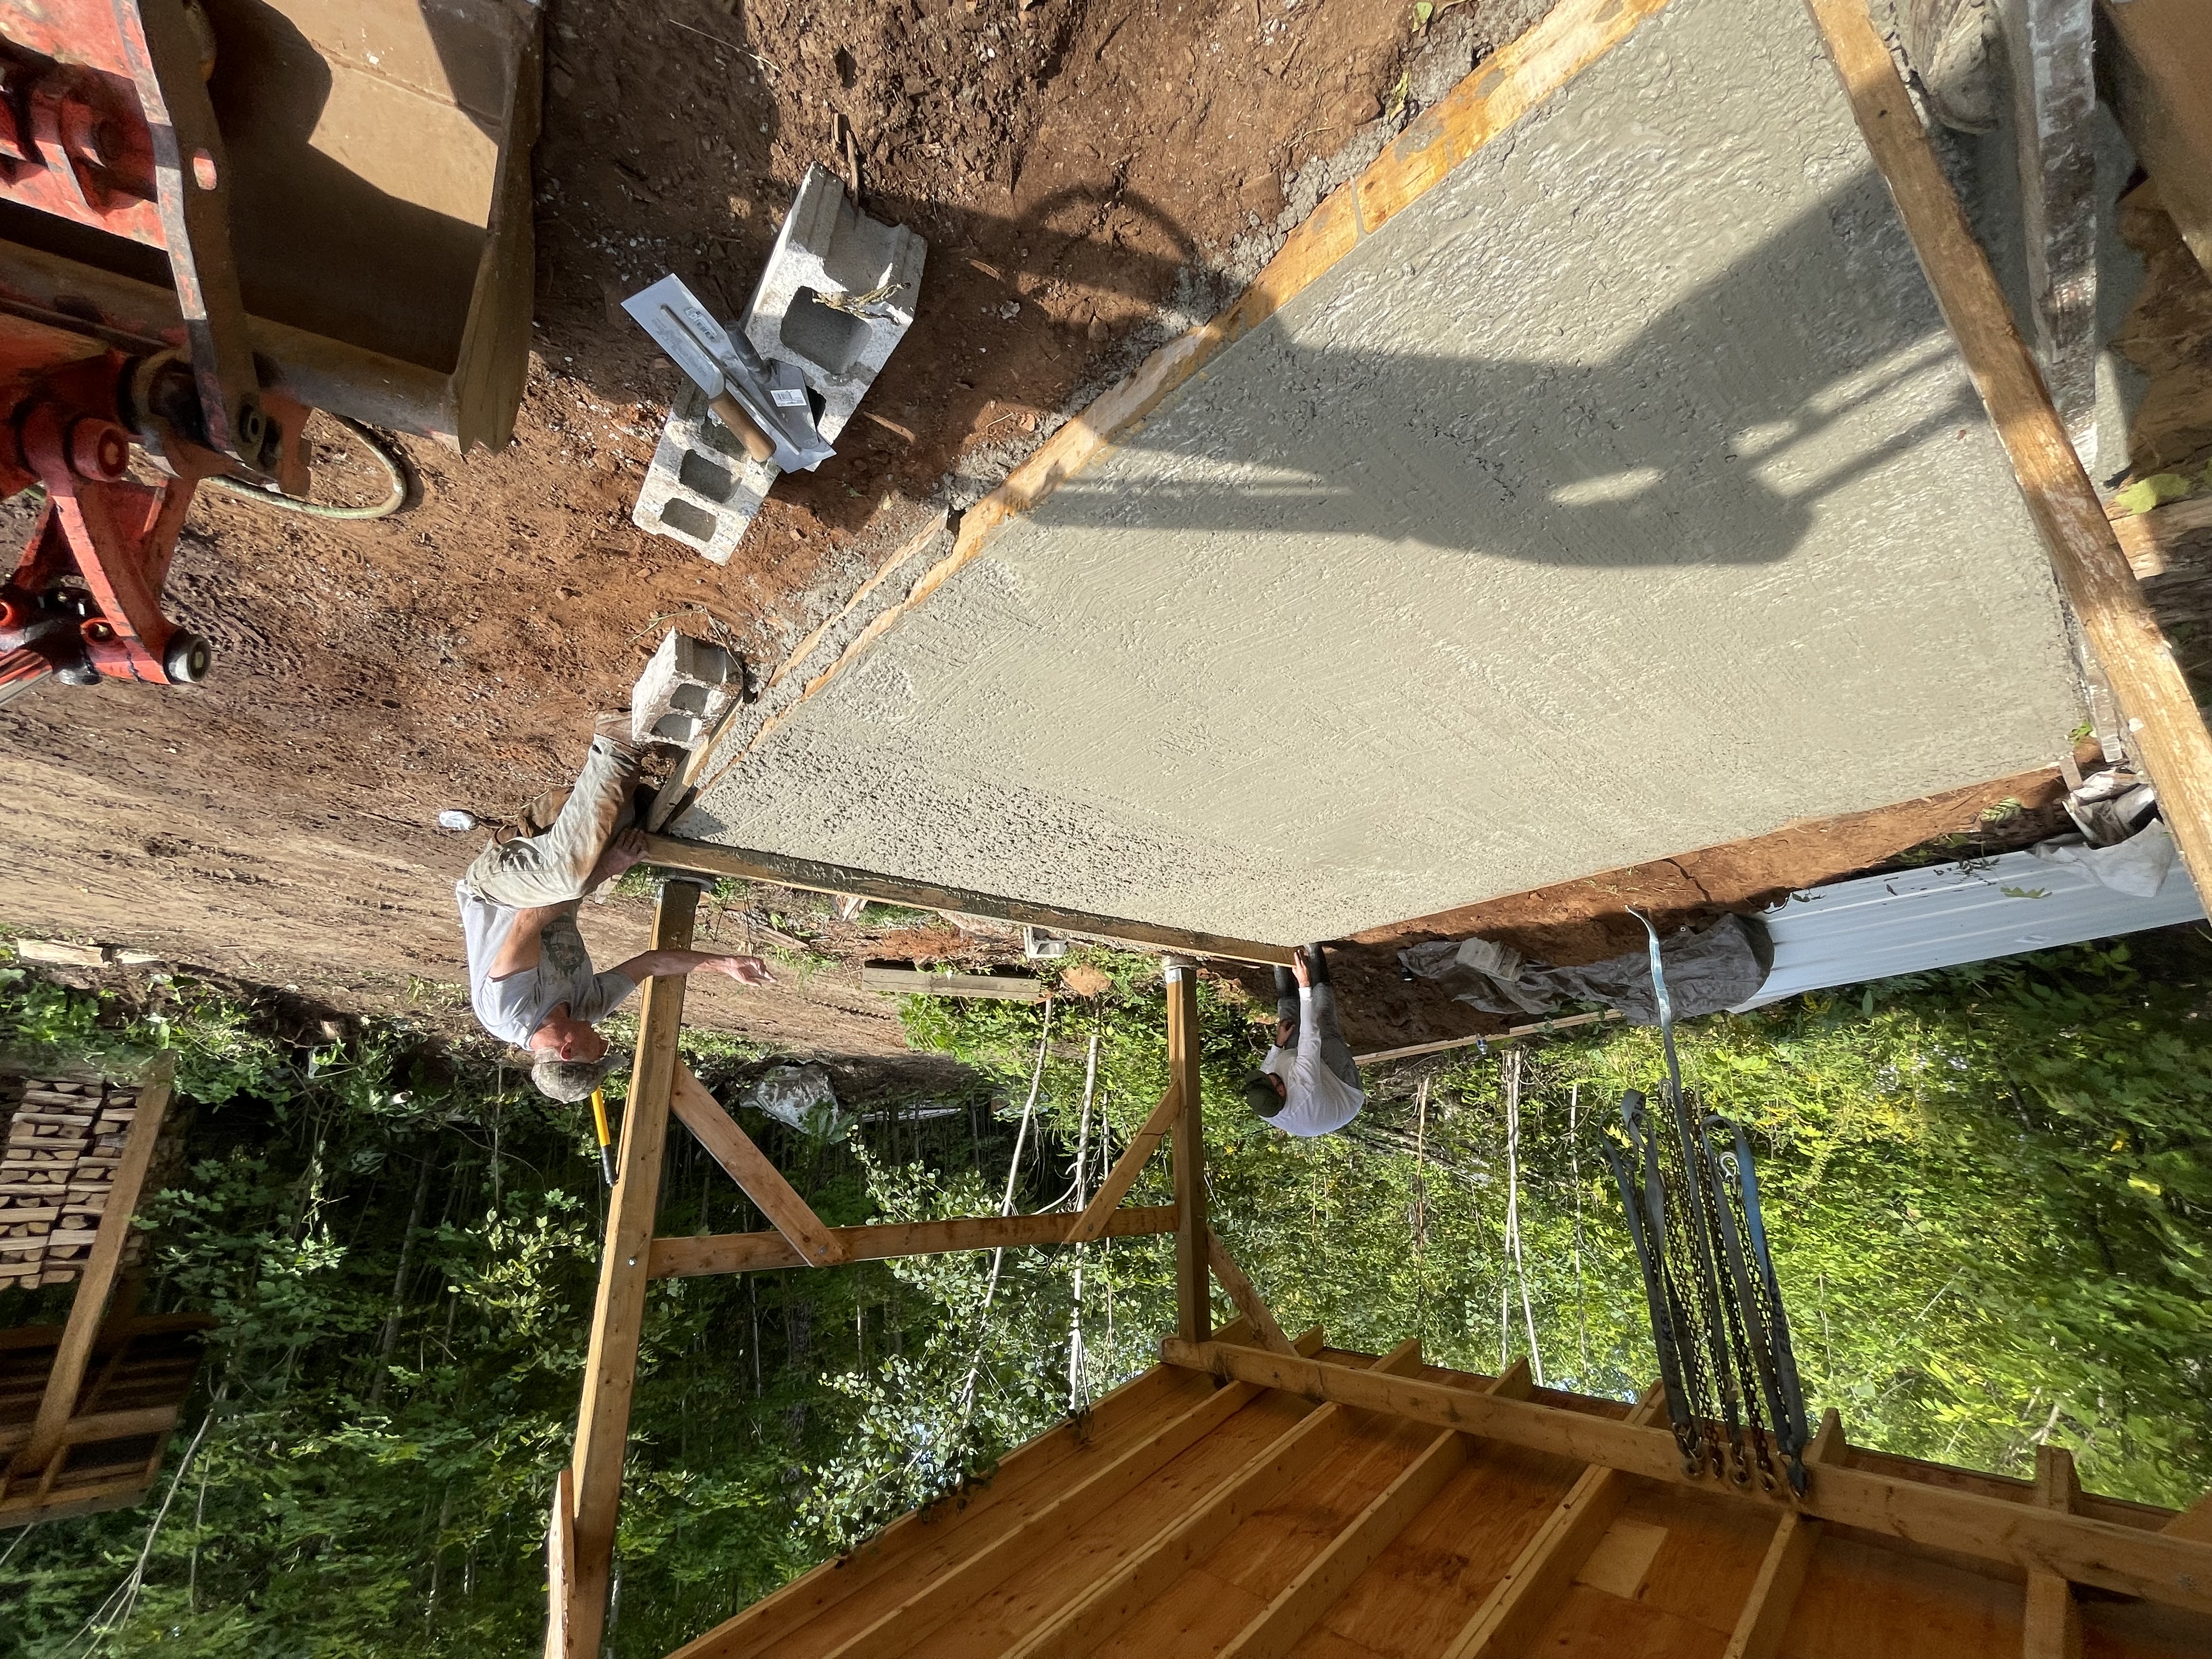
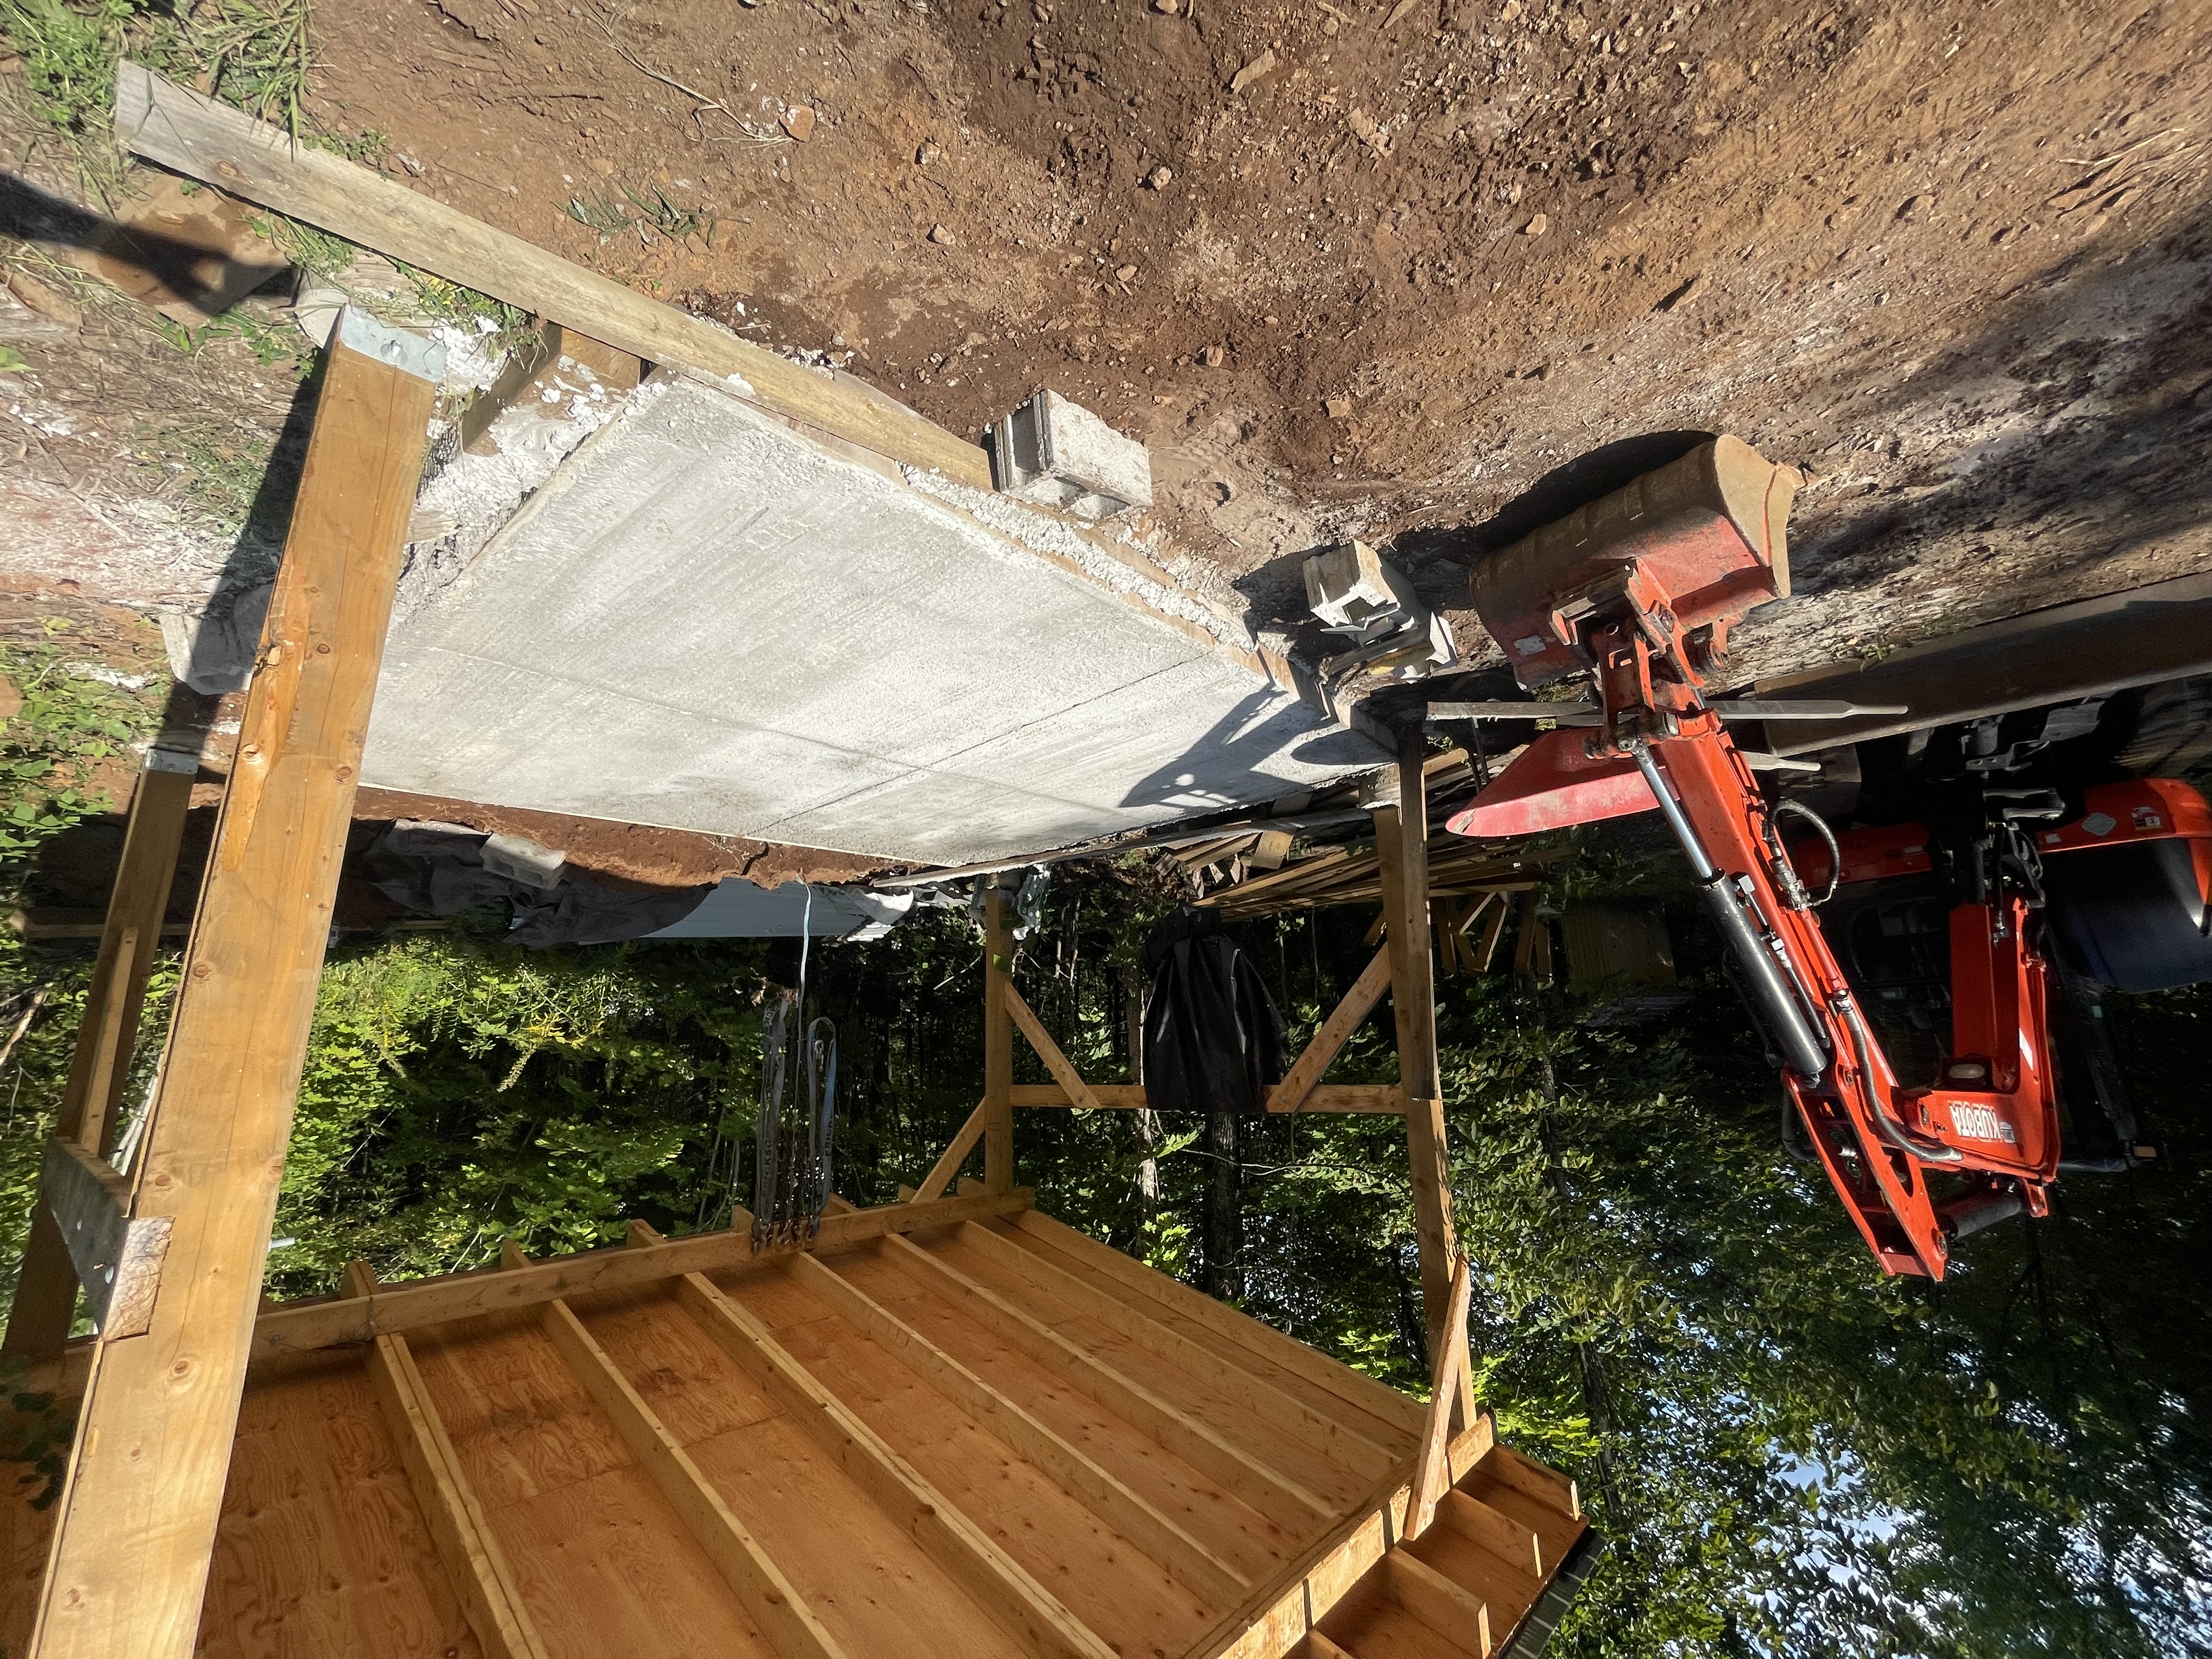
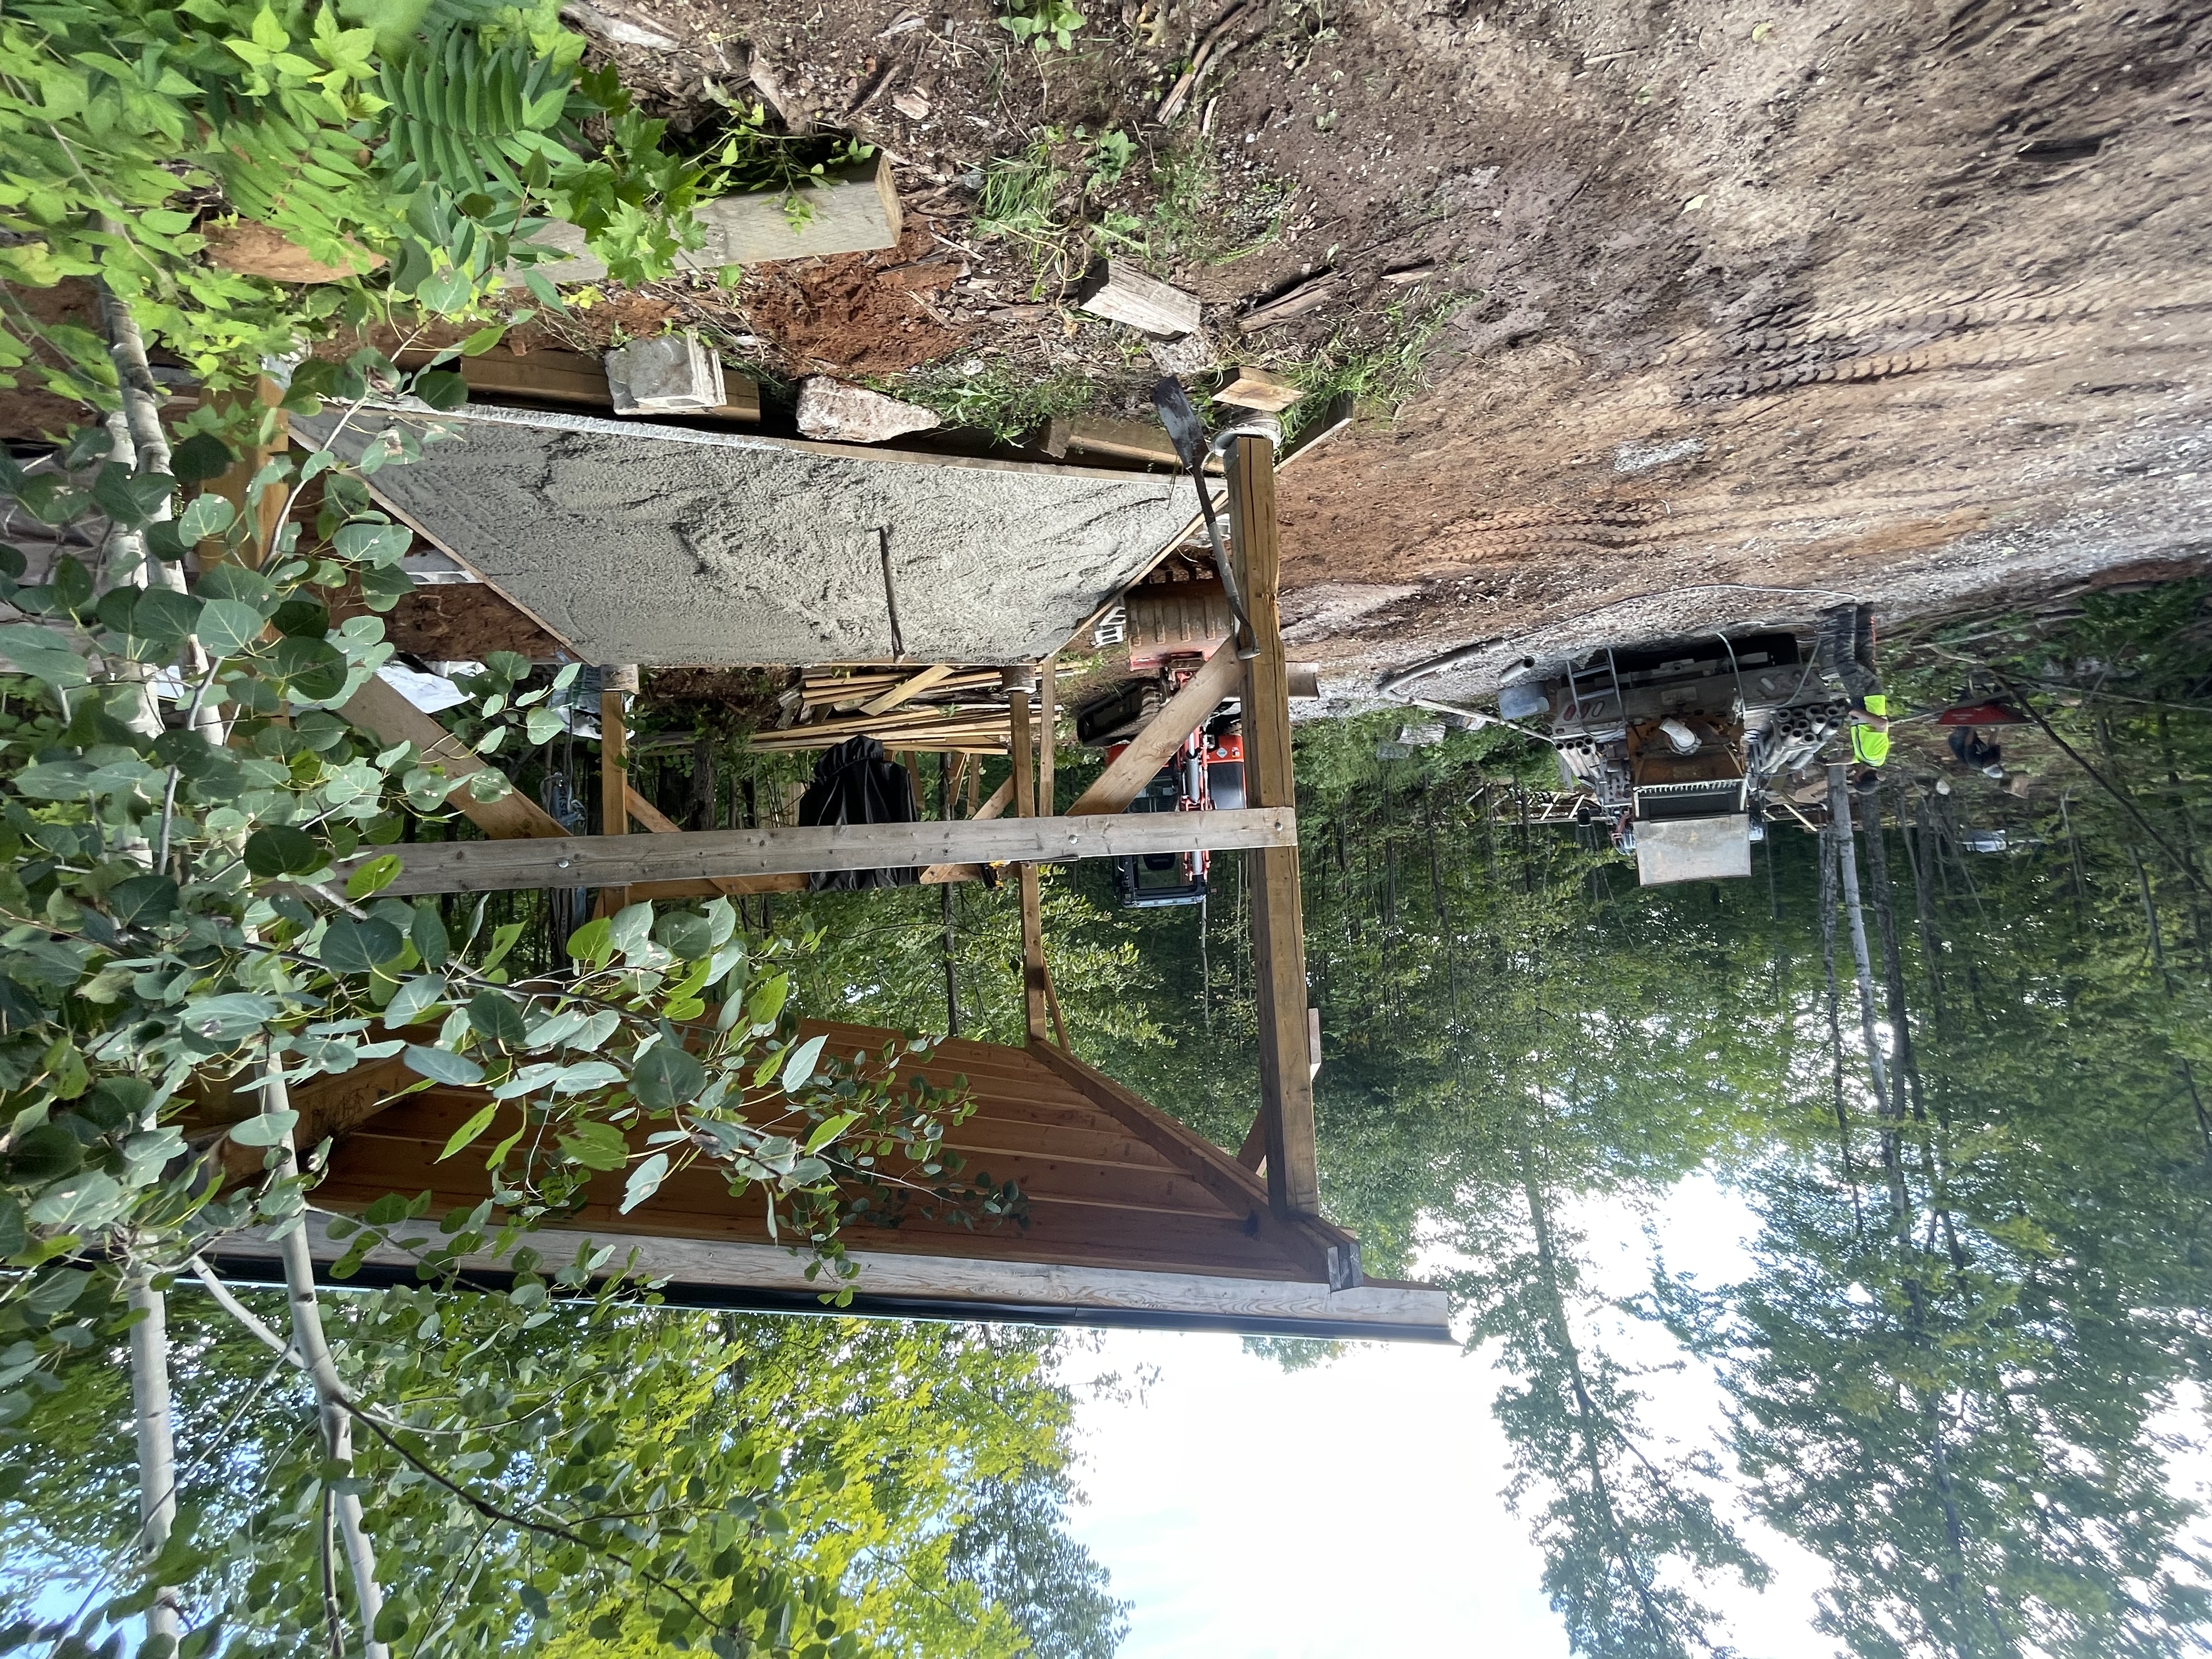
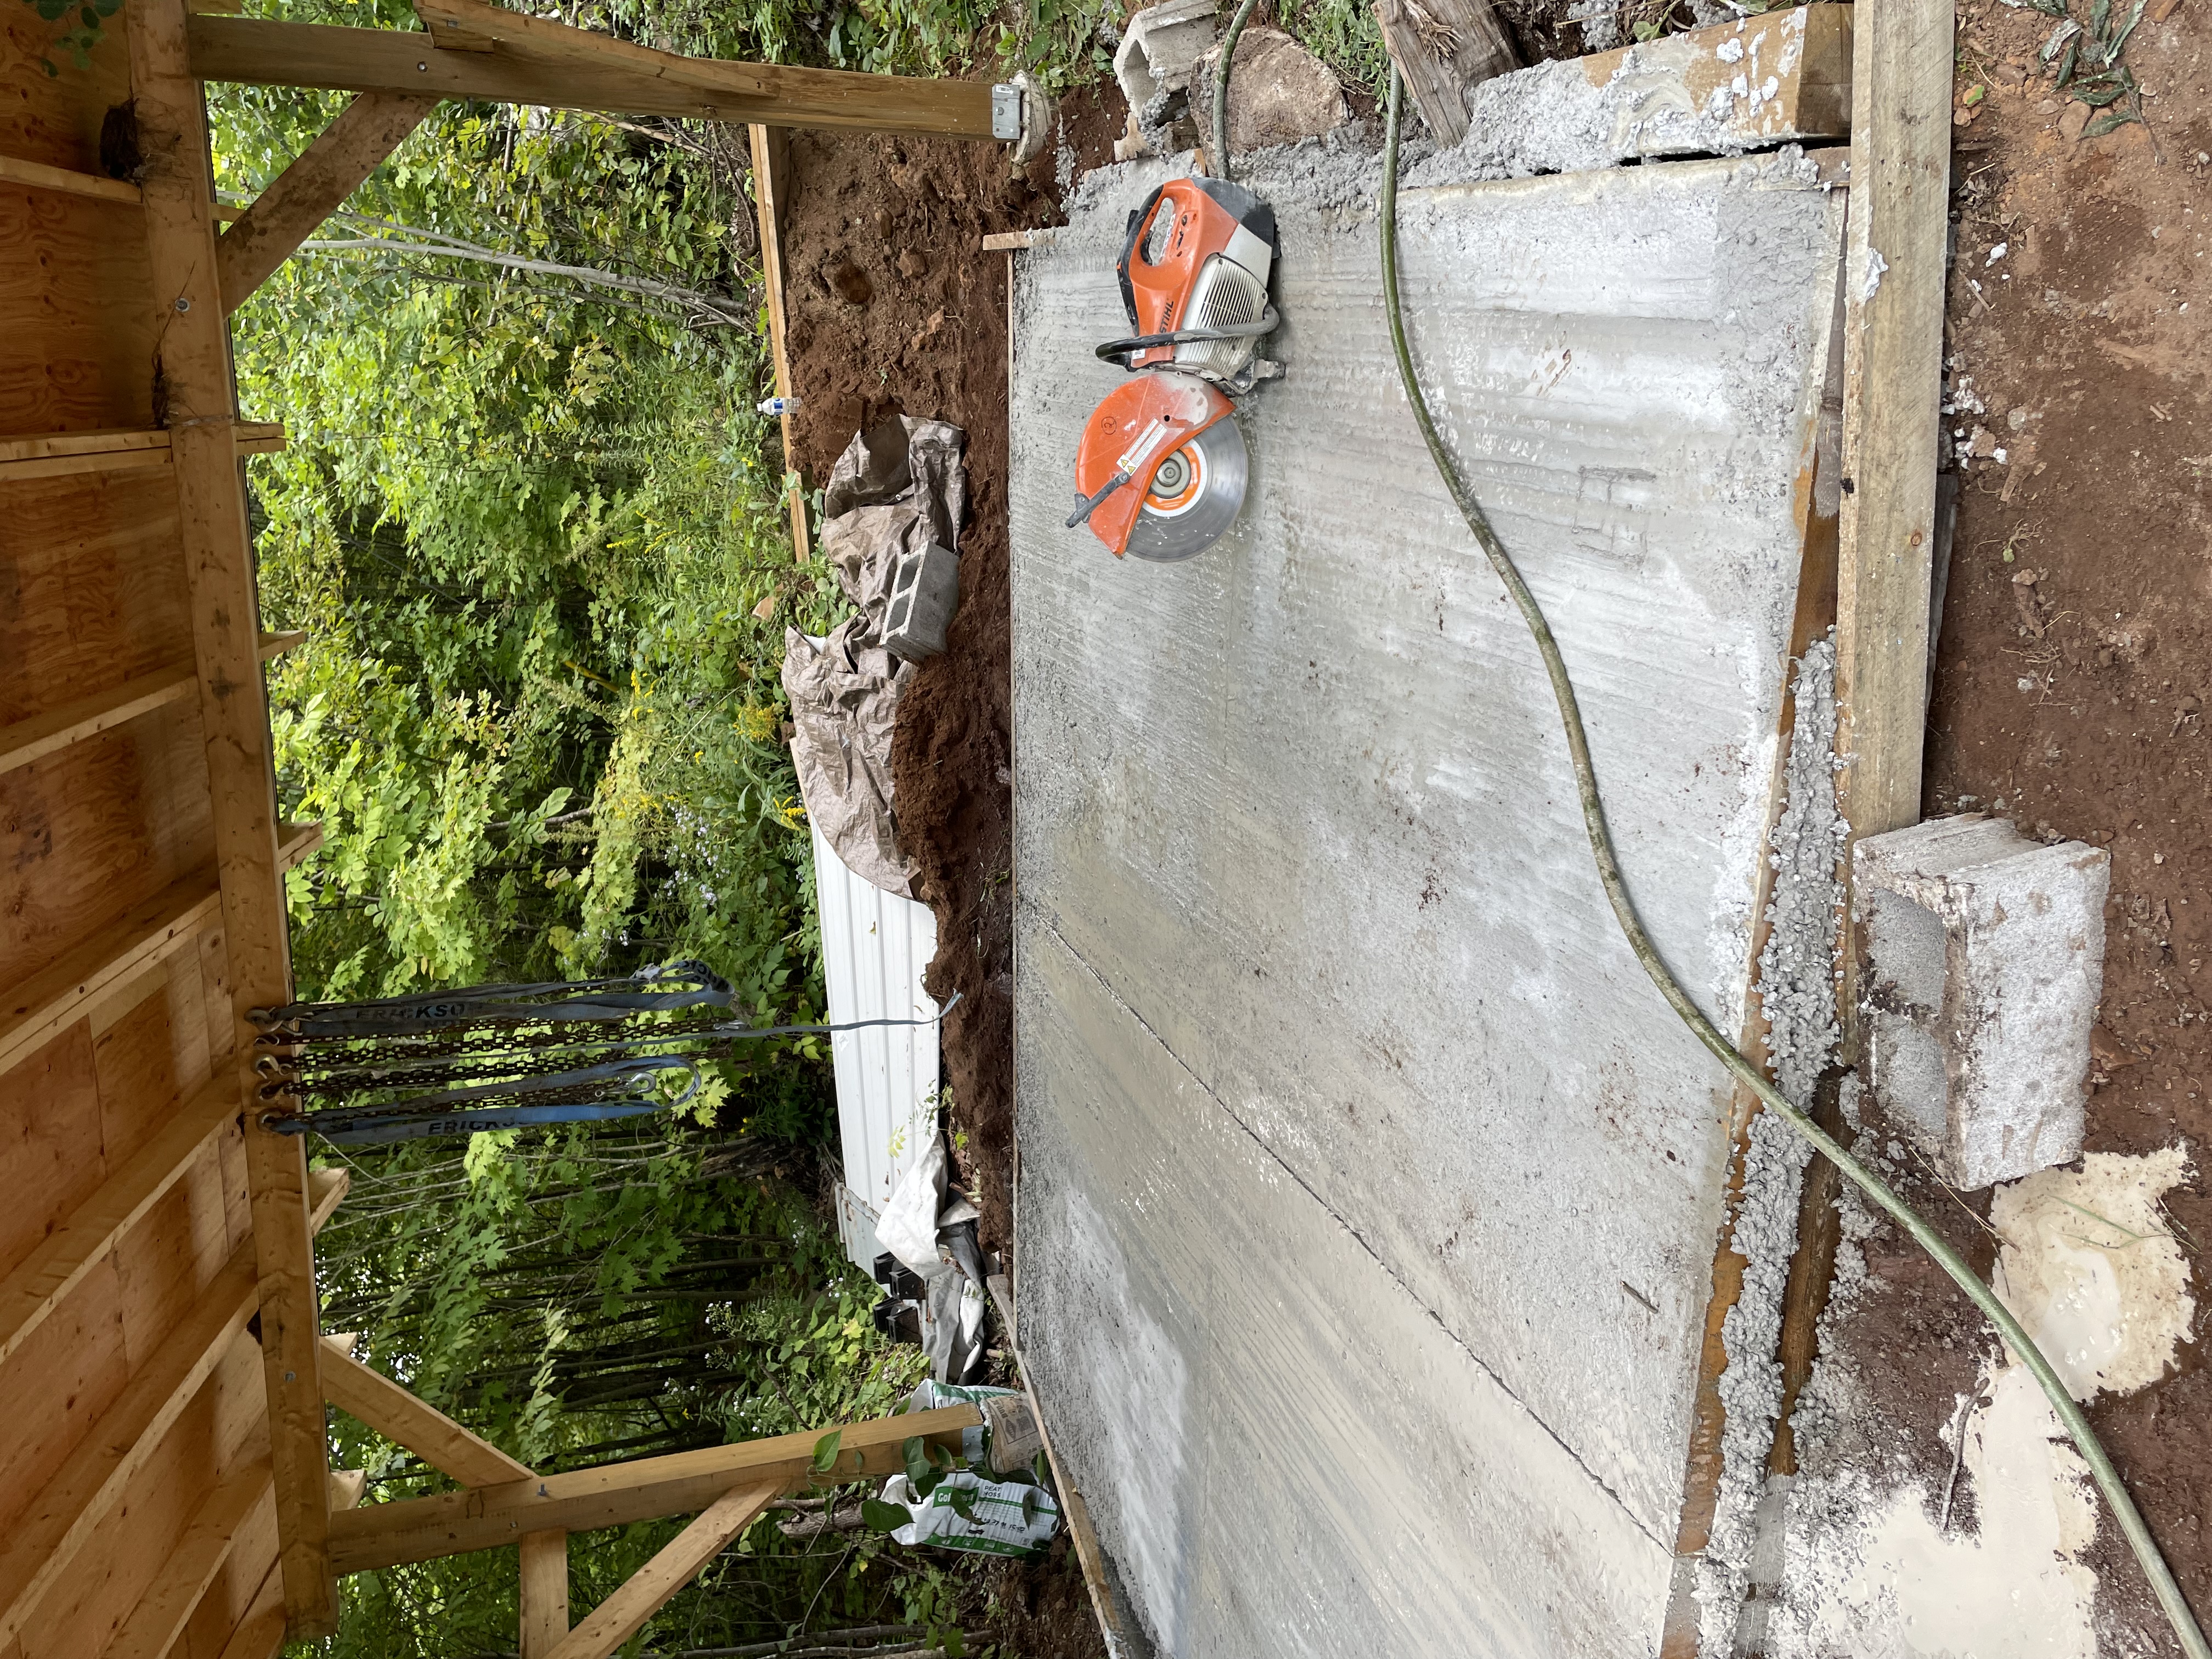
A year or two after completing the tractor shed, I had leftover concrete in a concrete truck from another project. That concrete is paid for and has to be dumped somewhere one way or another, so the friends I had to help with the other project helped me throw together a quick and dirty concrete form to make use of the spare material. It wasn’t pretty, it wasn’t even level, but it was a foot-thick slab covering most of the floor space in the shed.
More photos
